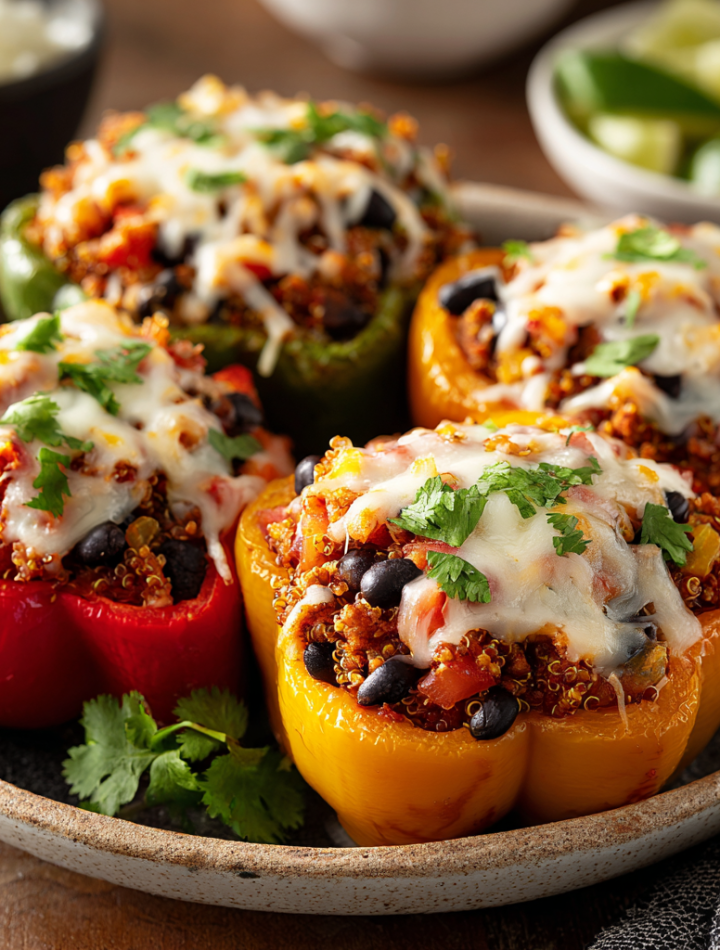

Stuffed Bell Peppers (The Ultimate Budget Hack You’ll Make on Repeat!)
Hey there, friend! Isla here from BiteTide. Let’s talk about one of those magical kitchen moments we all live for: when you open your fridge, stare at the contents, and think, “What on earth can I make that’s actually exciting?” You see a few bell peppers, some leftover rice from last night’s takeout, and a lonely pound of ground beef. It doesn’t look like much, but let me tell you, you are staring at pure gold.
That’s the beauty of these Budget Hack Stuffed Bell Peppers. They are the culinary equivalent of a cozy hug—a hearty, wholesome, and seriously satisfying meal that transforms simple, affordable ingredients into something truly spectacular. We’re talking about a dinner that feels like you fussed for hours, but secretly comes together in under an hour. It’s the kind of meal that makes everyone at the table ask for seconds, without making your wallet cry for mercy.
I believe with my whole heart that good food doesn’t have to be complicated or costly. It should be fun, flavorful, and flexible. This recipe is all of that and more. It’s your new secret weapon for busy weeknights, your go-to for feeding a crowd, and your best friend for a make-ahead meal that freezes like a dream. So, grab those peppers, and let’s ride this flavor wave together. You’re about to fall in love with your kitchen all over again.
A Pepper-Filled Porch and My Grandma’s Wisdom
This recipe takes me right back to my grandma’s sun-drenched porch, the air thick with the smell of tomatoes and basil from her garden. She was the queen of “waste not, want not,” and her stuffed peppers were legendary. I remember sitting on the porch steps, a big bowl in my lap, carefully scooping the seeds out of vibrant green peppers. I’d complain that it was a tedious job, and she’d just smile and say, “Isla, good things take a little patience. But the best things,” she’d wink, “take a little cleverness.”
Her cleverness was in the filling. It was never the same twice. Sometimes it had leftover roast, chopped up fine. Other times, it was lentils from last night’s soup. She taught me that the “recipe” was just a guideline—a friendly suggestion. The real magic was in using what you had, what was in season, what needed using up. That philosophy is baked right into the DNA of BiteTide and into this very recipe. Every time I make these peppers, I feel that connection—to her, to that porch, and to the simple, profound joy of creating something delicious out of nothing much at all.
Print
Stuffed Bell Peppers (Budget Hack Version)
- Total Time: 50 minutes
- Yield: 4 servings 1x
Description
Big flavor on a small budget—these stuffed bell peppers are the perfect solution for a hearty, wholesome meal that won’t break the bank. With just a few pantry staples, you’ll have a filling dinner that’s freezer-friendly, family-approved, and endlessly satisfying.
Ingredients
4 bell peppers, halved and seeds removed
1 lb ground beef
1 cup cooked rice (white or brown)
1 cup tomato sauce
1 tsp garlic powder
1 tsp onion powder
½ tsp salt
½ tsp black pepper
1 tsp Italian seasoning (optional)
1–1½ cups shredded cheese (cheddar or mozzarella)
Instructions
Preheat oven to 375°F (190°C).
Brown ground beef in a skillet over medium heat. Drain any excess fat.
Stir in cooked rice, tomato sauce, and all seasonings. Let simmer for 2–3 minutes.
Arrange pepper halves in a baking dish. Spoon the meat mixture into each half.
Top generously with shredded cheese.
Cover with foil and bake for 25 minutes. Remove foil and bake another 10 minutes until bubbly and golden.
Let cool slightly before serving.
- Prep Time: 15 mins
- Cook Time: 35 minutes
- Category: Dinner
Nutrition
- Calories: 320
- Carbohydrates: 15g
- Protein: 22g
Gathering Your Flavor Crew: The Ingredients
Here’s your shopping list for flavor town! I’ve included my favorite chef insights and swaps so you can make this recipe work for you, no matter what’s in your pantry.
- 4 Bell Peppers: Any color works! I love using a mix of red, yellow, and orange for a sunshine-bright dish. Green peppers are the most budget-friendly but have a slightly more bitter edge. Pro tip: Look for peppers with flat bottoms—they’ll stand up straight and proud in your baking dish, no wobbles!
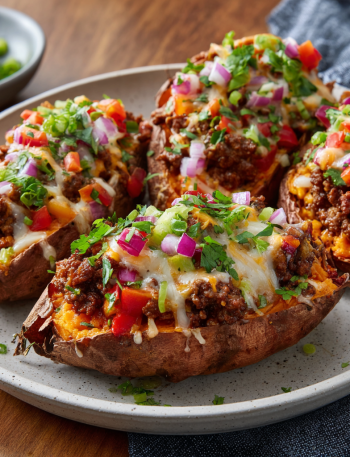
- 1 lb Ground Beef: I use an 85/15 lean-to-fat ratio for the best flavor without too much grease. For a lighter option, ground turkey or chicken works beautifully. Going plant-based? A cup of cooked brown lentils or your favorite plant-based crumble is a perfect 1:1 swap.
- 1 cup Cooked Rice: White or brown, it doesn’t matter! This is the perfect way to use up that leftover rice hanging out in your fridge. No leftover rice? No problem! Cook up a single serving, or for a low-carb twist, you can use cauliflower rice (just sauté it first to remove moisture).
- 1 cup Tomato Sauce: This is our flavor-binding sauce. If you’re out, a can of diced tomatoes (undrained) or even a ½ cup of marinara sauce mixed with ½ cup of water will do the trick.
- 1 tsp Garlic Powder & 1 tsp Onion Powder: Our dynamic duo of dried alliums! They distribute flavor evenly throughout the filling. In a pinch, you can use a tablespoon of minced fresh garlic and onion, but sauté them with the beef for the best result.
- ½ tsp Salt & ½ tsp Black Pepper: The essential flavor enhancers. Always season to taste! I usually add a little more at the end.
- 1 tsp Italian Seasoning (optional but highly recommended): This little jar of magic—a blend of oregano, basil, thyme, and rosemary—adds a wonderful herby depth. Don’t have it? A pinch of dried oregano or basil is a great stand-in.
- 1–1½ cups Shredded Cheese: The glorious, melty blanket on top! I’m a cheddar girl for its sharpness, but mozzarella is classic, and a Mexican blend would be fantastic for a Tex-Mex twist. Use what you love!
Let’s Get Cooking: Your Step-by-Step Guide
Ready to create some magic? Follow these steps, and I promise you’ll have a foolproof, fabulous dinner on the table. I’ve sprinkled in my favorite chef hacks to make the process even smoother.
- Preheat and Prep: Fire up your oven to 375°F (190°C). This gives it plenty of time to get perfectly hot while we assemble our peppers. Now, take your bell peppers and slice them in half from top to bottom. Use a paring knife to carefully cut out the core and remove all the white ribs and seeds. Chef Hack: A gentle tap on the bottom of the pepper half over the trash can helps dislodge any stubborn seeds. Giving them a good rinse under cold water ensures they’re totally clean.
- Brown the Beef: Grab a large skillet and place it over medium heat. Add your ground beef and break it up with a wooden spoon. Cook it until it’s no longer pink, which should take about 6-8 minutes. Once it’s cooked, carefully drain off the excess fat. Chef Hack: For an extra layer of flavor, don’t drain all the fat! Leave about a tablespoon in the pan—it’s pure flavor gold for our next step.
- Build the Filling: This is where it all comes together! To the skillet with your browned beef, add the cooked rice, tomato sauce, garlic powder, onion powder, salt, pepper, and that wonderful Italian seasoning. Give it all a really good stir until every grain of rice is coated in that saucy, beefy goodness. Let it simmer for just 2-3 minutes. You’ll see the mixture thicken slightly and the flavors will start to get to know each other. Taste it! This is your moment. Does it need more salt? A pinch more pepper? Adjust to your heart’s content.
- Stuff Those Peppers! Take your prepared pepper halves and arrange them in a 9×13 inch baking dish. They should fit snugly, like a little flavor family. Now, generously spoon the beef and rice mixture into each pepper half. Don’t be shy—pile it high! I like to press it down gently with the back of my spoon to pack it in. Chef Hack: If you have any leftover filling, just tuck it around the peppers in the baking dish. It gets all crispy and delicious in the oven—a little bonus snack for the chef!
- The Cheesy Blanket: Now for the best part! Sprinkle that glorious shredded cheese over the top of each stuffed pepper. Use the full 1.5 cups if you’re a cheese fanatic like me. The more, the merrier, I always say.
- Bake to Perfection: Cover the entire baking dish tightly with aluminum foil. This creates a little steam oven that will cook the peppers until they’re beautifully tender. Pop it in the oven for 25 minutes. After that, take the dish out (careful, it’s hot!), remove the foil, and put it back in for another 10 minutes, uncovered. This final blast of heat will give you those gorgeous, bubbly, golden-brown cheesy tops we’re all dreaming of.
- The Hardest Part: Letting Them Rest: I know, I know. It smells incredible and you want to dive right in. But trust me on this one. Let the peppers cool for about 5-10 minutes before serving. This allows the filling to set slightly, so when you scoop one out, it holds its beautiful shape and doesn’t scatter all over the plate. It’s worth the wait, I promise!
Plating Up & Serving with Style
How you serve these is half the fun! For a super-easy family-style meal, just place the baking dish right in the middle of the table and let everyone dig in. For a more plated look, I love using a wide, shallow bowl. Carefully place one or two pepper halves in the center, and if any of that delicious filling spilled out during baking, spoon it right around the sides. A final flourish of fresh chopped parsley or a sprinkle of flaky sea salt makes it look like it came from a fancy restaurant. Serve it with a simple side salad with a zippy vinaigrette to cut through the richness, or just some crusty bread to soak up every last bit of sauce. Perfection!
Ride a New Flavor Wave: Recipe Variations
The fun doesn’t stop here! This recipe is a blank canvas for your cravings. Here are a few of my favorite twists:
- Tex-Mex Fiesta: Swap the Italian seasoning for 1 tbsp of taco seasoning. Use a Mexican blend cheese and top with fresh cilantro, a dollop of sour cream, and a squeeze of lime after baking.
- Mediterranean Magic: Use ground lamb instead of beef, and swap the rice for ½ cup of cooked quinoa. Add a handful of chopped spinach and some crumbled feta cheese to the filling.
- Pizza My Heart: Mix a ¼ cup of chopped pepperoni into the filling and use mozzarella cheese. After baking, drizzle with a little warm marinara sauce.
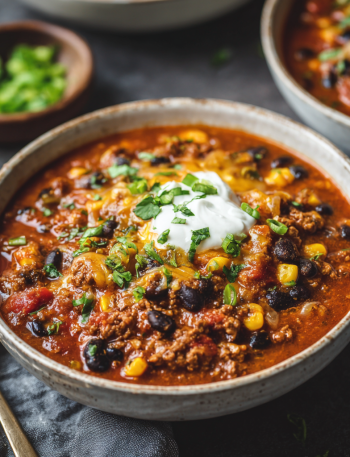
- “Clean Out the Fridge” Version: Got some cooked quinoa, a handful of corn, or some black beans? Throw them in! This recipe is endlessly adaptable.
Isla’s Chef Notes & Kitchen Confessions
This recipe has been on quite a journey with me. The first time I made it for my now-husband, I was so nervous I forgot to put the cheese on top. I served him naked, albeit delicious, stuffed peppers. He took one bite, looked at me, and said, “This is incredible… but where’s the cheese?” We still laugh about it. Now, I always double-check my cheese layer!
Over the years, I’ve learned a few things. If your peppers are particularly large or thick-walled, you can blanch them for 3-4 minutes in boiling water before stuffing to ensure they get perfectly tender in the oven. And that “extra filling” I mentioned? That’s my favorite part. I fight my kids for the crispy, cheesy bits that get baked onto the edges of the dish. It’s the cook’s treat, and you’ve earned it!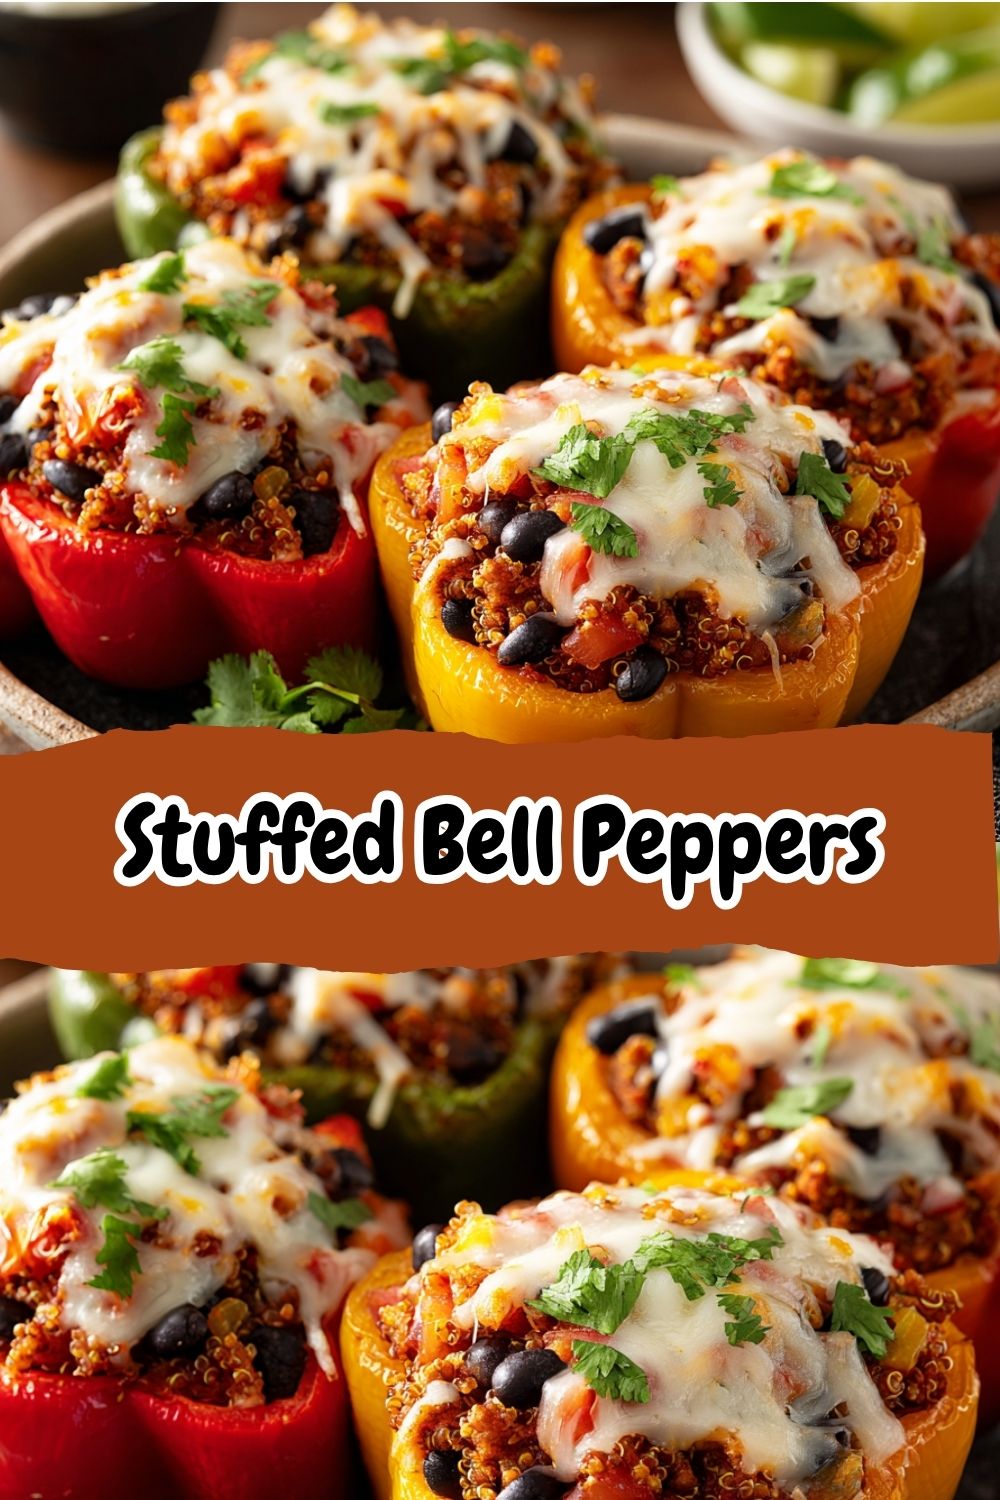
Your Questions, Answered! (FAQs & Troubleshooting)
I’ve made these peppers a zillion times and have answered just as many questions from the BiteTide community. Here are the most common ones!
Q: My peppers are still a bit firm/crunchy after baking. What happened?
A: No worries! This usually means your pepper halves were particularly sturdy. The fix is easy: just cover them back up with the foil and pop them in the oven for another 5-10 minutes. Next time, look for peppers with thinner walls, or give them a quick blanch (a 3-minute dip in boiling water) before stuffing.
Q: Can I make these ahead of time and freeze them?
A> Absolutely! This is one of their best features. Assemble the peppers completely (through step 5), but do not bake them. Instead, wrap the whole dish tightly in plastic wrap and then foil, and freeze for up to 3 months. When you’re ready, bake from frozen, covered, for about 45-50 minutes, then uncover and bake for another 10-15. You may need to add a few minutes to the final bake time to get the cheese perfectly golden.
Q: My filling turned out a bit dry. How can I prevent that?
A> A dry filling is usually a sign that the rice soaked up too much moisture. The solution is twofold: 1) Make sure your tomato sauce is, well, saucy! If it’s super thick, add a tablespoon or two of water or beef broth to the filling. 2) The tight foil cover during the first part of baking is non-negotiable—it traps steam and keeps everything moist.
Q: Can I use uncooked rice instead of cooked?
A> I don’t recommend it for this specific “quick” version. Uncooked rice needs more liquid and a longer cooking time to become tender, which would throw off our perfect 35-minute bake time and likely result in overcooked peppers. Using pre-cooked rice is our budget and time hack!
Quick Nutrition Breakdown
Please note: This is an approximate estimate based on the specific ingredients listed and can vary greatly based on the brands and substitutions you use.
- Calories: ~320
- Protein: 22g
- Carbohydrates: 15g
- Fat: 18g