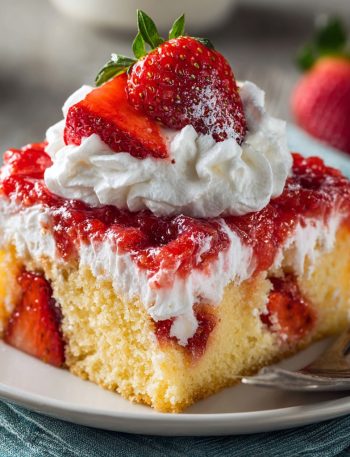
Strawberry Poke Cake: The No-Fuss Dessert That Steals Every Show Hey there, friend! Isla here, from BiteTide. Let’s talk about …
Bite Tide
Bite Tide
Strawberry Poke Cake: The No-Fuss Dessert That Steals Every Show Hey there, friend! Isla here, from BiteTide. Let’s talk about …
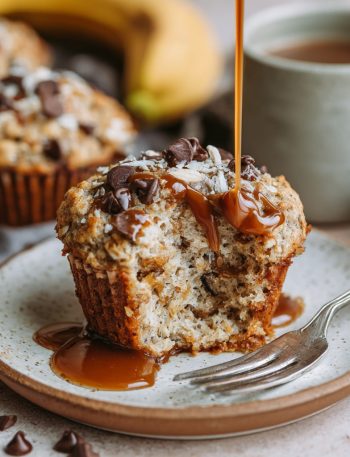
Protein Banana Muffins: Your New Secret Weapon for Busy, Delicious Mornings Raise your hand if your morning routine feels like …
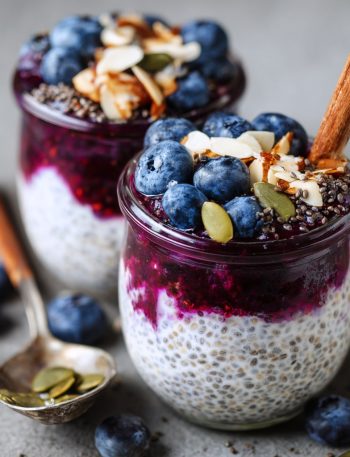
Blueberry Chia Pudding Parfait – Nourishing, Creamy & Protein-Packed Hey friend! Isla here from BiteTide. Have you ever had a …
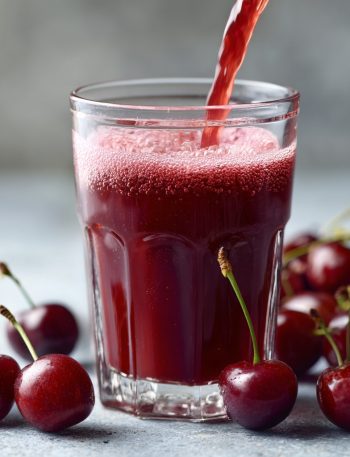
Struggling to Catch Those Zzz’s? Let’s Talk About a Juicy Little Secret Hey friend, come on in! Isla here. Can …

Greek Yogurt Chicken Salad: Your New Favorite Healthy Hack Hey there, flavor friend! Have you ever stood in front of …

Chicken Caesar Smash Tacos: Your New Favorite 20-Minute Dinner Hey there, flavor friend! Let’s be real for a second. Some …
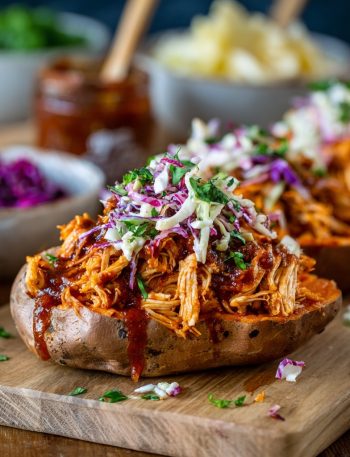
Let’s Taco ‘Bout Stuffed Sweet Potatoes… Wait, Wrong Recipe! (Just Kidding, This is Even Better) Picture this: it’s one of …
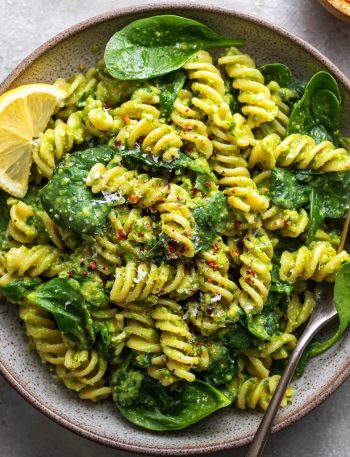
Creamy Avocado Spinach Pasta: Your New 15-Minute Flavor Fix Hey there, friend! Isla here from BiteTide, waving at you from …
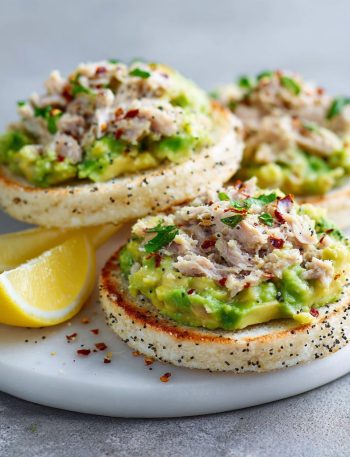
The Snack That Saved My Busy Days: High-Protein Avocado Tuna Rice Cakes Hey there, friend! Come on in, the kitchen’s …
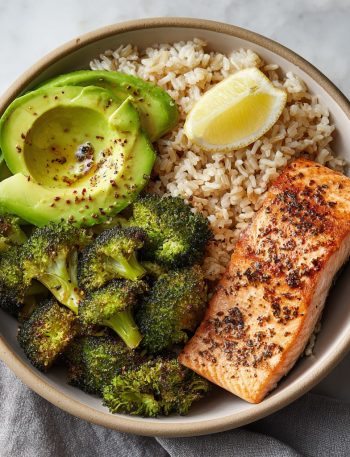
Salmon Brown Rice Bowl: Your New Go-To for Simple, Wholesome Nourishment Hey there, friend! Isla here, from my cozy kitchen …