 Dive Into a Dreamy, No-Bake Rainbow: Your New Favorite Treat Awaits!
Hey there, flavor friend! Isla here, waving from my flour-dusted kitchen. Have you ever had one of those days where you desperately need a little sparkle? A moment of pure, unadulterated joy that you can literally taste? Maybe it’s for a kiddo’s birthday party that sneaked up on you. Perhaps it’s a bake sale that needs a “wow” factor, or maybe you just want to turn an ordinary Tuesday into something magical. Whatever the reason, I’ve got you covered.
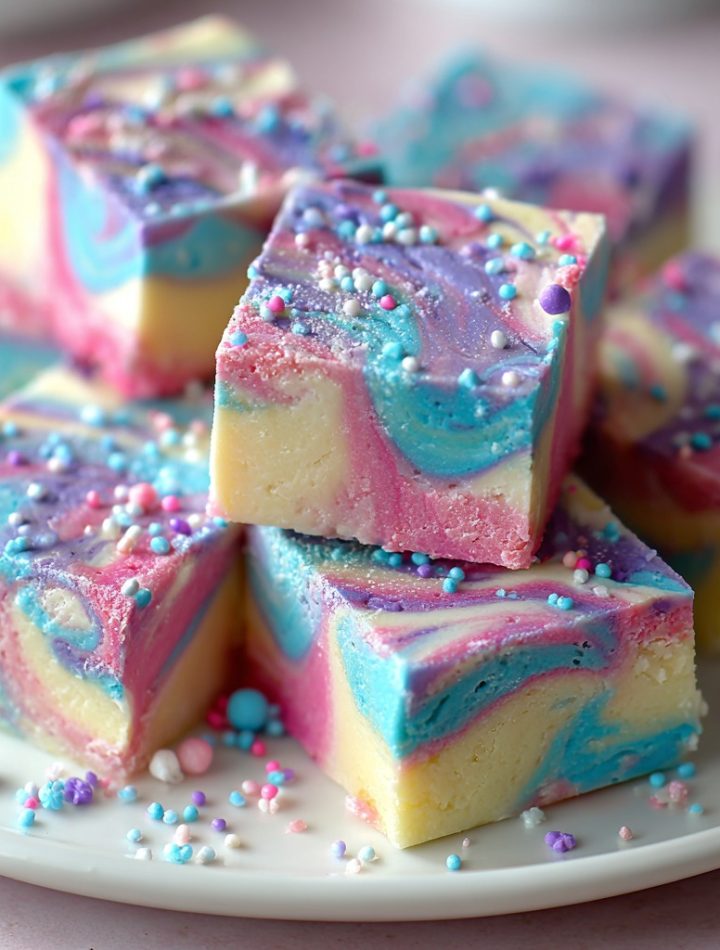
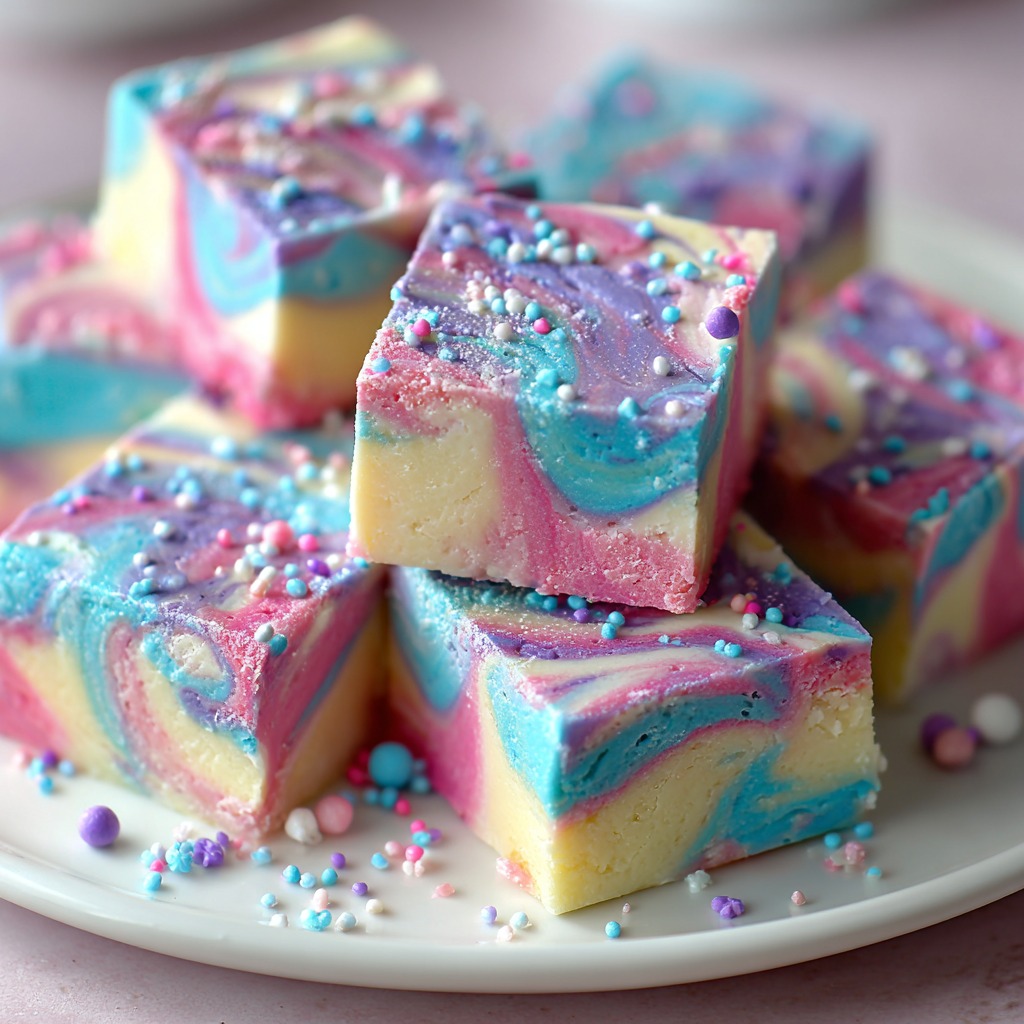
Today, we’re making magic—no wand required, just a bowl and a spoon. We’re whipping up my legendary No-Bake Unicorn Fudge. Imagine the creamiest, sweetest fudge you’ve ever tasted, swirled with cheerful pastel colors and covered in a confetti explosion of sprinkles. It’s a total showstopper that looks like it came from a fancy bakery, but the secret? It’s embarrassingly easy. We’re talking 20 minutes of active fun, zero oven time, and the result is pure, sliceable happiness.
This recipe is the embodiment of everything I believe in at BiteTide: maximum flavor and fun with minimal fuss. It’s perfect for cooking with little helpers (sprinkle duty is a coveted job!), amazing for gifting, and guaranteed to make you the hero of any potluck. So, tie on your apron, clear a little counter space, and let’s create some edible rainbows together. Trust me, your inner child (and your actual children, if you have them) will thank you!
Print
No Bake Unicorn Fudge : Easy, Colorful & Kid-Friendly Treat
- Total Time: 1 hour 20 minutes
- Yield: About 160 per square 1x
Description
This No Bake Unicorn Fudge is a bright, fun, and totally showstopping treat that’s as easy to make as it is to eat. Creamy, sweet, and bursting with pastel swirls, it’s perfect for birthday parties, homemade gifts, bake sales, or a fun afternoon of cooking with kids. With no oven required, this simple fudge comes together quickly and sets beautifully for sliceable, sprinkle-covered squares of happiness. Add a little magic to your dessert table with this colorful favorite.
Ingredients
800 g icing sugar
100 g softened butter
10 tablespoons sweetened condensed milk
1 teaspoon vanilla extract
Red, blue, and green food colouring
Sprinkles, for decorating
Instructions
Cream the Base:
In a large bowl, cream together the softened butter, condensed milk, and vanilla extract until smooth.
Add the Sugar:
Gradually mix in the icing sugar using an electric mixer. Continue mixing until the texture resembles fine breadcrumbs.
Form the Dough:
Use your hands to bring the mixture together into a smooth ball. If it feels too soft, add a little extra icing sugar.
Color the Fudge:
Divide into three equal portions. Add a few drops of food colouring to each and knead until evenly colored.
Assemble the Swirl:
Place small pieces of each colored fudge randomly into an 18 x 30 cm lined or silicone tray. Press down firmly to combine into one solid layer.
Decorate & Set:
Press sprinkles into the top. Freeze for 1 hour (or refrigerate overnight) until firm.
Slice & Store:
Cut into squares and store in the fridge in an airtight container for up to 5 days.
- Prep Time: 20 minutes
- Category: Dessert
Nutrition
- Carbohydrates: 30g
- Protein: 1g
A Sprinkle of Nostalgia: Where This Rainbow Began
This fudge recipe always takes me right back to my grandma’s linoleum kitchen floor, the one with the little gold flecks. She wasn’t a “unicorn” kind of lady—her specialty was a fierce lemon meringue pie—but she was a wizard with condensed milk and a firm believer that food could be medicine for the soul. One grey, drizzly afternoon when I was about seven and feeling particularly sorry for myself, she plopped a bag of icing sugar on the table and said, “Well, if the sky won’t give us color, we’ll just have to make our own.”
What followed was my first foray into “fudge.” It was messy. There was a pink cloud of sugar that settled on the cat. My hands were stained blue for two days. But the act of kneading color into that sweet dough, of pressing sprinkles into a slab of our own creation, transformed the whole day. That slab of lumpy, ultra-sweet, brilliantly colored fudge tasted like victory and joy. This recipe is that memory, refined and shared with love. It’s proof that a little creativity in the kitchen can turn a mood around and create a memory that sticks—almost as well as sprinkles to sticky fudge!
Gathering Your Rainbow: Ingredients & Insights
Here’s the beautiful part: you likely have most of this in your pantry already! This is simple, staple magic. Let’s break it down.
- 800 g (about 7 ¼ cups) Icing Sugar / Powdered Sugar: This is the foundation. It gives the fudge its structure and smooth, melt-in-your-mouth texture. Chef’s Tip: Sift it if you have time! It prevents lumps and makes mixing so much easier. No sifter? Just give it a good whisk in its bag or bowl.
- 100 g (7 tbsp) Unsalted Butter, Softened: The creaminess factor. Using unsalted lets you control the flavor perfectly. Substitution Tip: For a dairy-free version, a high-quality plant-based butter (the kind that comes in sticks, not tubs) works wonderfully. Just make sure it’s softened.
- 10 tablespoons Sweetened Condensed Milk: The magic glue and the source of that iconic fudge flavor. It adds richness and helps bind everything. Chef’s Insight: Don’t use evaporated milk by accident! They are very different. That leftover condensed milk? Drizzle it over berries or stir it into your iced coffee.
- 1 teaspoon Vanilla Extract: The flavor enhancer. It rounds out the sweetness beautifully. For an extra layer, try vanilla bean paste—you’ll see those gorgeous little speckles!
- Gel Food Coloring in Red, Blue, and Green: This is my #1 pro-tip: Use gel or paste food coloring, not the liquid kind from the grocery store. Gels are more vibrant and you need just a drop or two, so they won’t water down your fudge mixture. We’ll mix red & blue to make purple, and blue & green for… well, more blue/green magic!
- Sprinkles, for decorating: The crown jewels! Use unicorn-themed sprinkles, classic jimmies, quins—whatever brings you joy. The more the merrier.
Creating the Magic: Step-by-Step with Chef Isla
Ready? Let’s do this! I’ll walk you through each step with all my favorite hacks to ensure rainbow success.
- Cream the Dreamy Base: In a large bowl (trust me, the sugar needs room!), use an electric hand mixer or a sturdy wooden spoon to cream together the softened butter, condensed milk, and vanilla. Mix until it’s completely smooth and homogenous. This is the only “wet” part of our mixture, so get it nice and combined. Little Hack: If your butter isn’t quite soft, cut it into cubes and let it sit in the bowl with the condensed milk for 10 minutes. The sugar will soften it up!
- Gradually Add the Sugar: Here’s where the arm workout begins (or you just use your mixer!). Add the icing sugar in about 3-4 batches, mixing on low speed at first unless you want a sugar snowstorm in your kitchen. Once incorporated, mix on medium until the mixture resembles fine, soft breadcrumbs. It should hold together when you pinch it. Chef’s Commentary: If it seems too wet, add a tablespoon or two more sugar. If it’s too dry and crumbly, add a teaspoon of condensed milk at a time. We’re going for Play-Doh consistency!
- Form the Fudge Dough: Ditch the mixer and use your clean hands! This is the fun part. Knead and press the mixture right in the bowl until it comes together into one smooth, pliable ball. It should be soft but not sticky. Pro Tip: If your hands are warm, the butter can melt. If the dough gets greasy, just pop the whole ball in the fridge for 5-10 minutes to firm up.
- Color Your World: Divide the dough into three equal portions. To one, add a few drops of red gel coloring. To the second, add blue. To the third, add green. Now, for the magic: pinch off a bit of the blue dough and mix it with the red to create a purple portion! Do the same with a bit of green and blue to make a turquoise/aqua color. Knead each until the color is even. You should now have a rainbow of dough balls: pink, purple, blue, aqua, and green. Don’t stress about perfection—swirly marbled colors look amazing too!
- Create the Swirl: Line an 18cm x 30cm (approx. 7″x12″) baking tray or dish with parchment paper or use a silicone loaf pan. Don’t have that exact size? Any similar-sized dish is fine! Now, take small, uneven pieces from each color of dough and randomly place them into the tray. Layer them, dot them, make a pattern—have fun with it! Once the bottom is covered, use your fingers, then the flat bottom of a glass or a measuring cup to press firmly and evenly across the entire surface. This melds the colors and creates a solid, smooth layer. The firmer you press, the better it will slice later.
- The Grand Decoration & The Big Chill: Now, shower that top with sprinkles! Pour them on and gently press them in with your palms so they adhere. For the fastest set, pop the tray into the freezer for 1 hour. If you’re not in a rush, the fridge works too—just leave it overnight. This chill transforms it from soft dough to sliceable fudge.
- Slice, Share, and Savor: Lift the fudge out using the parchment paper. Use a sharp knife to cut it into squares or bars. Wiping the knife clean between cuts gives you neat edges. Store your glorious creation in an airtight container in the fridge for up to 5 days (if it lasts that long!).
How to Serve This Edible Sunshine
Presentation is half the fun with this treat! Arrange the squares on a vibrant platter or a cake stand for a party. For gift-giving, stack them in a clear cellophane bag tied with a ribbon, or use a small cardboard gift box lined with parchment. They make the most cheerful homemade present. At home, I keep them in a sealed container in the fridge and let everyone grab a square for a sweet after-school or after-dinner treat. The coolness from the fridge makes them extra satisfying!
Ride Your Own Flavor Wave: Fun Variations
The beauty of this base recipe is its versatility. Once you master the rainbow, try these twists!
- Cookies & Cream Unicorn: Omit the food coloring. Knead in 1 cup of crushed Oreo pieces after mixing. Press into the pan and top with more cookie crumbs.
- Chocolate Rainbow Swirl: Divide the base dough in half. Leave one half white. To the other, add ¼ cup of sifted cocoa powder and an extra tbsp of condensed milk. Make separate colored balls with the white portion, then swirl with chunks of the chocolate dough.
- Fruity Fun: Add different extracts! Use a few drops of raspberry or strawberry extract with your pink dye, orange extract with yellow, and lemon with blue for a “blue raspberry” vibe.
- Nutty & Nice: For a more adult twist, press chopped pistachios, dried cranberries, or toasted almonds into the top instead of (or along with!) sprinkles.
- Gluten-Free Friendly: This recipe is naturally gluten-free! Just ensure your sprinkles are certified gluten-free if that’s a concern.
Isla’s Chef Notes: The Story Behind the Sprinkles
This recipe has seen many iterations in my kitchen! The first time I made it for the blog, I was so excited that I pressed the sprinkles in before the final chill. Big mistake. They all sank into the soft dough and disappeared! Lesson learned: press the fudge solid first, chill until firm, then add a thin layer of condensed milk as “glue” and press the sprinkles on. (Or, just do it my way now and chill immediately after).
I also used to be so precise with my colors, but my nephew, Leo, showed me the joy of just smooshing them together. His “monster mash” version with all the colors swirled into one was a huge hit. So don’t be afraid to play. This fudge is forgiving and fun. It’s evolved from my grandma’s quick fix to a staple in my recipe box for whenever life needs a literal and figurative pick-me-up. The happy dance when you pull it out of the freezer and see those perfect, colorful slices? That never gets old.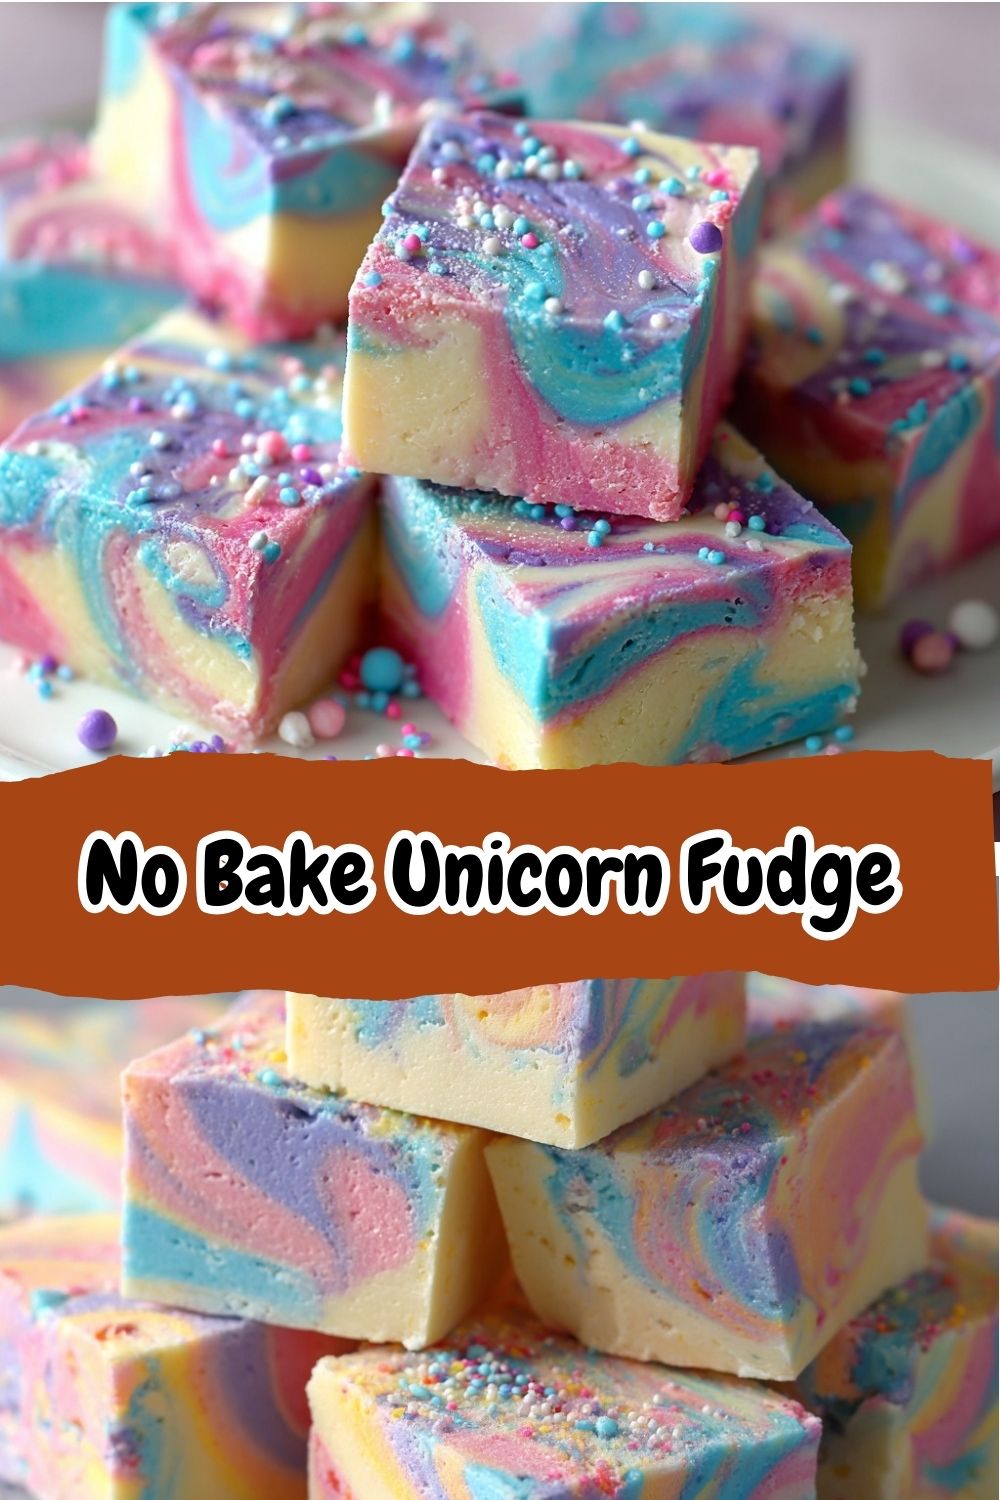
Your Questions, Answered: Fudge FAQ
Q: My mixture is too dry and crumbly! Help!
A: No worries! This usually means you need a touch more moisture. Add sweetened condensed milk, one teaspoon at a time, and knead it in until the dough comes together. Adding too much liquid is hard to fix, so go slowly.
Q: My fudge is too soft and won’t hold its shape when cut.
A: This means it needs more chilling time. Pop it back in the freezer for another 30-60 minutes. Also, ensure you pressed it very firmly into the pan. A denser pack = a cleaner slice. If it’s persistently soft, the butter may have been too warm; it will still taste delicious, just enjoy it with a spoon!
Q: Can I use liquid food coloring?
A: You can, but be cautious. Liquid coloring adds moisture. You’ll need more drops to get vibrant color, which can throw off your dry/wet balance. If it’s all you have, add it drop by drop and be prepared to add a little extra icing sugar if the dough gets sticky.
Q: How far in advance can I make this?
A: Perfectly! It keeps wonderfully in the fridge for up to 5 days in an airtight container. You can also freeze the whole slab or cut squares for up to a month. Thaw in the fridge overnight.
A Quick Nutritional Glance
Let’s be real—this is a celebratory treat! This info is per square (approx. 25 per batch). Calories: ~160, Carbohydrates: 30g, Fat: 4g, Protein: 1g. It’s a sweet, occasional indulgence meant to bring joy. Enjoy every colorful bite guilt-free!
This No-Bake Unicorn Fudge is proof that desserts can be both effortless and enchanting. With its creamy texture, vibrant pastel swirls, and playful sprinkles, it’s a guaranteed hit with kids and adults alike. Perfect for parties, bake sales, or thoughtful homemade gifts, this recipe makes creating something special feel simple and fun. Try it once, get creative with flavors, and enjoy a little bit of magic in every bite.