
Mini Maple Pecan Cheesecakes: Your New Favorite Bite of Fall
Hey there, friend! Isla here from BiteTide, and I am just buzzing with excitement to share this recipe with you today. Have you ever had one of those dessert cravings that hits you like a wave? You want something decadent, something that tastes like a hug from the inside, but maybe you don’t want to commit to a whole giant cake. Or maybe you’re hosting a little get-together and want to serve something that looks effortlessly elegant without you spending the whole night in the kitchen. Well, my friend, I have the absolute perfect solution: these Mini Maple Pecan Cheesecakes.
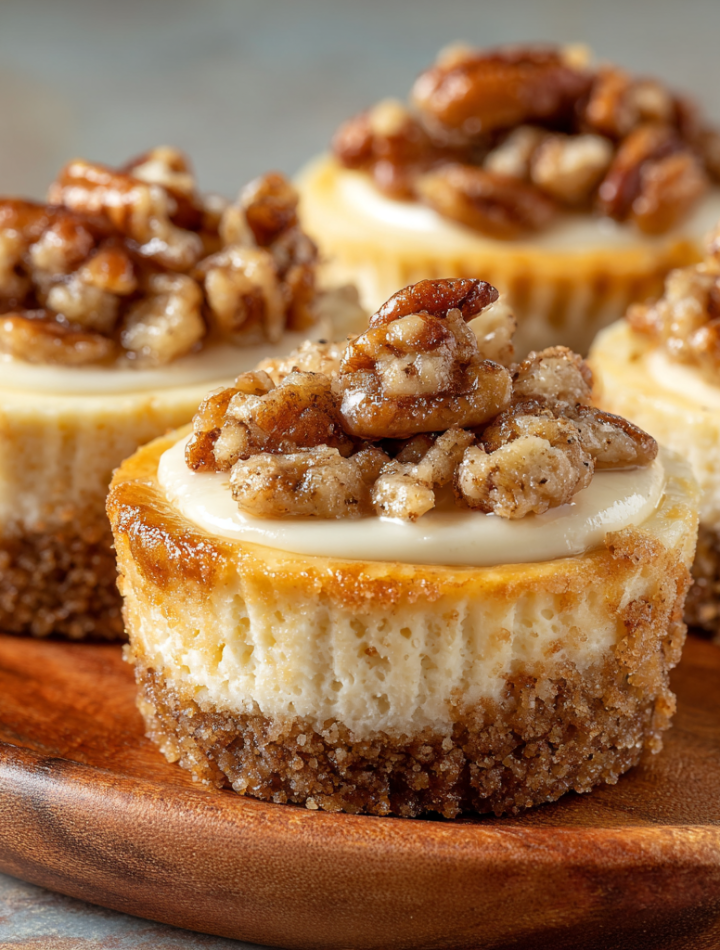
Imagine this: a buttery, nutty crust that gives you that perfect little *crunch*. A filling that’s impossibly creamy, sweetened with rich, amber-hued maple syrup instead of plain sugar, giving it this warm, autumnal depth. And then, the grand finale—a topping of crunchy, caramelized pecans with just a whisper of sea salt that makes every single flavor pop. It’s a symphony of texture and taste in one perfect, bite-sized package.
The best part? They are shockingly easy to make. We’re talking no water bath, no fussy springform pan, and no cracking worries. These mini marvels are forgiving, fun, and come together faster than you can say “is it dessert time yet?”. So, grab your favorite mixing bowl, and let’s whip up a batch of pure, unadulterated joy. Trust me, your kitchen is about to smell incredible, and your taste buds are in for the ride of their lives!
Print
Mini Maple Pecan Cheesecakes
- Total Time: ~1 hr 40 mins
- Yield: 12 mini cheesecakes 1x
Description
Creamy, nutty, and sweetened with rich maple syrup—these mini cheesecakes are fall dessert perfection in bite-sized form. A buttery pecan crust, smooth maple filling, and crunchy toasted topping make every bite pure indulgence. Elegant enough for entertaining, easy enough for every day.
Ingredients
Crust:
1 cup graham cracker or pecan cookie crumbs
2 tbsp finely chopped pecans
3 tbsp melted butter
1 tbsp maple syrup
Filling:
8 oz cream cheese, softened
1/4 cup sour cream
1/4 cup pure maple syrup
1 egg
1/2 tsp vanilla extract
Topping:
1/4 cup chopped pecans
1 tbsp maple syrup
Instructions
Preheat oven to 325°F (165°C). Line a mini muffin pan with liners or use a silicone mold.
Mix crust ingredients and press a heaping teaspoon into each cup. Bake 5 minutes.
Beat cream cheese until smooth. Add sour cream, maple syrup, egg, and vanilla. Mix until creamy.
Spoon filling over crusts. Bake 15–18 minutes until set. Cool completely.
Toast pecans with maple syrup and a pinch of salt in a skillet until caramelized.
Top cooled cheesecakes with pecan mixture. Chill before serving.
- Prep Time: 20 mins
- Cook Time: 20 mins
- Category: Dessert
Nutrition
- Calories: 180
- Sugar: 7g
- Fat: 14g
- Carbohydrates: 10g
- Protein: 3g
A Sweet Slice of Memory
This recipe takes me right back to my grandma’s cozy kitchen in my little coastal hometown. Her name was Elara, and she was a force of nature with a wooden spoon and a jar of local maple syrup. Every fall, when the air turned crisp and the leaves started to blaze, she’d declare it “Baking Season.”
One particular memory stands out. I was probably ten, perched on a wobbly stool at her counter, “helping” her make a large pecan pie cheesecake for a town potluck. I was in charge of stirring the pecans for the topping, and I remember being so mesmerized by how the maple syrup transformed them into glossy, fragrant little jewels. Of course, I also remember “accidentally” spilling a few extra pecans into the pan, which she always pretended not to notice. She’d just wink and say, “A little extra joy never hurt anyone, Isla-girl.”
These mini cheesecakes are my modern, personal-sized tribute to her. They capture that same magic—the toasty pecans, the rich maple, the creamy filling—but in a way that’s perfect for sharing with friends, just like she did. Every time I make them, I feel that same warmth and happiness, and I hope they create some beautiful memories in your kitchen, too.
Gathering Your Flavor Crew
One of my core kitchen beliefs is that understanding your ingredients makes you a more confident, creative cook. So let’s break down this dream team and why each one is a rockstar in this recipe. I’ve also included my favorite swaps so you can make this work with what you have!
For the Crust:
- 1 cup graham cracker or pecan cookie crumbs: This is your foundation! Graham cracker crumbs give a classic, honey-kissed flavor. But if you really want to double down on the nutty theme, using crumbs from pecan sandies or biscoff cookies is a GAME CHANGER. It adds so much extra depth.
- 2 tbsp finely chopped pecans: We’re adding whole pecans to the topping, but putting a few right in the crust ensures you get that pecan flavor in every single layer. No sad, plain crusts here!
- 3 tbsp melted butter: This is the glue that holds our crunchy base together. Use unsalted so we can control the salt level. For a dairy-free version, coconut oil works beautifully.
- 1 tbsp maple syrup: Adding a touch of syrup to the crust sweetens it just enough and helps it caramelize slightly in the oven for that perfect hold-together texture.
For the Filling:
- 8 oz (one block) cream cheese, softened: This is non-negotiable—it MUST be at room temperature. If it’s cold, you’ll end up with a lumpy filling no matter how long you mix. Plan ahead and pull it out about an hour before you start. Full-fat is best for that ultra-creamy texture, but reduced-fat will work in a pinch.
- 1/4 cup sour cream: The secret weapon! Sour cream (or Greek yogurt) adds a subtle tang and makes the filling incredibly lush and smooth. It also helps prevent over-beating the batter.
- 1/4 cup pure maple syrup: Please, for the love of all that is good, use the real stuff! The imitation syrup just won’t give you that deep, complex flavor. Grade A Amber is perfect. This is our primary sweetener, and it’s what makes these cheesecakes truly special.
- 1 large egg: This acts as the binder, giving structure to our filling as it bakes. Make sure it’s at room temperature too, to avoid seizing up the cream cheese.
- 1/2 tsp vanilla extract: The flavor enhancer. It rounds out the maple and makes the whole thing taste warmer and more well-rounded.
For the Topping:
- 1/4 cup chopped pecans: We’re toasting these to bring out their natural oils and nutty flavor. It’s a quick step that makes a world of difference.
- 1 tbsp maple syrup: We’ll use this to create a simple, sticky glaze for the pecans right in a skillet.
- Pinch of sea salt: Don’t you dare skip this! The flaky salt cuts through the sweetness and makes the maple and pecan flavors absolutely sing. It’s the difference between “yum” and “WOW.”
Let’s Make Some Magic: Step-by-Step
Okay, team! Aprons on, oven preheated to 325°F (165°C), and let’s do this. I’ll walk you through each step with all my favorite chef hacks to ensure your mini cheesecakes are absolutely perfect.
- Prep Your Pan: Line a 12-cup mini muffin pan with paper liners. This is the easiest way to get them out later. If you have a silicone mini muffin pan, even better! You can skip the liners and just pop them out once they’re chilled. Give the liners a quick spritz with baking spray—this ensures zero sticking. Chef’s Hack: If you only have a regular muffin pan, you can use it! Just double the recipe to fill the cups about halfway and adjust the baking time to 18-22 minutes.
- Create the Crust: In a medium bowl, mix your graham cracker (or cookie) crumbs, the 2 tbsp of finely chopped pecans, melted butter, and that 1 tbsp of maple syrup. You’re looking for a texture that holds together when you pinch it. Chef’s Hack: I use a small medicine cup or a tablespoon measuring spoon to press the crumbs into each liner. It creates a nice, even, compact base. You want a heaping teaspoon in each, pressed down firmly. Pop the pan in the oven for 5 minutes. This par-bakes the crust so it stays crisp and doesn’t get soggy from the filling. Set it aside to cool slightly.
- Whip Up the Filling: In a large bowl, beat your room-temperature cream cheese until it’s completely smooth and lump-free. Scrape down the sides of the bowl! This is crucial. Now, add the sour cream and beat until just combined. Stream in the 1/4 cup of maple syrup and the vanilla, mixing on low until it’s silky. Finally, add the egg. Mix on low until the egg is just incorporated. Do not overmix! Overbeating incorporates too much air and can cause the cheesecakes to puff up and crack. Chef’s Hack: For the ultra-silkiest filling, I sometimes mix the egg in by hand with a whisk at the very end. It feels fancy and prevents any chance of overmixing.
- Fill and Bake: Now, spoon your beautiful filling over the warm crusts, filling each cup almost to the top. A small cookie scoop or even a piping bag makes this step super neat and easy. Tap the pan gently on the counter a few times to release any air bubbles. Slide them into the oven and bake for 15-18 minutes. They’re done when the edges look set but the centers still have a very slight jiggle—they’ll firm up as they cool. Chef’s Hack: The toothpick test doesn’t work well for cheesecake. Trust the jiggle!
- The Patient Part: Cooling: Let the cheesecakes cool completely in the pan on a wire rack. I know, the wait is the hardest part! Rushing this can lead to condensation and sogginess. Once they’re room temp, transfer them to the refrigerator to chill for at least an hour, preferably two. This sets the flavor and texture perfectly.
- Make the Topping: While they’re chilling, make your glorious topping. In a small skillet over medium heat, toss the 1/4 cup of chopped pecans with the 1 tbsp of maple syrup and that pinch of sea salt. Cook, stirring constantly, for 2-3 minutes until the pecans are fragrant and the syrup is bubbling and caramelizing. Immediately spread them out on a piece of parchment paper to cool and crisp up.
- The Grand Finale: Once your cheesecakes are chilled and firm, crown each one with a sprinkle of the caramelized maple pecans. Get ready for the compliments to roll in!
How to Serve These Little Beauties
Presentation is part of the fun! You can serve these right in their cute liners on a simple platter. For a real “wow” factor, arrange them on a beautiful cake stand or a slab of slate. If you’re feeling extra, a tiny extra drizzle of maple syrup right before serving looks gorgeous and amps up the flavor. They’re perfect with a cup of hot coffee after dinner, as part of a dessert board, or packed into a lunchbox for a very special treat. They’re self-contained, no-cutting-required perfection!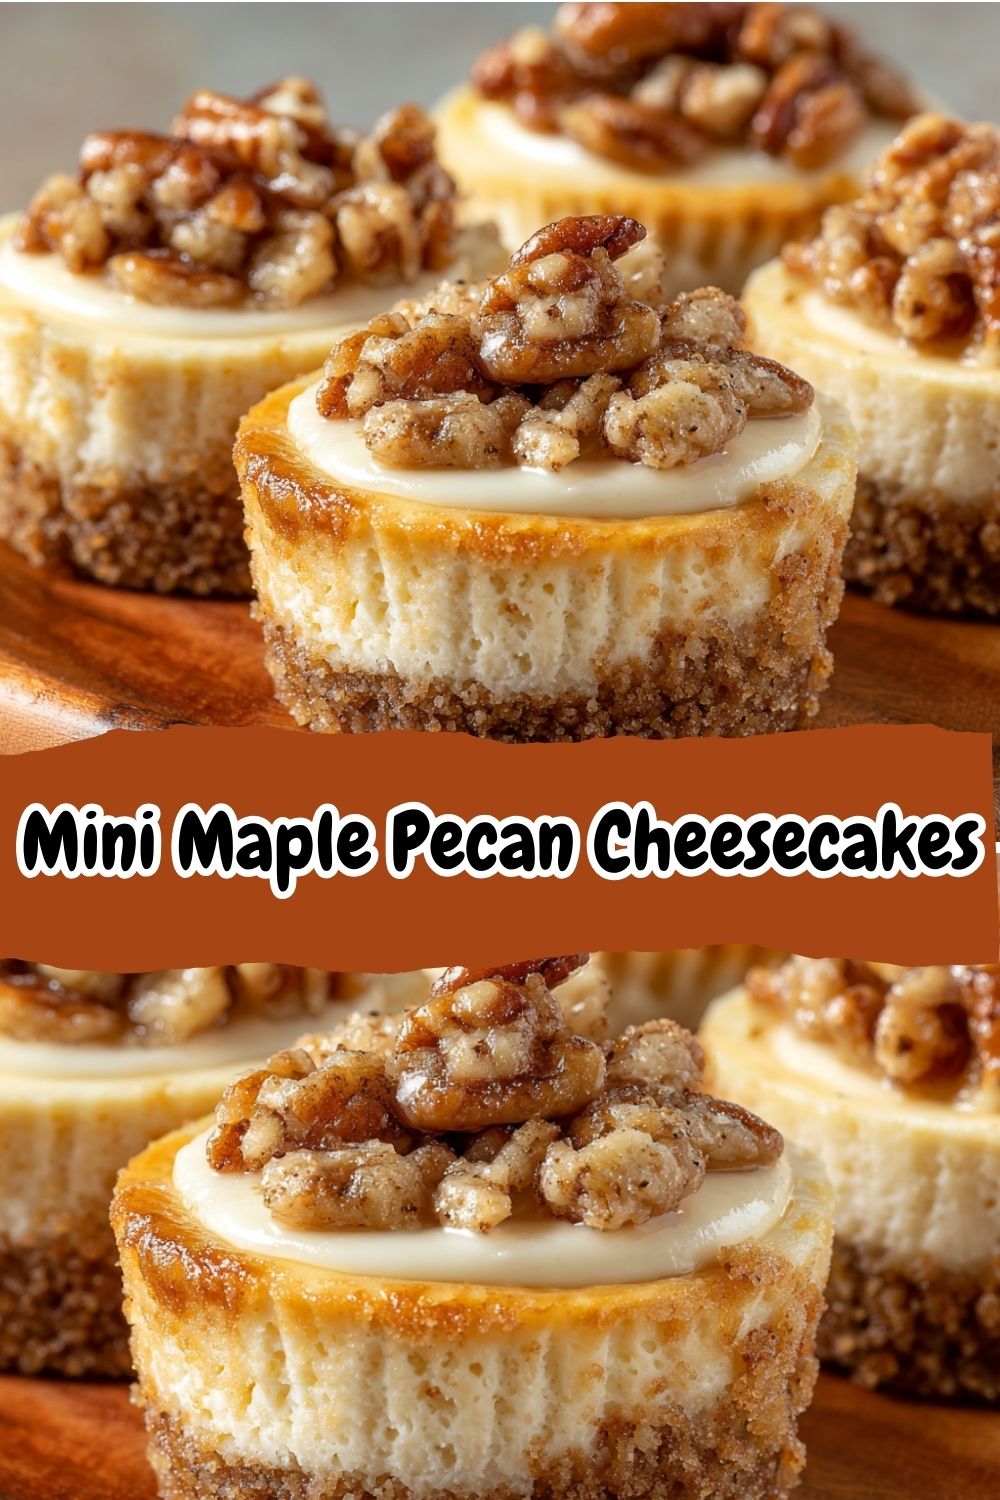
Ride Your Own Flavor Wave: Fun Variations
One of the best things about this recipe is how adaptable it is! Feel free to get creative and make it your own.
- Chocolate Maple: Add 2 tablespoons of cocoa powder to the filling and use chocolate wafer crumbs for the crust. A chocolate lover’s dream!
- Pumpkin Spice: Stir 3 tablespoons of pumpkin puree and 1/2 teaspoon of pumpkin pie spice into the filling for the ultimate fall twist.
- Ginger Snap: Use crushed ginger snap cookies for the crust and add a tiny bit of grated fresh ginger to the filling for a warm, zingy kick.
- Dairy-Free Delight: Use vegan cream cheese, coconut-based yogurt, and a plant-based butter or coconut oil. It works like a charm!
- Bourbon Maple: For a grown-up version, add a tablespoon of bourbon to the filling along with the vanilla. The flavor with the maple is incredible.
Isla’s Chef Notes & Kitchen Stories
This recipe has become a staple in my house, and it’s evolved a bit over time. The first time I tested it, I used all graham cracker crust and found myself wanting more pecan punch—hence the addition of chopped pecans right in the crust! A happy accident, for sure.
I also have a funny story from a photoshoot for these. My cat, Miso, is notoriously curious and has a serious thing for butter. I turned my back for one second to grab my camera, and I turned back to see him on the counter, paw poised to dive directly into the stick of softened butter. Crisis was averted, but now I have a firm “Miso gets locked out during baking photos” rule. The things we do for our art!
The biggest lesson? Don’t stress. So what if your filling isn’t perfectly smooth? The topping will hide it. So what if one cracks a little? It just means it’s homemade with love. The goal is deliciousness, not perfection. These cheesecakes are wonderfully forgiving.
Your Questions, Answered!
Q: Can I make these ahead of time?
A: Absolutely! They are the perfect make-ahead dessert. You can store them, covered, in the fridge for up to 3 days. I’d recommend adding the crunchy pecan topping the day you plan to serve them to keep it nice and crisp.
Q: Why did my cheesecakes crack?
A: The most common culprits are overmixing the batter (which adds too much air) or a sudden temperature change. Make sure all your ingredients are at room temp, mix on low just until combined, and let them cool gradually in the pan. But remember, a little crack is nothing a pile of tasty pecans can’t fix!
Q: Can I freeze them?
A: You bet! Freeze the cheesecakes (without the topping) on a baking sheet until solid, then transfer them to an airtight container or freezer bag. They’ll keep for up to 2 months. Thaw in the fridge overnight and add the topping before serving.
Q: My filling is lumpy! How can I fix it?
A: This almost always happens if the cream cheese was too cold. For a quick fix, you can press the filling through a fine-mesh sieve before adding it to the crusts. It’s a bit of a hassle, but it will save the texture. Lesson for next time: patience is a virtue when waiting for that cream cheese to soften!
Nutritional Information*
*This is an estimate per mini cheesecake, calculated without substitutions.
Calories: ~180 | Fat: 14g | Saturated Fat: 7g | Carbohydrates: 10g | Sugar: 7g | Protein: 3g