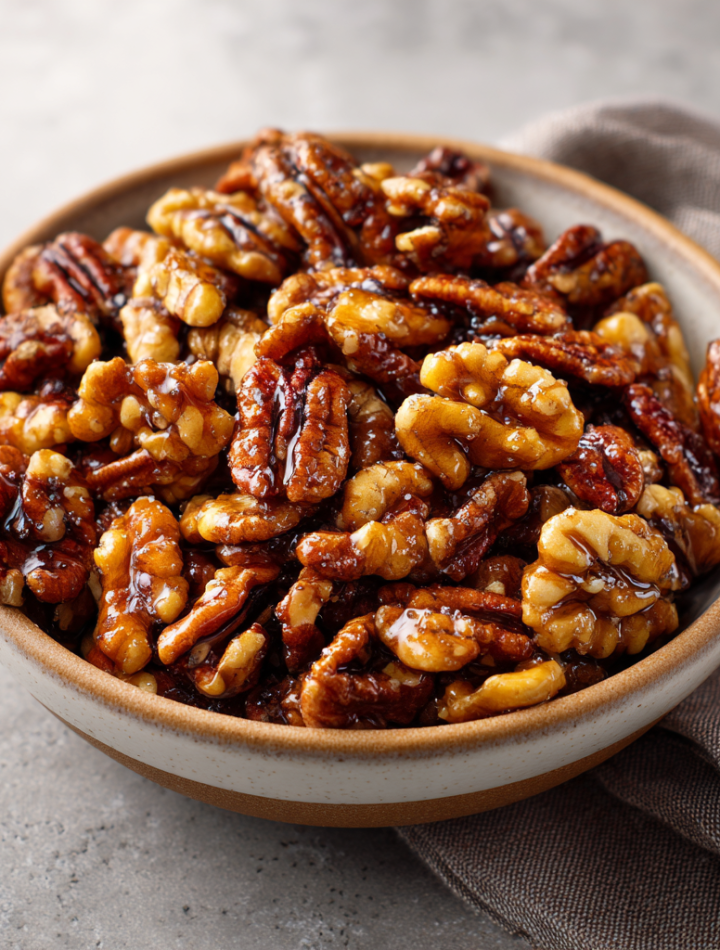
Maple Glazed Nuts: Your New Crunchy Obsession
Hey flavor adventurers! Isla here from BiteTide, and I’ve got a secret weapon that’ll rock your snack world. Imagine this: golden nuts glistening with real maple syrup, kissed with sea salt, and baked until they’re so crunchy they practically sing. These maple glazed nuts? They’re the superheroes of simplicity – ready in 25 minutes flat with just THREE ingredients. No fancy equipment, no chef-level skills, just pure, craveable magic.
Why am I so obsessed? Because they’re the ultimate multitaskers! Toss ’em on your morning oatmeal for a texture party, sprinkle over salads like edible confetti, or stash a jar by your desk for that 3pm energy slump (goodbye, vending machine regrets!). They’re naturally gluten-free, vegan-friendly, and made with wholesome ingredients that won’t leave you crashing. Best part? That maple aroma wafting through your kitchen? It’s basically happiness in scent form. Grab your favorite nuts – let’s make your new snack addiction!
Grandma’s Maple Magic & My First Kitchen Victory
Picture 8-year-old me, standing on a wobbly stool in my grandma’s seaside kitchen, flour on my nose and determination in my eyes. She handed me a jar of Vermont maple syrup – “liquid gold,” she called it – and said, “Make something that tastes like autumn hugs.” I nervously tossed pecans in that syrup, accidentally doubling the salt (oops!), and held my breath as they baked. When that caramelized scent filled the room, Grandma did her signature “happy fork jingle” – her highest praise. They were… perfect. Crunchy-sweet with salty edges, like edible campfire coziness.
Those nuts became our tradition. We’d make batches during stormy coast winters, gifting jars tied with twine to neighbors. Years later, when I burned my first “fancy” dinner party appetizer? I whipped these up in panic mode. Guests raided the kitchen for leftovers! Now, they’re my edible security blanket – proof that sometimes the simplest flavors stick to your heart (and fingers!).
Print
Maple Glazed Nuts
- Total Time: about 20 minutes (including cooling)
- Yield: Approximately 3 cups 1x
- Diet: Vegetarian
Description
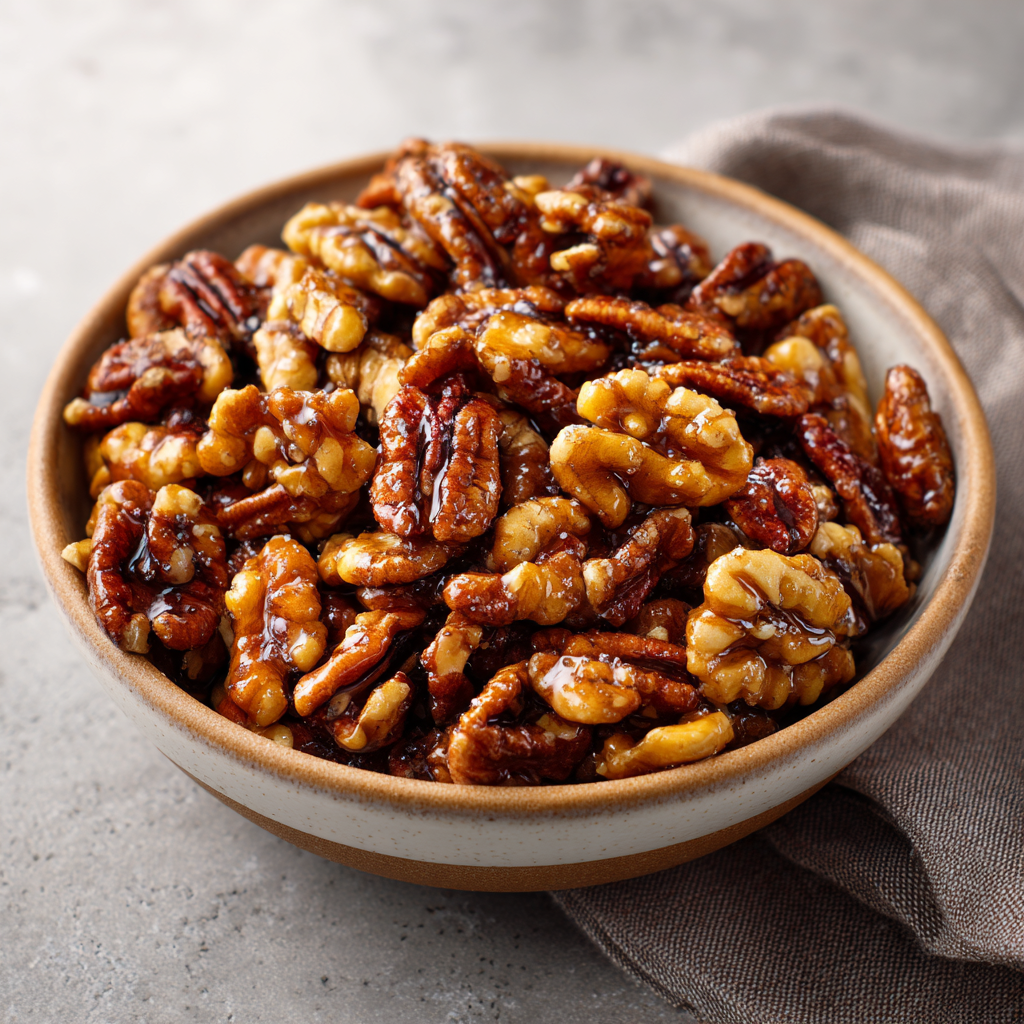
Sweet and crunchy maple-glazed nuts—perfect as a snack, topping, or festive treat. Enjoy a delightful combo of nutty flavor and warm maple glaze.
Ingredients
- 3 cups mixed nuts (pecans, walnuts, almonds, or your favorite mix)
- ¼ cup pure maple syrup
- 1 tbsp unsalted butter (optional, for richness)
- ½ tsp salt (or to taste)
- ½ tsp ground cinnamon (optional, for warmth)
Instructions
- In a large skillet over medium heat, melt butter (if using).
- Add the mixed nuts and toast lightly for 2–3 minutes, stirring occasionally.
- Pour in maple syrup (and cinnamon, if using) and stir continuously for 3–5 minutes until the syrup thickens and coats the nuts.
- Season with salt and mix well.
- Transfer nuts to a parchment-lined baking sheet, spreading them into a single layer to cool and harden.
- Let cool completely—about 15–30 minutes—then break into clusters if needed. Store in an airtight container for up to 1–2 weeks.
Notes
- Use any nut combination you like—pecans, walnuts, almonds, cashews, or a mix.
- The optional butter adds richness, but maple syrup alone works too.
- Add spices like nutmeg, cayenne, or rosemary for extra flavor variations.
- Once cooled, these make lovely toppings for salads, oatmeal, or desserts.
- Prep Time: 2 minutes
- Cook Time: 5 minutes
- Category: Snack / Topping
- Method: Stovetop (skillet)
- Cuisine: American
Nutrition
- Serving Size: ¼ cup
- Trans Fat: 0g
- Cholesterol: 0mg
Keywords: maple glazed nuts, candied nuts, quick snack, homemade glazed nuts, nut topping
Your Flavor Toolkit: Nuts, Magic Syrup & Salt
Gather these pantry heroes! Pro tip: Measure everything before starting – this moves fast once the oven’s hot.
- 2 cups raw nuts (walnuts, pecans, or almonds) – Walnuts bring earthy depth, pecans are buttery royalty, almonds stay extra-crunchy. Chef’s swap: Use a mix! Cashews or hazelnuts work too. Avoid pre-roasted nuts – they’ll burn.
- ¼ cup PURE maple syrup – Grade A amber for balanced flavor. Critical insight: Fake syrup won’t caramelize right! In a pinch, honey or agave work, but expect a different vibe.
- ½ tsp sea salt – Flaky Maldon salt is my crush for texture. Sub tip: Table salt works but use ¼ tsp – it’s saltier! Pink Himalayan? Yes please.
- Optional flavor boosters: A whisper of cinnamon (think cozy sweaters), cayenne (spicy intrigue!), smoked paprika (campfire vibes), or orange zest (sunshine burst!).
Why raw nuts? They toast while glazing, absorbing flavors deeply. Pre-roasted nuts get overly hard. Trust me – texture is everything here!
Let’s Make Some Crunch: Foolproof Steps
Ready for the easiest kitchen win ever? Follow these steps while blasting your favorite playlist (salsa optional but recommended!).
Step 1: Preheat & Prep (5 mins)
Fire up your oven to 350°F (175°C). Line a baking sheet with parchment paper – non-negotiable unless you enjoy chiseling caramelized syrup off pans! Foil works in a pinch but parchment prevents sticking best. No Silpat? It’s okay, but nuts might be slightly less crisp. Pro hack: Lightly spray parchment with oil for extra non-stick insurance.
Step 2: The Coating Tango (3 mins)
In a medium bowl, combine nuts, maple syrup, sea salt, and any spices. Now channel your inner mixologist! Toss with a silicone spatula (or clean hands!) until every nut is glistening. Chef’s secret: Let mixture sit 2 minutes so nuts drink up the syrup. If pools form at the bottom, keep tossing – we want clingy, happy nuts!
Step 3: Bake to Golden Perfection (15-18 mins)
Spread nuts in a SINGLE layer on your sheet. Crowding = steamed nuts (sad!). Bake 8 minutes, then stir/flip with spatula. Why? Even browning! Bake another 7-10 minutes until deeply golden and fragrant. Watch closely after 15 mins – they go from “perfect” to “burnt” fast! They’ll look wet coming out – that’s normal. Pro tip: If adding citrus zest, sprinkle it NOW so it toasts lightly.
Step 4: The Cool-Down (Crucial!) (15 mins)
Transfer parchment to a cooling rack IMMEDIATELY. Break up any clusters gently. Walk away! Seriously – sneaking a hot nut leads to sad, chewy results. As they cool, the syrup hardens into that addictive glass-like crunch. Test one after 15 minutes. Not crunchy? They needed more bake time (note for next batch!).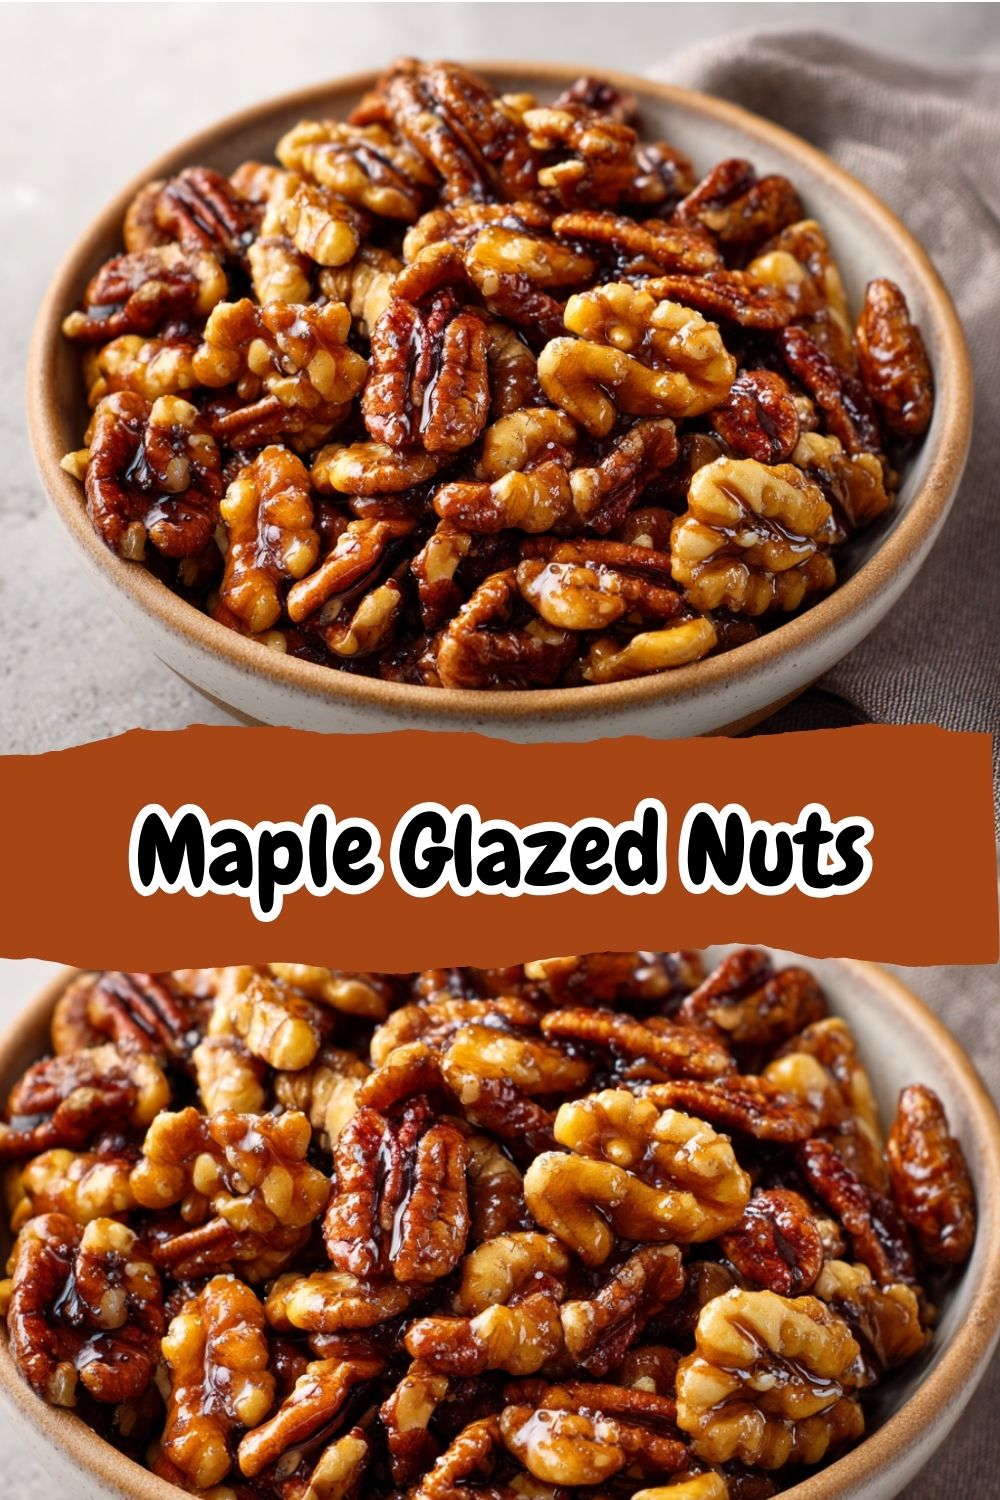
Beyond the Handful: Serving Genius
These aren’t just snacks – they’re flavor grenades! Try these fun ways to deploy:
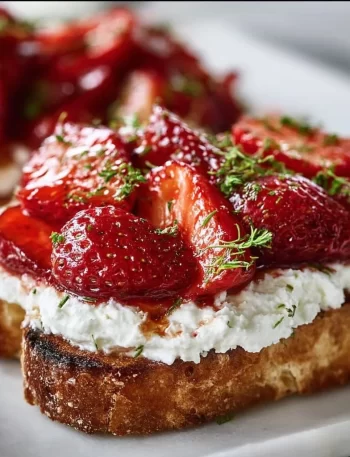
Sweet Moves: Crown vanilla ice cream or yogurt parfaits. Stir into oatmeal with sliced bananas. Bake into blondies or chocolate chunk cookies.
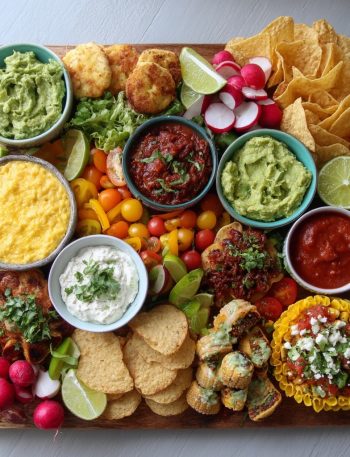
Savory Swagger: Elevate salads (especially kale or apple-walnut ones!). Garnish butternut squash soup. Pair with cheese boards – they’re BFFs with sharp cheddar and brie.
Gift Glory: Jar them up with twine and a cute tag! Add rosemary sprigs for flair. Pro tip: Include serving ideas on the tag – friends will worship you.
Switch It Up: 5 Flavor Adventures
Once you master the base, ride these tasty waves:
1. Spiced Chai: Swap cinnamon for ½ tsp chai spice + orange zest.
2. Smoky Heat: ¼ tsp smoked paprika + pinch cayenne + 1 tsp lime zest.
3. Cocoa-Espresso: Add 1 tbsp cocoa powder + ½ tsp instant espresso to syrup.
4. Rosemary-Black Pepper: 1 tsp minced rosemary + ¼ tsp cracked black pepper (savory dream!).
5. Seed Sensation: Replace 1 cup nuts with pumpkin seeds + sunflower seeds for nut-free crunch.
Dietary note: Already gluten-free/vegan! For lower sugar, try 2 tbsp syrup + 1 tbsp aquafaba.
Isla’s Kitchen Confessions
This recipe’s survived all my kitchen fails! Like that time I subbed in dried cherries mid-bake (syrup-pooled chaos) or when my dog stole a cooling sheet (RIP, pecans). Now I double batches weekly – they vanish faster than cookies! Storage tip: Keep in airtight jars at room temp. If they soften (rare, but humidity happens!), re-crisp in a 300°F oven for 5 minutes. Funny evolution? My first batch used pancake syrup (sorry, Grandma!) and turned into nut-flavored cement. Real maple is worth every penny – let’s toast to that!
Your Maple Questions, Answered!
Q: Can I use honey instead of maple syrup?
A: Absolutely! Honey creates a chewier, more opaque coating. Reduce oven time by 2 mins – it caramelizes faster. Agave works too but makes nuts softer.
Q: Why aren’t my nuts crunchy?
A: Three culprits: 1) Underbaking – go for deep golden color, 2) Skipping the cool-down (PATIENCE, grasshopper!), 3) Storing before completely cool. Fix? Pop them back in the oven for 5 mins, then re-cool.
Q: How long do they keep?
A: In an airtight container at room temp? 2 weeks easily! Freezing isn’t ideal – thawing can make them sticky. Pro tip: Add a silica packet to the jar in humid climates.
Q: Can I make spicy-sweet nuts?
A: My favorite! Add ¼-½ tsp cayenne or chipotle powder with the salt. For “candied bacon” vibes, toss in ½ tsp smoked paprika + ¼ tsp black pepper.
Snack Smart, Crunch Happy!
Per Serving (¼ cup): ~180 calories | 16g fat (good fats!) | 8g carbs | 4g protein | Naturally gluten-free & vegan