
Old-Fashioned Holiday Mints: Your New Favorite Sweet Tradition
Hey there, friend! Isla here. Can you smell it? That crisp, chilly air that can only mean one thing—the holiday season is whispering our names. And for me, the holidays aren’t just about the big feasts or the perfectly golden turkey. Oh no. They’re about the little things. The tiny, sweet moments that live in a candy dish on the counter, passed around after a cozy dinner, or tucked into a festive tin as a gift made with love.
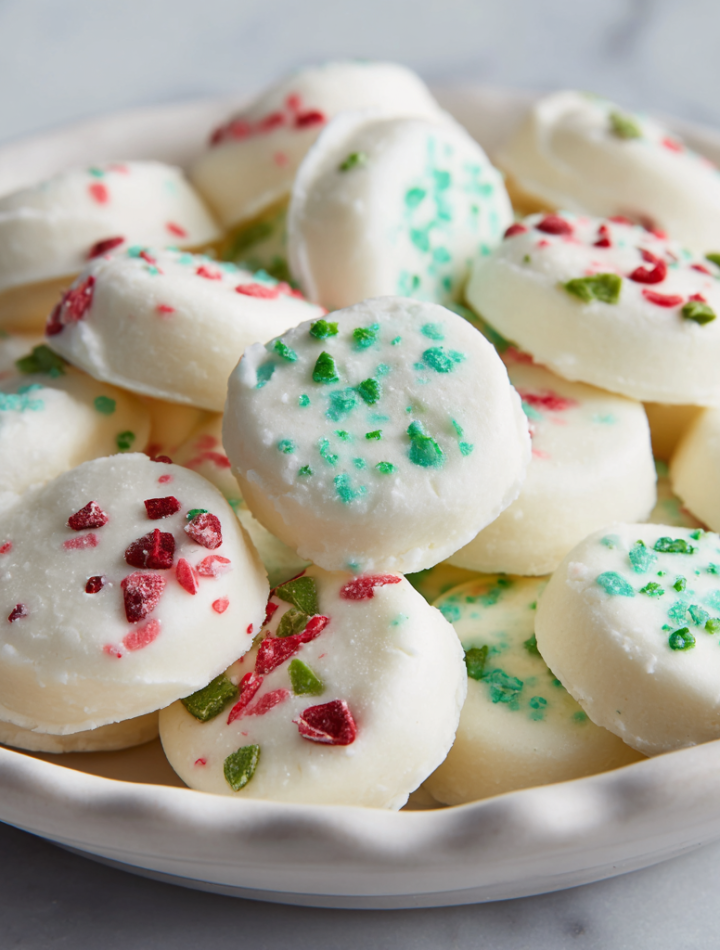
That’s exactly where these Old-Fashioned Holiday Mints come in. If you’ve never had one, imagine this: a soft, creamy, melt-in-your-mouth pillow of sweetness with just the right hint of cool mint. They’re like a little hug for your taste buds, a vintage treat that feels both wonderfully nostalgic and excitingly new. The best part? They require zero baking. Yes, you read that right! In a season where the oven is constantly in use, these no-bake gems are a total lifesaver.
I’ve doubled the classic recipe because, let’s be real, one batch is never enough. They disappear faster than you can say “ho, ho, ho!” Whether you’re hosting a cookie exchange, looking for a simple edible gift, or just want to add a special touch to your dessert table, these mints are your secret weapon. So, put on your favorite holiday playlist, clear a little counter space, and let’s whip up a batch of these irresistible, sweet-as-can-be holiday mints together. Trust me, your kitchen is about to become the happiest place on earth.
A Spoonful of Sugar (and a Dash of Grandma’s Magic)
Every time I make these mints, I’m instantly transported back to my grandma’s warm, flour-dusted kitchen. The week before Christmas was a sacred time. The air was thick with the scent of gingerbread and pine, and my grandma, a formidable woman with a heart of pure gold, would commandeer the entire house for her annual candy-making marathon.
I was her designated “color mixer,” a title I wore with immense pride. While she’d masterfully handle the cream cheese and sugar, I’d be given the momentous task of dividing the dough and adding the food coloring. My small hands would knead and fold until the white dough transformed into vibrant red and green. It was a messy, joyous affair, with powdered sugar clouds settling on everything like edible snow. Grandma would always tell me the secret wasn’t in the recipe, but in the love you kneaded into each piece. We’d talk and laugh for hours, rolling tiny balls and flattening them with the tines of a fork. To this day, the taste of these mints isn’t just minty sweetness; it’s the taste of anticipation, of family, and of my grandma’s unwavering belief that the best memories are made with a little bit of sugar.
Print
Old-Fashioned Holiday Mints – A Sweet Vintage Treat
- Total Time: 25 minutes
Description
Soft, creamy, and melt-in-your-mouth, these holiday mints are a nostalgic classic perfect for festive gatherings, gifting, or a simple after-dinner sweet. This doubled version brings enough to share—and with a few modern flavor twists, you can customize them for any occasion. No baking required, just mix, roll, and chill.
Ingredients
12 oz cream cheese, room temperature
9 cups powdered sugar
1–1¼ teaspoons mint extract (or your favorite extract like lemon, almond, or vanilla)
Food coloring (as desired – red, green, blue, or pastels)
1 cup granulated sugar (for coating)
Optional Twists:
Split the batch and use different extract flavors and colors
Add zest of 1 lemon or orange to the dough for citrus brightness
Mix in 1 tablespoon cocoa powder for a chocolate-mint version
Use gel food coloring for vibrant, non-runny color
Instructions
In a large bowl, beat softened cream cheese until smooth.
Gradually add powdered sugar, mixing until a thick, dough-like consistency forms.
Stir in mint extract and divide dough into smaller batches if using multiple colors or flavors.
Add food coloring to each batch and knead until evenly tinted.
Roll dough into small 1-inch balls, then flatten slightly with a fork or mold with mini cutters.
Roll each piece in granulated sugar and place on parchment-lined tray.
Let mints air dry at room temperature for 12–24 hours until firm to the touch.
- Prep Time: 25 minutes
- Category: Dessert
Nutrition
- Calories: 90
- Sugar: 15g
- Fat: 2g
- Carbohydrates: 16g
Gathering Your Minty Magic: The Ingredients
One of the things I love most about this recipe is its beautiful simplicity. You only need a handful of pantry staples to create something truly magical. Here’s what you’ll need for our doubled batch, along with a few of my chef-y insights to set you up for success.
- 12 oz Cream Cheese, room temperature: This is the heart of the recipe, giving the mints their signature creamy, tangy base. Chef’s Tip: Letting your cream cheese truly soften at room temperature for about an hour is non-negotiable! If it’s even slightly cold, you’ll end up with a lumpy dough that’s hard to mix. If you’re in a pinch, you can gently soften it in the microwave in 10-second bursts, but be careful not to melt it.
- 9 cups Powdered Sugar: Also known as confectioner’s sugar, this gives the mints their structure and sweet, melt-in-your-mouth texture. Substitution Note: There’s no real substitute here, as it’s essential for the right consistency. Be sure to sift it if it’s lumpy for a super smooth dough.
- 1 – 1¼ teaspoons Mint Extract: This is where the flavor lives! I like to use 1¼ teaspoons for a bolder mint flavor. Flavor Fanatic Twist: Don’t be afraid to play with extracts! Almond, lemon, vanilla, or even orange extract are fantastic alternatives. You can also split the batch and make multiple flavors.
- Food Coloring (as desired): Classic red and green are always a hit, but feel free to get creative! Pastels like pink, light blue, or lavender are gorgeous. Pro Hack: I highly recommend using gel food coloring instead of liquid. The color is more vibrant, and you won’t add extra liquid that could make your dough sticky.
- 1 cup Granulated Sugar (for coating): This final roll in sugar gives the mints a delightful, slight crunch and a beautiful, sparkly finish that says “festive!”
Let’s Get Rolling: The Step-by-Step Guide
Ready to create some magic? Follow these steps, and you’ll be a mint-making pro in no time. I’ve sprinkled in all my best tips to make the process smooth and fun!
- Beat the Cream Cheese: In a large bowl (and I mean LARGE – we’re working with 9 cups of sugar here!), beat the softened cream cheese with an electric mixer on medium speed until it’s completely smooth and lump-free. This should only take about a minute. Kitchen Story: The first time I made these, I used a bowl that was way too small. Let’s just say I ended up with a blizzard of powdered sugar all over my kitchen… and my cat. Learn from my mistake!
- Gradually Add the Powdered Sugar: Now, here’s the key to a perfect dough: patience! With your mixer on low speed, begin adding the powdered sugar one cup at a time. Let each cup incorporate fully before adding the next. Chef’s Hack: After about 4 cups, the dough will get very thick. To avoid a sugar-dust explosion and to save your mixer’s motor, you might need to switch to mixing with a sturdy wooden spoon or even your (clean!) hands. The dough is ready when it’s thick, pliable, and not overly sticky—kind of like Play-Doh.
- Flavor and Color: Stir in your mint extract (or your chosen flavor). If you’re making one color, you can add a drop or two of food coloring now and knead it in until the color is even. If you’re making multiple colors, divide the dough into separate bowls first, then add your different colors and extracts to each portion. Knead the color in with your hands—it’s the most effective way! Tip: Wear food-safe gloves if you want to avoid stained hands, especially with deep colors like red.
- Shape Your Mints: Pinch off small pieces of dough and roll them into 1-inch balls. This is a great step to get the kids involved! Then, you have options:
- The Classic Fork Press: Place a ball on a parchment-lined baking sheet and gently press down with the tines of a fork to create a cute crisscross pattern. Press again at a 90-degree angle to make a grid.
- Mini Cookie Cutters: For next-level cuteness, roll a portion of the dough flat (about ¼-inch thick) and use tiny holiday-themed cookie cutters (trees, stars, bells) to cut out shapes.
- The Sugar Coat: Place your granulated sugar in a small bowl. Gently roll each shaped mint in the sugar until it’s lightly coated. This not only adds sparkle and texture but also helps prevent sticking during the drying phase.
- The Waiting Game (Drying Time): Arrange the sugared mints on parchment-lined baking sheets or trays. They need to air dry at room temperature for 12 to 24 hours. You’ll know they’re ready when the outside is firm to the touch. Don’t rush this! This drying time is what gives them that perfect tender-yet-firm texture. They should not be refrigerated during this process.
Sharing the Sweetness: How to Serve
Once your mints are perfectly set, the fun begins! I love piling them high in a beautiful ceramic bowl or a vintage candy dish as a centerpiece for holiday parties. They’re the perfect little “palate cleanser” to set out after a big dinner. For gifting, layer them in a cellophane bag tied with a ribbon, or carefully stack them in a festive tin between layers of wax paper. They make a heartfelt, handmade gift that everyone will adore.
Ride the Flavor Wave: Creative Twists
Once you’ve mastered the classic, why not get creative? Here are a few of my favorite ways to mix things up:
- Citrus Sunshine: Swap the mint extract for lemon or orange extract and add the zest of one lemon or orange to the dough. Use yellow or orange food coloring for a bright, sunny treat.
- Chocolate-Mint Dream: Add 1 tablespoon of unsweetened cocoa powder to the dough along with the mint extract for a delightful chocolate-mint combination. You can leave them a natural cocoa color or tint them green.
- Almond Joy: Use almond extract instead of mint and tint the dough a pale pastel blue or leave it white. It tastes like the inside of a fancy chocolate!
- Party Confetti: For a birthday or New Year’s Eve, use vanilla extract and mix in a few tablespoons of colorful sprinkles into the dough itself.
- Dairy-Free Delight: Use a high-quality, firm dairy-free cream cheese alternative to make this recipe vegan-friendly.
Isla’s Chef’s Notes
This recipe has been a living, evolving thing in my kitchen. The first time I made it solo, I was so impatient that I tried to speed up the drying process by placing the trays near a warm oven. Big mistake! The mints started to sweat and lose their shape. I learned the hard way that good things come to those who wait. Now, I see the 24-hour drying time not as a hassle, but as a built-in pause in the hectic holiday rush—a little reminder to slow down and enjoy the moment.
I also used to be a strict “red and green only” traditionalist, but one year I ran out of green and used blue instead. My “winter wonderland” batch with white and blue mints was such a hit that it became a new tradition! So don’t be afraid to make this recipe your own. That’s the true spirit of BiteTide—creativity without rules, and flavor that makes you happy.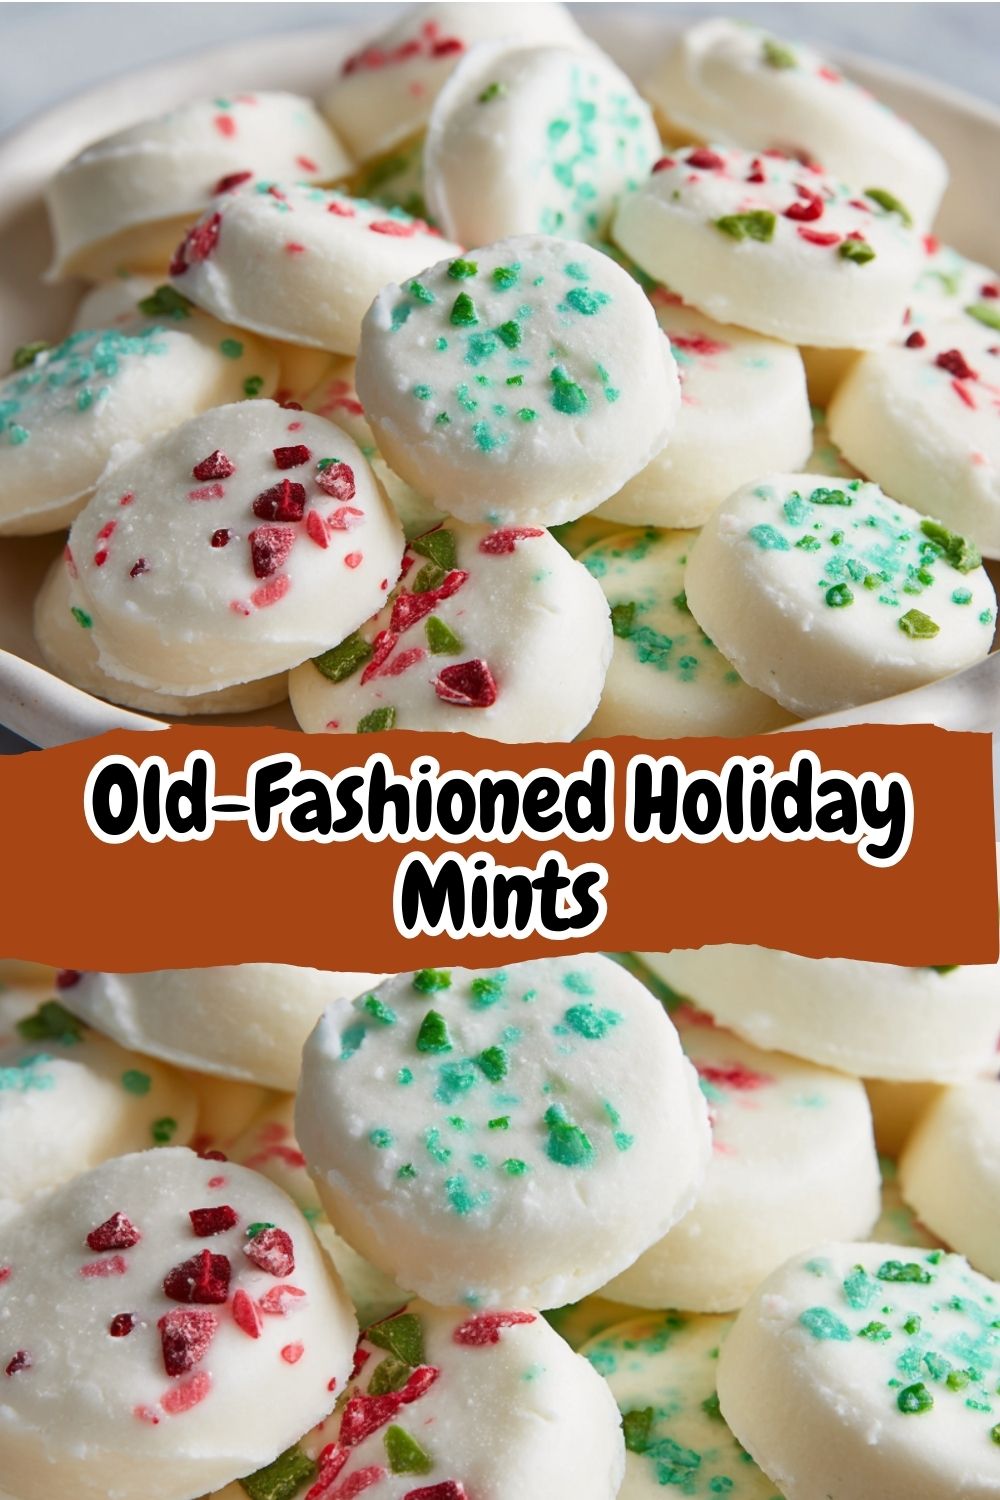
Your Mint Questions, Answered!
Q: My dough is too sticky! What did I do wrong?
A: This usually happens if the cream cheese was too warm or if you added a bit too much liquid food coloring. Don’t panic! Just gradually knead in a little more powdered sugar, a quarter cup at a time, until the dough reaches a Play-Doh-like consistency that doesn’t stick to your hands.
Q: My dough is too dry and crumbly. Help!
A: If your dough is cracking and won’t hold together, it likely has a bit too much powdered sugar or the cream cheese wasn’t soft enough to incorporate fully. The fix is easy: add a teaspoon of softened cream cheese at a time and knead it in until the dough becomes pliable again.
Q: Can I speed up the drying time?
A: I really don’t recommend it. Using a dehydrator or an oven on a very low warm setting can cause the mints to sweat, crack, or develop a crust while staying soft inside. Room temperature drying is the key to their perfect texture throughout. Plan ahead—it’s worth the wait!
Q: How should I store these mints and how long do they last?
A: Once completely dry, store them in an airtight container at room temperature. They will keep beautifully for up to 2 weeks. You can stack them with layers of wax paper in between. Do not refrigerate them after drying, as this can introduce moisture and make them sticky.
Nutritional Information*
*Please note: This is an approximate estimate calculated from an online nutrition tool and is intended for informational purposes only.
Per 2 mints: Calories: ~90 | Carbohydrates: ~16g | Sugar: ~15g | Fat: ~2g