
Introduction
Hey there, flavor chaser! Isla here from BiteTide, your partner-in-crime for turning kitchen chaos into craveable magic. Tell me if this sounds familiar: It’s peak pumpkin season, you’re craving that luscious spiced-creamy goodness, but the thought of wrestling pie dough or babysitting an oven timer makes you want to hide in the pantry with a spoon and a can of whipped cream. I feel you. Deeply. That’s exactly why these No-Bake Pumpkin Cheesecake Bars are my forever fall hero.
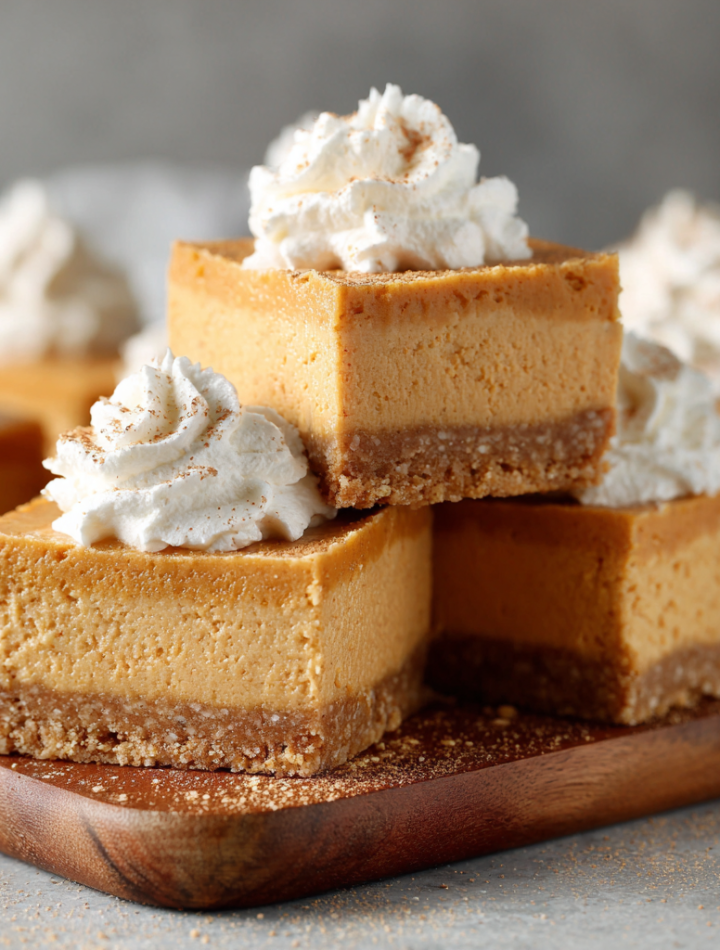
Imagine everything you adore about pumpkin pie and classic cheesecake—the warm spices, the velvety texture, that cozy hug-in-every-bite feeling—but without turning on your oven. Zero baking drama. Just a buttery, crunchy base hugging a cloud of spiced pumpkin cream cheese filling that’s so smooth, it practically whispers sweet nothings. These bars are the ultimate kitchen win: ridiculously easy to whip up, stunning to look at (hello, Instagram glory!), and guaranteed to make your taste buds do a happy dance. They’re perfect for when your oven’s overflowing with Thanksgiving mains, you need a last-minute potluck superstar, or you simply deserve a slice of pure, chilled pumpkin bliss without the fuss. Grab your mixing bowl, my friend—let’s make magic happen!
My Pumpkin Pie Panic (& How These Bars Saved the Day)
Okay, real talk time. These bars weren’t just born from a love of pumpkin; they were forged in the fire of a near-dessert disaster! Picture it: My very first Friendsgiving hosting gig years ago. I was determined to wow everyone with a *from-scratch* pumpkin pie—my grandma’s sacred recipe. The filling was perfect, but the crust? Oh, the crust. It shrunk, it cracked, it looked like the Grand Canyon had taken up residence in my pie plate. With guests arriving in an hour, panic set in. My kitchen looked like a flour bomb went off.
In a moment of sheer, hangry desperation, I grabbed what I had—some graham crackers, cream cheese, leftover pumpkin puree, and a prayer. I smashed the crackers with butter, whipped the filling in a frenzy, shoved it all in a pan, and crossed my fingers as it chilled. The result? Pure serendipity! My friends raved about the “deconstructed pumpkin cheesecake bites” (I totally played it cool, obviously). That happy accident became the foundation for these bars. They remind me that sometimes the best kitchen moments aren’t picture-perfect, but they *are* perfectly delicious. Now, they’re my go-to stress-free fall anthem!
Print
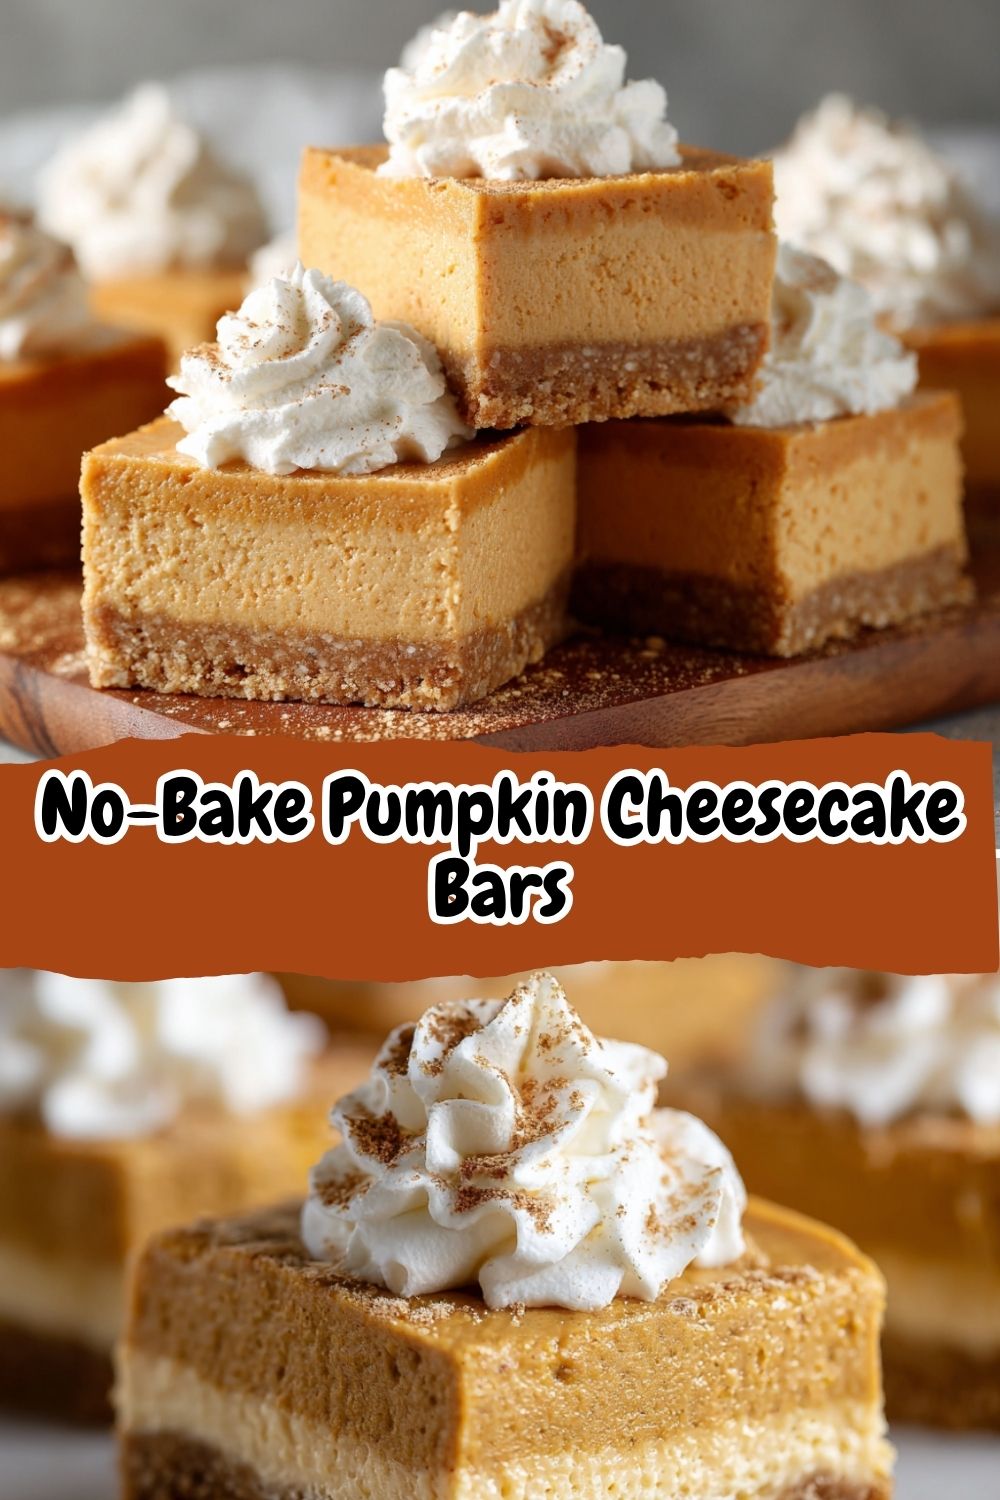
No-Bake Pumpkin Cheesecake Bars
- Total Time: 43 minute
- Yield: makes 12 1x
Description
With a buttery graham-style base and a silky pumpkin cream cheese filling, these bars are everything you love about pumpkin cheesecake in a chilled, sliceable treat. Perfect for fall parties, holiday spreads, or when the oven’s already full. Just mix, layer, chill, and slice your way into dessert bliss.
Ingredients
Crust:
1 1/2 cups almond flour (or graham cracker crumbs if not keto)
1/4 cup melted butter
2 tbsp maple syrup or keto syrup
Pinch of salt
Filling:
8 oz cream cheese, softened
1 cup pumpkin purée
1/2 cup powdered sugar or powdered sweetener
1/2 tsp pumpkin pie spice
1/2 tsp vanilla extract
1 cup whipped cream or whipped topping
Instructions
Mix crust ingredients and press firmly into an 8×8-inch pan lined with parchment. Chill while making the filling.
In a bowl, beat cream cheese, pumpkin, powdered sugar, spice, and vanilla until smooth.
Fold in whipped cream gently until fully incorporated.
Spread filling over chilled crust and smooth the top.
Refrigerate for at least 4 hours, or until firm.
Slice into bars and serve chilled.
- Prep Time: 15 mins
- Cook Time: 4 hrs
- Category: Dessert
Nutrition
- Calories: 210
- Fat: 18g
- Carbohydrates: 7g
- Fiber: 2g
- Protein: 3g
Gather Your Flavor Crew: What You’ll Need
Here’s your simple squad for maximum pumpkin joy! Remember, flexibility is key in my kitchen—no stress, just smart swaps.
For the Buttery Dream Crust:
- 1 1/2 cups almond flour (or graham cracker crumbs): Almond flour gives a gorgeous nutty, tender crunch and keeps things naturally gluten-free. Feeling classic? Swap in crushed graham crackers (about 10 full sheets)!
- 1/4 cup melted butter (or coconut oil): The glue! Melted butter creates that perfect sandy texture. For dairy-free, refined coconut oil works like a charm.
- 2 tbsp maple syrup (or keto syrup): Pure maple syrup adds depth. Need sugar-free? A keto-friendly syrup (like monk fruit blend) is your bestie.
- Pinch of salt: Don’t skip this! It balances the sweetness and makes the flavors pop.
For the Silky Pumpkin Cloud Filling:
- 8 oz cream cheese, softened: CRUCIAL! Full-fat, brick-style cream cheese softened to room temp is non-negotiable for a lump-free, creamy dream. Vegan? Use your favorite dairy-free brick cream cheese.
- 1 cup pumpkin purée (NOT pie filling!): Look for 100% pure pumpkin in a can. Pie filling has sugar and spices already added – we want control! Pro Tip: Squeeze out excess moisture in a paper towel for an extra firm set.
- 1/2 cup powdered sugar (or powdered sweetener): Powdered dissolves seamlessly. For keto, powdered erythritol/allulose blend works perfectly.
- 1/2 tsp pumpkin pie spice: The cozy heart of fall! No store-bought? Make your own: 1.5 tsp cinnamon + 1/4 tsp each ginger, nutmeg, cloves + pinch allspice.
- 1/2 tsp pure vanilla extract: Warmth and depth. Splurge on the good stuff!
- 1 cup whipped cream (or whipped topping): Homemade whipped cream (just heavy cream + a little sweetener) gives the lightest texture. Cool Whip or coconut whipped topping work for stability/convenience.
Let’s Build Your No-Bake Masterpiece: Step-by-Step
Ready for the easiest dessert assembly ever? Let’s do this! Grab an 8×8 inch pan and line it with parchment paper (let some hang over the sides for easy lifting later!).
- Create the Crust Base: In a medium bowl, combine the almond flour (or graham crumbs), melted butter, maple syrup (or keto syrup), and that tiny-but-mighty pinch of salt. Stir like you mean it until it resembles wet sand and holds together when pinched. Chef Hack: Use the bottom of a measuring cup or glass to press the mixture FIRMLY and evenly into the bottom of your prepared pan. This compact layer is your foundation – press it well! Pop the pan into the fridge to chill and set while you make the magic filling. (5 mins, tops!)
- Whip Up the Pumpkin Dream: In a large bowl, beat the softened cream cheese with an electric mixer (or stand mixer) until it’s completely smooth and creamy – no lumps allowed! Scrape down the sides of the bowl. Add the pumpkin puree, powdered sugar (or sweetener), pumpkin pie spice, and vanilla extract. Beat again on medium speed until everything is gloriously combined and silky. Chef Insight: Scrape that bowl down again! Hidden pockets of un-mixed cream cheese are the enemy of smoothness.
- Fold in the Fluff: Time for lightness! Add the whipped cream (or whipped topping) to the pumpkin mixture. Now, put the mixer away. Grab a spatula. This is a FOLDING mission. Gently cut down through the center, scoop underneath, and fold over. Rotate the bowl and repeat. Be patient! You want to incorporate the whipped cream without deflating all that air. Keep folding until no white streaks remain and you have a beautifully light, uniform, pumpkin-hued cloud. Pro Tip: Over-mixing here makes the filling dense. Gentle folds = light and airy bliss.
- Layer & Smooth: Pull your chilled crust out of the fridge. Pour (or scoop) the pumpkin filling over the crust. Use your spatula or an offset spatula to spread it evenly, smoothing the top into a beautiful, flat surface. A little wiggle of the pan helps it settle. Chef Hack: Run the spatula under hot water and dry it quickly for an ultra-smooth top!
- The Big Chill: This is the hardest part – waiting! Cover the pan loosely with plastic wrap or foil. Refrigerate for at least 4 hours, but honestly, overnight is IDEAL. This gives the crust time to fully firm up and the filling to set into that perfect, sliceable cheesecake texture. Resist the urge to peek!
- Slice & Savor: Victory! Use the parchment paper “handles” to lift the whole glorious slab out of the pan. Place it on a cutting board. Dip a sharp knife in hot water, wipe it dry, and slice into bars (I love 9 squares or 12 rectangles). Hot Knife Hack: Wipe the knife clean and re-heat/dry between cuts for super clean edges. Serve immediately, chilled. Prepare for applause!
How to Serve These Pumpkin Beauties
These bars are stunners all on their own, but why not gild the lily? Presentation is half the fun! Place bars on a simple white plate or a rustic wooden board. For a touch of elegance, pipe a tiny dollop of fresh whipped cream on top. A light dusting of cinnamon or pumpkin pie spice adds warmth. Feeling fancy? A drizzle of caramel sauce or a sprinkle of finely chopped toasted pecans or pepitas brings incredible texture and flavor. They’re perfect as-is for a lunchbox treat, or dress them up for your holiday table centerpiece. Serve them straight from the fridge for that perfect, cool, creamy texture!
Make It Your Own: Flavorful Twists & Swaps
One recipe, endless possibilities! Ride your own flavor wave with these easy ideas:
- Chocolate Lover’s Dream: Swap 2 tbsp of the almond flour in the crust for unsweetened cocoa powder. Bonus: Sprinkle mini chocolate chips on top before chilling!
- Ginger Snap Crunch: Use crushed ginger snap cookies instead of almond flour or graham crackers for a spicy, festive crust. Divine!
- Dairy-Free Delight: Use vegan brick cream cheese, coconut oil in the crust, and coconut whipped topping. Just as creamy, totally plant-based.
- Caramel Swirl Sensation: After spreading the filling, dollop 2-3 tablespoons of salted caramel sauce over the top. Use a knife or toothpick to gently swirl it in before chilling.
- Mini Marvels: Press the crust and filling into lined mini muffin tins. Chill and pop out for adorable, single-serve bites – perfect for parties!
Isla’s Kitchen Chronicles: Notes from the Flavor Frontline
Oh, these bars! They’ve seen some things in my kitchen. Remember that Friendsgiving disaster story? Well, this recipe is the glorious phoenix that rose from those ashes. Over the years, it’s become my most requested fall recipe – and the one I tweak the most based on who’s coming over. My keto sister-in-law? Almond flour crust and powdered monk fruit sweetener to the rescue! My nephew with dairy issues? Hello, coconut oil and vegan cream cheese. That’s the beauty – it’s a rock-solid foundation you can build on.
Confession: I *have* tried to rush the chill time. Big mistake. Trying to slice semi-set filling is like trying to herd cats – messy and ultimately futile. Patience, grasshopper! The overnight chill is truly worth it for that perfect, clean slice. And one time, I accidentally used pumpkin *pie* filling instead of puree. Let’s just say it was… aggressively spiced and sweet. We still ate it (topped with unsweetened whipped cream to balance!), but lesson learned: Double-check that can! Now, I always keep extra pure pumpkin in the pantry, just in case. These bars are forgiving, but that’s one swap I don’t recommend!
No-Bake Bar SOS: Your Questions Answered
Let’s tackle those common kitchen curiosities before they become crises!
- “Help! My filling is too soft/lumpy!”
- Too Soft: Did it chill long enough? 4 hours is the *minimum*, overnight is golden. Was your cream cheese truly softened? Cold cream cheese won’t blend smoothly. Did you use homemade whipped cream? Ensure it was whipped to stiff peaks first. If it’s still too