Forget Delivery: Your New Favorite Pizza Bite Is Happening at Home
Raise your hand if this sounds familiar: it’s that time of day (you know the one), and a specific, powerful craving hits. You’re not dreaming of a whole pizza—you’re dreaming of those perfect, poppable, cheesy little bundles of joy. You want something warm, cheesy, infused with that iconic pizza flavor, and you want it now. My friend, you are officially riding the Crazy Puff wave. And I am so, so here for it.
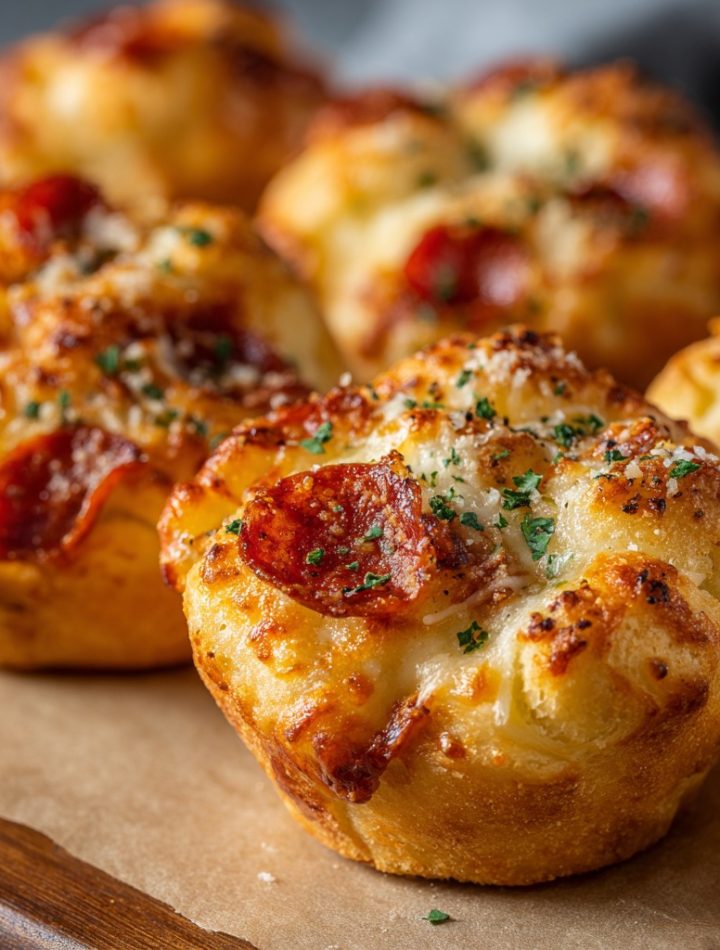
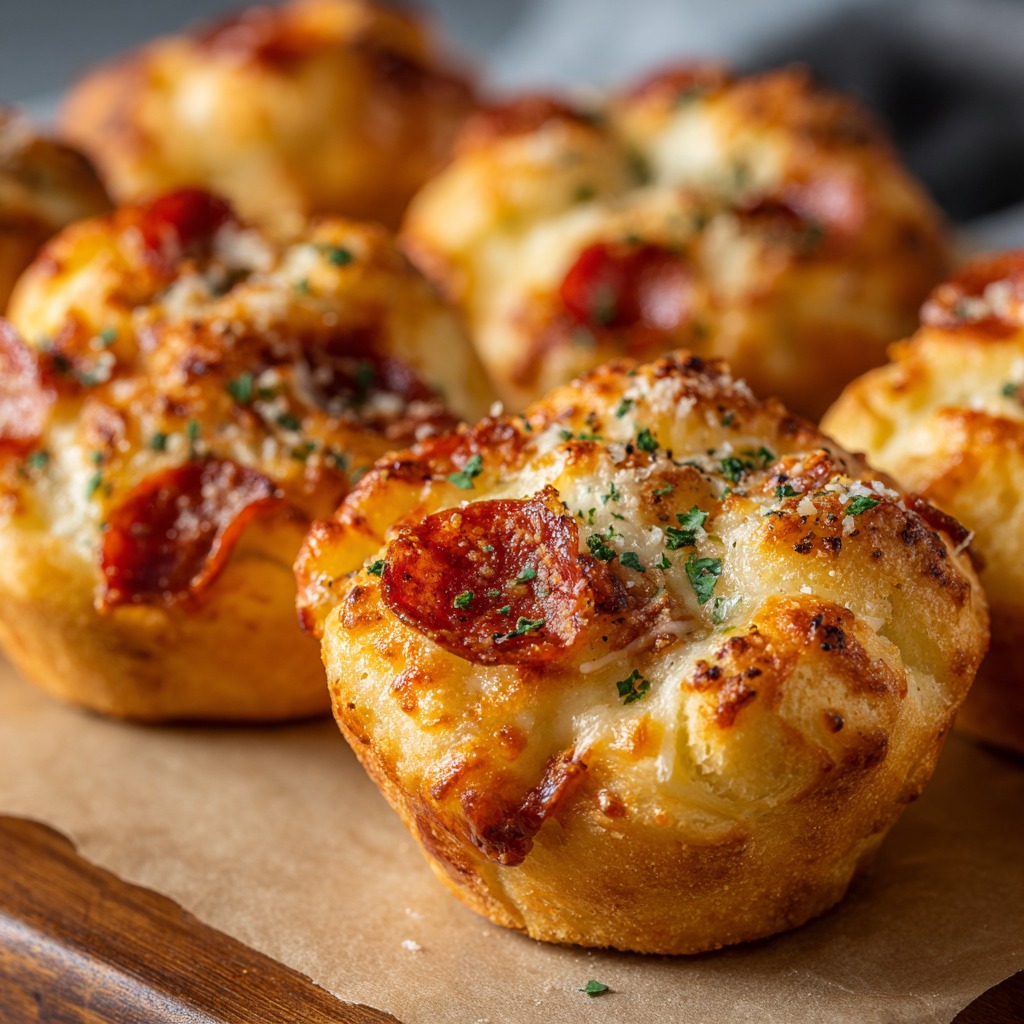
If you’ve ever stood in line at Little Caesars, hypnotized by the Hot-N-Ready sign, you’ve probably been tempted by their Crazy Puffs. They’re these glorious, golden, puffed-up dough pockets, oozing with molten mozzarella and tangy sauce. They are, in a word, genius. But what if I told you the homemade version is not just easy, but better? Brighter sauce, cheesier cheese, and a buttery garlic finish you can customize to your heart’s content. We’re taking that craveable concept and making it our own.
This recipe is the ultimate in “looks like you fussed, but secretly took zero effort.” We’re using a clever shortcut (no judgment here, only celebration!) to get these on your table in about 25 minutes flat. It’s the perfect project for a fun weeknight treat, a guaranteed crowd-pleaser for game day, or just because it’s Tuesday and you deserve a cheesy hug. So, tie on your apron—the fun, non-fussy kind—and let’s make some magic happen. Your kitchen is about to smell amazing.
My First “Pizza Pocket” & The Grandma Rule
This recipe takes me straight back to my grandma’s linoleum-floored kitchen. She was the queen of “making something from nothing,” and her version of a pizza pocket was a piece of leftover bread dough, a smear of her canned tomato sauce, and a tiny nub of cheese, all folded over and pan-fried in a little bacon grease. To my six-year-old self, it was the most exquisite food on earth. The rule was you had to wait exactly one minute after it came out of the pan, or you’d burn the roof of your mouth on the erupting cheese. We called it “Grandma’s Law.”
I still think about that rule every time I pull a tray of these Crazy Puffs out of the oven. That same anticipatory pause, that same glorious, cheesy risk. Food memories are the best kind, aren’t they? They’re not just about taste; they’re about feeling. This recipe captures that same spirit of joyful, simple, cheesy satisfaction. It’s my nod to Grandma’s ingenuity, but with a little extra puff and a garlic-butter finish she would have wholeheartedly approved of (and probably asked for the recipe).
Print
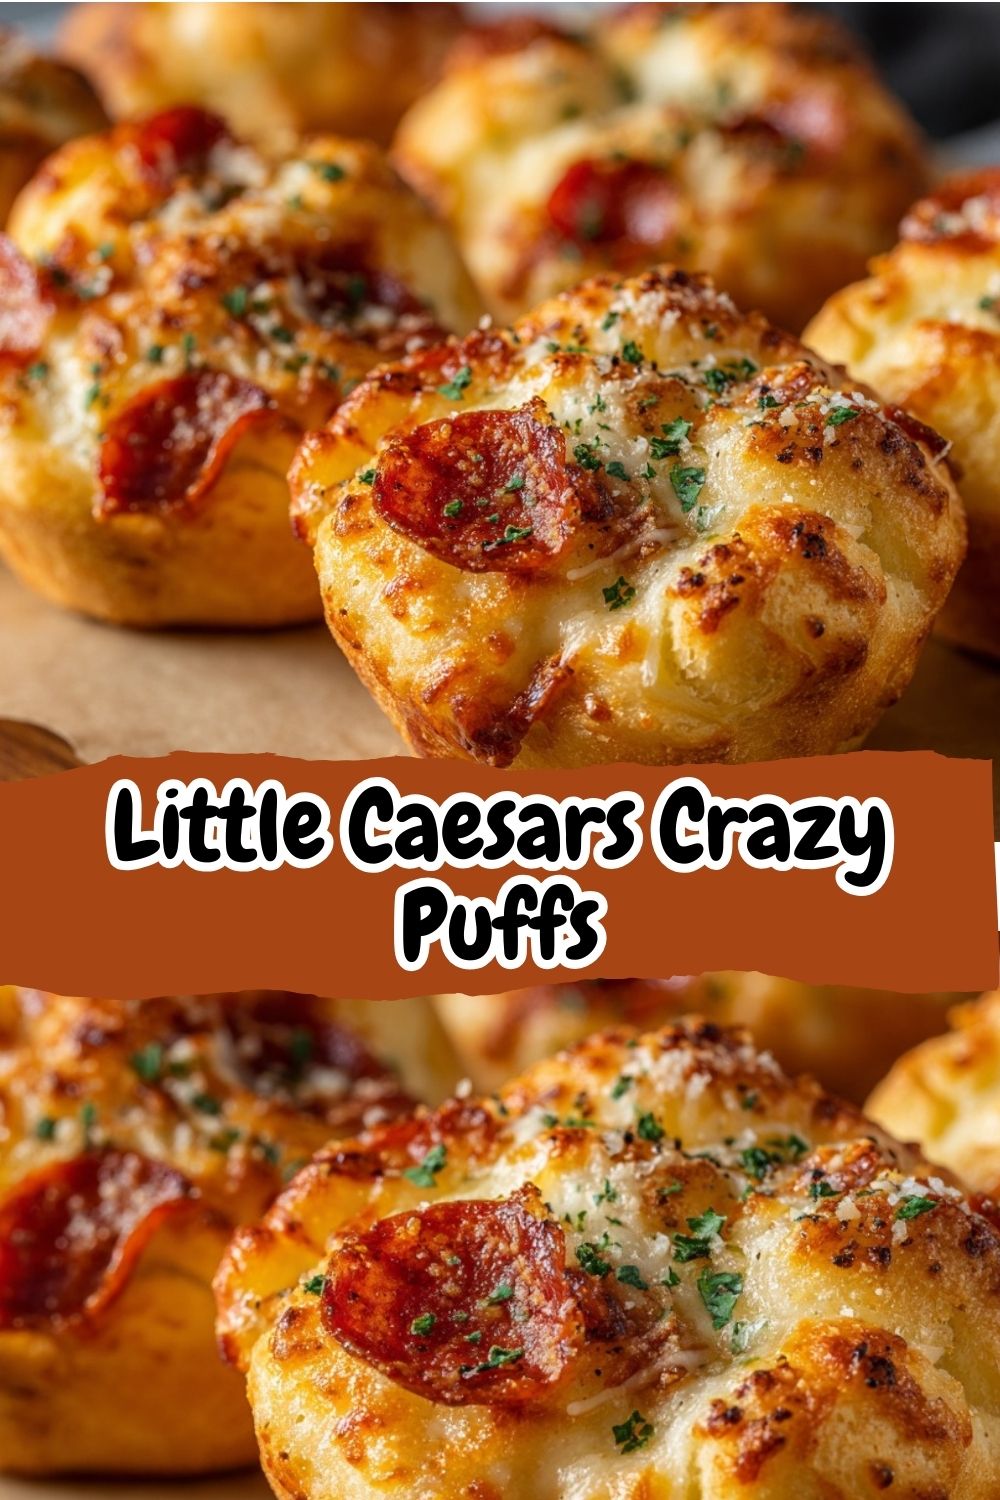
Little Caesars Crazy Puffs (Copycat Recipe) : Cheesy, Puffy & Pizza-Inspired
- Total Time: 45 minutes (including rise time)
- Yield: 12 Crazy Puffs 1x
- Diet: Halal
Description
A copycat homemade version of Little Caesars’ cheesy, pizza‑inspired Crazy Puffs — pizza dough baked in a muffin pan with sauce, pepperoni, and mozzarella cheese for bite‑sized pizza goodness.
Ingredients
- 2 tablespoons butter (for greasing)
- 1 pound pizza dough (store‑bought or homemade)
- 1/2 cup shredded low‑moisture mozzarella cheese
- 1/2 cup shredded Muenster cheese
- 4 ounces pizza sauce
- 4 ounces sliced pepperoni
- 1 teaspoon Italian seasoning
Instructions
- Preheat oven to 425°F and generously butter the cups of a 12‑cup muffin pan. :contentReference[oaicite:0]{index=0}
- Divide the pizza dough into 12 equal portions and roll each into a ball. Place one dough ball in each prepared muffin cup. Cover and let rise slightly. :contentReference[oaicite:1]{index=1}
- In a bowl, combine shredded mozzarella and Muenster cheese. :contentReference[oaicite:2]{index=2}
- Butter the outside of a shot glass and press it into the center of each dough ball to form a well, pressing the dough up the sides of the muffin cup. :contentReference[oaicite:3]{index=3}
- Spoon a small amount of pizza sauce into each dough cup, add a few slices of pepperoni, then top with the cheese mixture. :contentReference[oaicite:4]{index=4}
- Sprinkle Italian seasoning over each filled dough cup. :contentReference[oaicite:5]{index=5}
- Bake for about 15 minutes or until golden brown. Allow to cool slightly before serving. :contentReference[oaicite:6]{index=6}
Notes
- You can substitute or add other toppings like sausage or veggies to customize your puffs. :contentReference[oaicite:7]{index=7}
- Store leftovers in an airtight container in the refrigerator for up to 3 days. :contentReference[oaicite:8]{index=8}
- Reheat leftovers in an air fryer or oven for best texture. :contentReference[oaicite:9]{index=9}
- Prep Time: 15 minutes
- Cook Time: 15 minutes
- Category: Appetizer / Snack
- Method: Baking
- Cuisine: Italian‑American
Nutrition
- Serving Size: 1 puff
- Calories: 177 kcal
- Sugar: 2 g
- Sodium: 504 mg
- Fat: 10 g
- Saturated Fat: 5 g
- Unsaturated Fat: 5 g
- Trans Fat: 0.2 g
- Carbohydrates: 16 g
- Fiber: 1 g
- Protein: 7 g
- Cholesterol: 22 mg
Keywords: Little Caesars Crazy Puffs copycat, pizza puffs, cheesy pizza bites, pizza muffin cups
Gathering Your Flavor Crew
Here’s what you’ll need to assemble your pizza bite dream team. I’ve included my favorite chef insights and swaps so you can make this recipe work with what you’ve got!
- 1 can refrigerated pizza dough – Our superstar shortcut! I love the kind in the tubes near the biscuits. Chef Insight: Let it sit at room temp for 10-15 minutes before unrolling—it’s much easier to work with. For a homemade route, use about 1 lb of your favorite dough!
- 1/2 cup marinara or pizza sauce – This is your flavor foundation. Use a sauce you love to eat straight from the jar. Sub Tip: Pesto, alfredo, or even a drizzle of ranch make incredible alternative “sauces.”
- 1 1/2 cups shredded mozzarella cheese – Low-moisture, part-skim mozzarella is the MVP here. It melts beautifully and gets that iconic stretch. Chef Insight: Pre-shredded bags contain anti-caking agents which can make melting less smooth. For ultra-gooey puffs, shred a block yourself!
- 1/4 cup mini pepperoni or cooked sausage crumbles (optional) – The “crazy” in your puff! Mini pepperoni are perfect for fitting inside. Sub Tip: Diced ham, cooked bacon, sautéed mushrooms, or even pineapple chunks are all fantastic.
- 2 tbsp butter, melted – For the glorious, glistening finish.
- 1/2 tsp garlic powder – We’re adding it to the butter for that essential garlic bread vibe. Chef Insight: For a more potent punch, use 1 small minced garlic clove sautéed gently in the butter before brushing.
- 1 tbsp grated Parmesan cheese – The salty, umami-packed finishing touch.
- Dried parsley or Italian seasoning for garnish – A sprinkle of green makes everything look (and taste) more finished!
Let’s Build Some Bites: Your Step-by-Step Roadmap
Ready to see some puff magic? Follow these steps, and you’ll be a Crazy Puff pro in no time. I’m chatting you through each one with my best tips!
Step 1: Preheat & Prep. Fire up your oven to 375°F (190°C). This is the perfect temperature to get our puffs golden and cooked through without burning. While it heats, grab a standard 12-cup muffin tin. Give it a generous spray with non-stick cooking spray. This is non-negotiable for easy release! Little Chef Hack: If you’re wary of sticking, you can cut small squares of parchment paper and press them into the cups for absolute insurance.
Step 2: Shape the Dough. Unroll your pizza dough onto a lightly floured surface. We’re going for 8 puffs. Using a pizza cutter or a sharp knife, cut the dough first into quarters, then cut each quarter in half so you have 8 roughly equal rectangles or squares. Don’t stress about perfection! Take one piece and gently press and stretch it into the well of your muffin tin, letting the edges drape over the sides. You’re creating a little dough cup. Repeat with all pieces. Little Chef Hack: If the dough springs back, let it rest for 5 minutes—it’s just being shy.
Step 3: The Fill & Fluff. This is the fun part! Grab a small spoon and add about 1-2 teaspoons of sauce to the bottom of each dough cup. Next, a hearty pinch of mozzarella. Now, add your “crazy”—a few mini pepperoni or a sprinkle of sausage. Top with another pinch of cheese. The double-cheese layer acts like glue, sealing the toppings inside and creating that epic cheese pull. Don’t overfill, or you’ll have leakage (still tasty, just messy!).
Step 4: Bake to Golden Perfection. Slide the muffin tin into your preheated oven. Bake for 12 to 15 minutes. You’re looking for the dough to be puffed up, fully set, and a beautiful golden brown. The cheese will be bubbly and irresistible. Little Chef Hack: Ovens vary, so start checking at 12 minutes. If the tops are browning too fast but the dough seems undercooked, you can loosely tent the tin with foil for the last few minutes.
Step 5: The Garlic Butter Glow-Up. While the puffs bake, mix your melted butter and garlic powder in a small bowl. As soon as those golden puffs come out of the oven, use a pastry brush (or the back of a spoon) to lavishly brush each one with the garlic butter. It will sizzle and soak in, creating the most incredible flavor and sheen. Immediately sprinkle with the grated Parmesan and a pinch of dried parsley or Italian seasoning. The residual heat will wake up the dried herbs beautifully.
How to Serve These Cheesy Clouds of Joy
Get these on the table while they’re still warm and the cheese is at peak goo! I like to nestle them in a basket lined with a checkered napkin for that casual, “help yourself” vibe. Put a small bowl of extra warmed marinara sauce or ranch dressing in the center for dipping. They’re perfect as-is for a snack, but to make it a meal, pair them with a big, bright green salad tossed in a lemony vinaigrette. The freshness cuts through the richness perfectly. For a party, just set the whole muffin tin (on a trivet!) in the middle of the table and watch them disappear.
Ride Your Own Flavor Wave: 5 Tasty Twists
The beauty of this recipe is its versatility. Once you master the basic puff, the world is your pizza oyster!
- Hawaiian Happy Place: Swap marinara for a thin smear of barbecue sauce. Fill with diced ham, mozzarella, and a few pieces of pineapple.
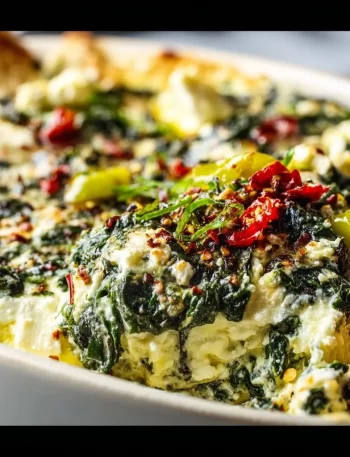
- Veggie Lover’s Delight: Sauté diced bell peppers, onions, and mushrooms. Mix them right into the cheese filling. A spinach-artichoke version with creamy cheese would be divine too!
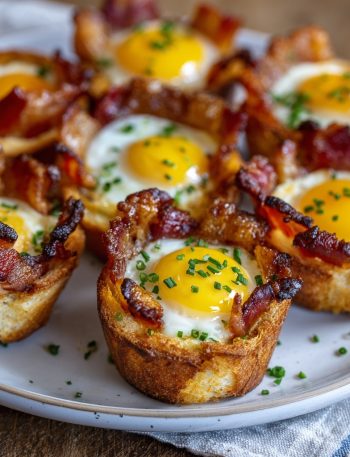
- Breakfast Puffs: Use scrambled egg, cooked breakfast sausage, and cheddar cheese. Skip the tomato sauce. Perfect for brunch!
- Spicy Pepperoni Ranch: Mix a tablespoon of ranch seasoning into the melted butter brush. Use spicy pepperoni and a blend of mozzarella and pepper jack cheese.
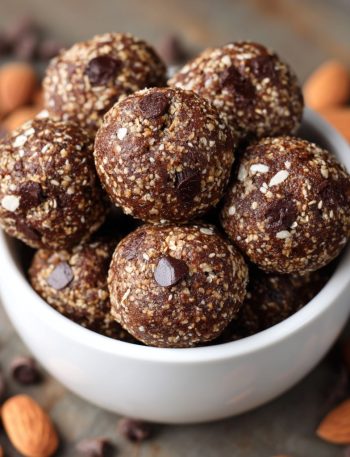
- Dessert Puffs: Sweet twist! Fill with a dab of Nutella or mini chocolate chips and marshmallows. Brush with melted butter mixed with cinnamon sugar after baking.
Isla’s Kitchen Notes: The Evolution of a Puff
I’ve made these more times than I can count, and they’ve seen it all—from sophisticated dinner parties to my toddler’s “I only eat yellow foods” phase (cheese puff = yellow food, win!). The recipe started as a strict copycat, but like all good things in my kitchen, it evolved. I found that adding the garlic butter after baking, instead of before, gave a fresher, more potent flavor. I also learned the hard way that over-greasing the tin can make the bottoms fry and get too dark—a light spray is truly all you need.
My favorite kitchen story with these? I once brought them to a potluck, still in the tin, and a friend spent ten minutes convinced I’d bought them from a fancy bakery. The look on her face when I said, “Nope, just pizza dough and a dream!” was priceless. That’s the goal, right? Food that feels special but is totally within reach. Don’t be afraid to make them your own!
Your Crazy Puff Questions, Answered
Q: My puffs got soggy on the bottom. What happened?
A: This usually means either a) the muffin tin wasn’t prepped well enough and they stuck, tearing the dough, or b) there was a little too much sauce. Next time, try a lighter hand with the sauce and ensure a good non-stick spray coating. Letting them cool in the tin for just 2-3 minutes before removing can also help them set.
Q: Can I make these ahead of time?
A: Absolutely! You can assemble them in the muffin tin, cover tightly with plastic wrap, and refrigerate for up to 24 hours before baking. You may need to add 1-2 minutes to the bake time since they’ll be going in cold. I don’t recommend freezing them uncooked, as the dough can get soggy.
Q: My dough shrank back when I put it in the tin. Help!
A> Dough can be tense! If it keeps snapping back, just walk away for 5-10 minutes. Gluten needs time to relax. Cover it with a clean kitchen towel while it rests. When you come back, it should be much more cooperative.
Q: Can I use biscuit dough instead?
A> You can, but the result will be different—denser and more biscuit-like (still delicious!). Flatten each biscuit into a 3-inch round before pressing into the tin. The flavor and texture will be more akin to a pizza biscuit cup, which is also a total win.
Nutritional Information*
*Please note: This is an estimate for 1 puff (based on 8 total, using part-skim mozzarella and including mini pepperoni). Values will vary based on specific ingredients and toppings used.
- Calories: ~180
- Protein: 7g
- Fat: 9g
- Carbohydrates: 17g
- Sodium: 360mg
Prep Time: 10 minutes | Cook Time: 15 minutes | Total Time: 25 minutes | Servings: 8 puffs