
Your Coffee’s Soulmate: Homemade Creamer That’s Actually Worth the Hype
Hey there, friend! Isla here, from BiteTide. Let’s have a real, coffee-fueled chat for a second. How many times have you stood in that grocery store aisle, staring at the wall of coffee creamers, feeling… underwhelmed? You pick up a bottle promising “French Vanilla Bliss,” flip it over, and are immediately greeted by a paragraph of ingredients you can’t pronounce, stabilizers you don’t need, and a sugar content that would make your dentist do a happy dance. You buy it anyway, pour it in your mug the next morning, and get… a vaguely sweet, vaguely chemical taste that just doesn’t hit the spot. Sound familiar?
I’ve been there too. For years, my morning ritual felt like it was missing something. That was until I had a serious “why not?” moment in my kitchen one Sunday. I was making a vanilla custard and thought, “This is just milk, cream, and good stuff… why can’t my coffee taste like this?” So, I started experimenting. And oh my goodness, the clouds parted, the angels sang, and my coffee was forever changed.
This homemade coffee creamer is my gift to you. It’s not just a recipe; it’s a revelation. It’s ultra-smooth, naturally sweetened just how you like it, and so wildly customizable that your coffee will never be boring again. It takes less than 10 minutes, uses a handful of real ingredients, and will make your entire kitchen smell like a cozy coffee shop. This is about ditching the fuss and embracing flavor—true, honest, soul-warming flavor. So, grab your favorite whisk and let’s make your morning cup something you genuinely look forward to.
The Whisk That Started It All: A Nana-Inspired Epiphany
My love for this simple, from-scratch magic honestly goes back to my Nana’s kitchen. She was a wizard with a whisk and a bag of basics. She didn’t have fancy ingredients; she had *good* ingredients and a whole lot of love. I remember one specific, blustery autumn morning. I was probably about ten, wrapped in a giant sweater, watching her make what she called her “special cream” for her afternoon cup of tea. It was just warm milk, a splash of cream from the local dairy, a drizzle of honey from our neighbor’s hives, and a single, fragrant vanilla bean she’d been saving.
She let me scrape the tiny black seeds into the pot, and I remember being mesmerized as they swirled into the creamy liquid. The smell was intoxicating—warm, sweet, and profoundly comforting. That wasn’t just a condiment; it was a moment of pure, simple joy. She poured a little into her tea, and then a tiny bit into a cup for me to taste on its own. It was liquid gold.
This homemade coffee creamer is my grown-up, coffee-loving homage to Nana’s “special cream.” It’s that same principle: start with the good stuff, add what you love, and create a little moment of magic. Every time I make a batch, I get a little flash of that cozy kitchen and her smiling face. It’s a reminder that the best things in life—and in our mugs—don’t need a complicated label.
Print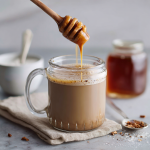
Homemade Coffee Creamer
- Total Time: 10 minutes
- Yield: ~2 cups (16 servings)
Description
Ditch the store-bought bottles—this homemade creamer is ultra-smooth, naturally sweetened, and totally customizable. From classic vanilla to indulgent mocha or spiced maple, it’s your morning coffee’s new best friend.
Ingredients
1 cup whole milk or milk of choice
1 cup heavy cream (or coconut cream for dairy-free)
3–4 tbsp maple syrup or honey (adjust to taste)
1–2 tsp vanilla extract
Optional Flavor Twists
Mocha: 1 tbsp cocoa powder + 1 tsp instant coffee
Pumpkin Spice: 1 tbsp pumpkin puree + 1/2 tsp pumpkin pie spice
Cinnamon Roll: 1/2 tsp cinnamon + splash of almond extract
Caramel: 2 tbsp caramel sauce + pinch of sea salt
Instructions
In a saucepan, whisk all ingredients (base + any flavor additions).
Warm over medium heat until steaming but not boiling, whisking until smooth.
Let cool slightly, then store in a sealed jar in the fridge for up to 7 days.
Shake well before using.
- Prep Time: 5 mins
- Cook Time: 5 mins
- Category: Breakfast
Nutrition
- Calories: 60
- Sugar: 2g
- Fat: 5g
- Carbohydrates: 2g
- Protein: 1g
Gathering Your Flavor Crew: The What & Why
This is the best part! We’re building a simple, fantastic base that you can then take in any direction your heart desires. Here’s your all-star lineup:
- 1 cup Whole Milk: This is our flavor carrier! Whole milk gives us the perfect balance of richness and fluidity. It’s not so heavy that it weighs the coffee down, but it has enough fat to carry the flavors beautifully. Chef’s Insight: Don’t have whole? 2% works great! For a dairy-free version, unsweetened almond, oat, or cashew milk are my top picks. Just avoid anything too thin like rice milk.
- 1 cup Heavy Cream: This is where the luxurious, diner-style creamer mouthfeel comes from. It’s what makes it feel like a treat. Substitution Tip: For a lighter version, you can use half-and-half. For full dairy-free, canned coconut cream (the thick part, not the watery coconut milk) is absolutely divine and adds a subtle tropical note.
- 3–4 tbsp Maple Syrup or Honey: Our natural sweeteners! I adore maple syrup for its complex, caramel-like notes that pair with almost everything. Honey brings a beautiful floral touch. Chef’s Insight: Start with 3 tablespoons, taste, and add more if you have a sweeter tooth! You can also use agave nectar or a simple syrup.
- 1–2 tsp Pure Vanilla Extract: The flavor foundation. Even if you’re making another flavor, a dash of vanilla rounds everything out. Pro Tip: Please, for the love of good coffee, use the real stuff! Imitation vanilla will give you that fake creamer taste we’re trying to avoid.
Let’s Make Some Magic: The Foolproof Method
See? I told you it was easy. This is less of a recipe and more of a gentle, aromatic simmer. Let’s walk through it.
- Grab Your Saucepan: Use a medium-sized, heavy-bottomed saucepan. This distributes heat evenly and prevents our precious dairy from getting scorched on the bottom. No heavy-bottomed pan? No worries! Just use a medium-low heat and stay close by with your whisk.
- The Great Whisk-Together: Pour your milk, cream, sweetener of choice, and vanilla extract directly into the cold pan. If you’re adding any extra flavorings (like cocoa powder, pumpkin puree, or spices), add them now. Chef’s Hack: If you’re using dry spices (like cinnamon or cocoa powder), I like to whisk them with the sweetener first to create a paste. This prevents them from clumping up when they hit the liquid! A tiny extra splash of milk can help here.
- Warm It Up: Place the pan over medium heat. Now, your mission is to warm it until it’s steaming hot and everything is beautifully combined. Do NOT let it come to a boil. We are not making pudding or curdling our milk! You’ll see little bubbles forming around the edge of the pan and plenty of steam. This usually takes about 4-5 minutes. Key Tip: Whisk constantly! This is your arm workout for the day. It incorporates air, prevents a skin from forming on top, and ensures every element is perfectly mingled.
- Test and Taste: Once it’s steaming, take it off the heat. Do a little taste test (carefully, it’s hot!). This is your moment to adjust. Want it sweeter? Add another half tablespoon of maple syrup. Want more vanilla? Drop in another 1/2 tsp. This is your custom creation!
- The Cool Down: Let the creamer cool down on the counter for about 15-20 minutes. This is an important step—if you pour it piping hot into a glass jar, you risk the jar shattering. Nobody wants a creamy, sugary mess all over the kitchen. Once it’s cool to the touch, carefully pour it into a super clean glass jar or bottle with a tight-fitting lid. A fun swing-top bottle or a simple mason jar works perfectly.
- Chill Out: Screw the lid on and pop it into the fridge. It needs to chill completely for the flavors to fully get to know each other and for the texture to set. I know it’s hard, but try to wait at least 2-3 hours before using it. You’ll taste the difference, I promise.
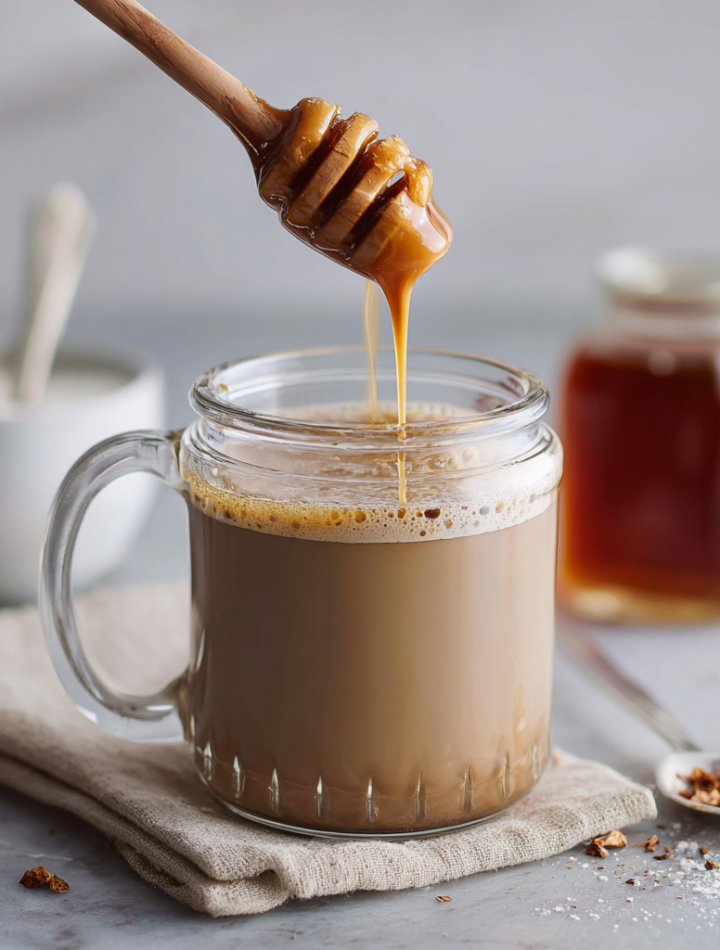
Your Moment of Glory: How to Serve This Liquid Gold
Okay, the hardest part is over (waiting). Now for the fun! The only rule here is to give your jar a really good shake before each use, as natural separation can occur. Then, pour it into your favorite mug of hot coffee or iced coffee just like you would any store-bought creamer. Start with a couple of tablespoons and go from there. Watch as it swirls into your coffee, creating little clouds of deliciousness. I love enjoying my first sip right there at the kitchen counter, just soaking in the victory of a homemade morning.
Ride the Flavor Wave: 5 Irresistible Twists
The base recipe is just the beginning. Here’s where we get to play! Whisk any of these combinations into your base ingredients before heating.
- Indulgent Mocha: Add 1 tablespoon of unsweetened cocoa powder and 1 teaspoon of instant coffee granules or espresso powder. It’s like a chocolate-covered coffee bean in a bottle.
- Cozy Pumpkin Spice: It’s not just for fall! Add 1 tablespoon of real pumpkin puree and 1/2 teaspoon of pumpkin pie spice. It’s like a hug for your mug.
- Sweet Cinnamon Roll: Add 1/2 teaspoon of ground cinnamon and a tiny splash (about 1/4 tsp) of almond extract. The almond extract is the secret—it mimics that sweet, bakery-style icing flavor.
- Salted Caramel Dream: Swap the maple syrup for 2 tablespoons of good-quality caramel sauce (or homemade!) and add a tiny pinch of flaky sea salt. Sweet, salty, and sublime.
- Peppermint Patty: Perfect for the holidays! Add 1/4 teaspoon of peppermint extract (not mint extract—it’s different!) and a tablespoon of dark chocolate chips. Whisk until the chocolate melts into the warm mixture.
Isla’s Kitchen Confidential: The Real-Deal Notes
This recipe has evolved so much since that first vanilla batch. I’ve learned a few things the hard way so you don’t have to! First, I once tried to speed up the cooling process by putting the hot creamer directly into a plastic container. It warped the container and I had creamer everywhere. Glass jars only, folks!
Second, the flavor really does deepen after a night in the fridge. If you can, make it the night before for an even more incredible morning experience. And finally, this creamer is a fantastic excuse to use those fancy, whole spices you have in the back of your cabinet. Instead of ground cinnamon, try gently heating a whole cinnamon stick in the base mixture and letting it steep as it cools. Strain it out before bottling. The flavor is next-level!
Most importantly, this recipe is yours now. Make it your own. Don’t be afraid to experiment. The worst that can happen is you have a slightly weird batch of creamer—but even then, it’s probably still pretty good in iced coffee!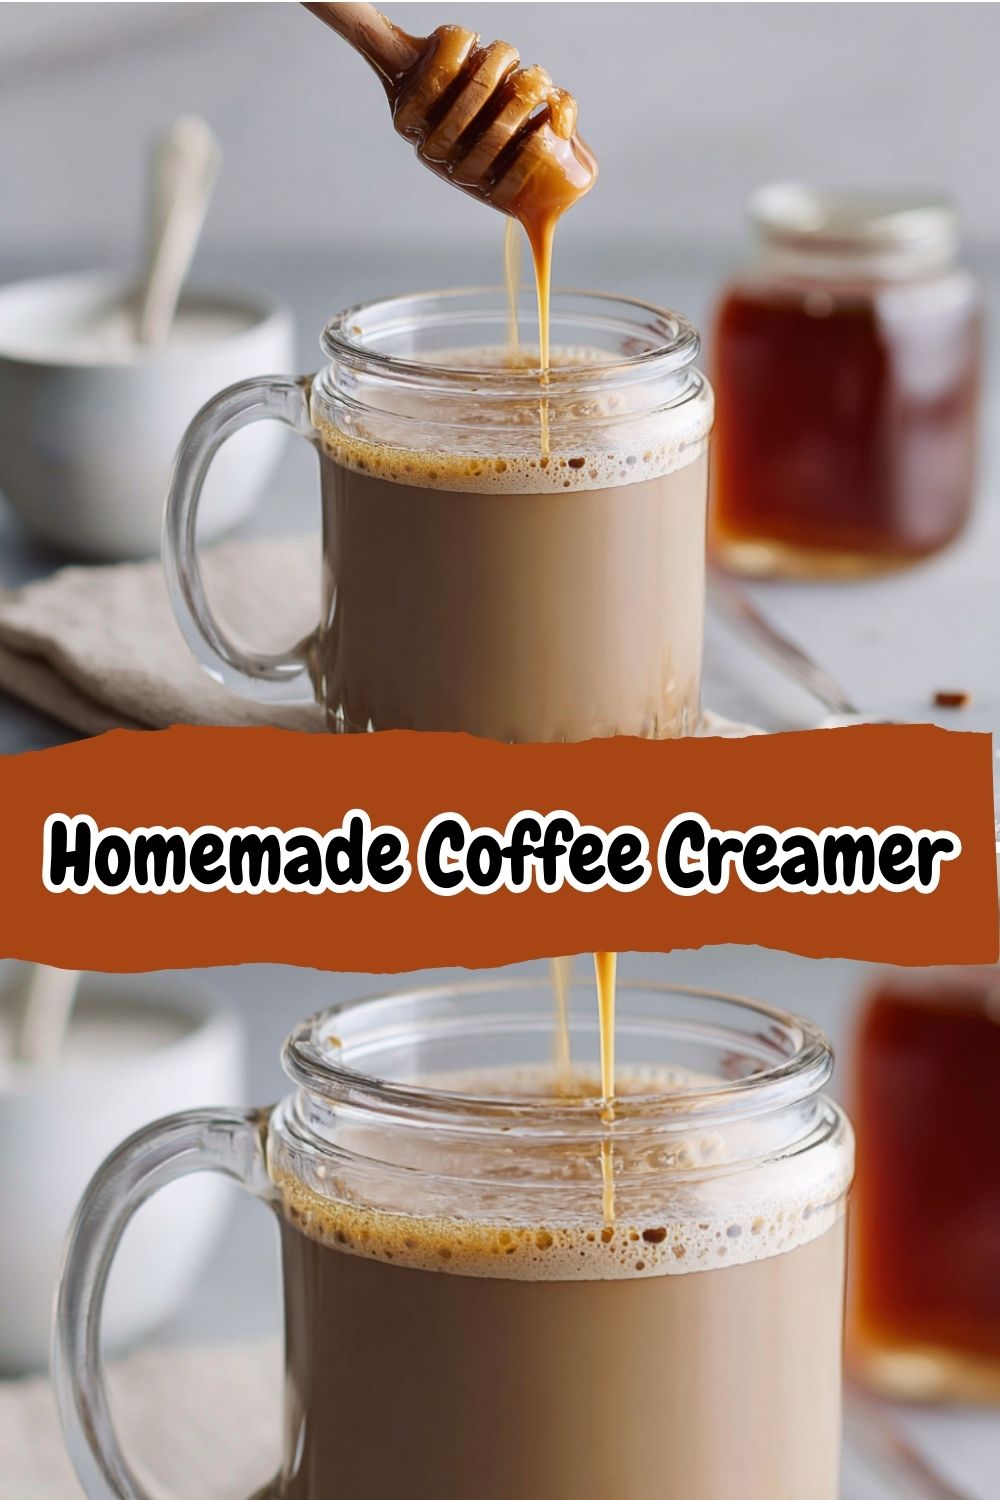
Your Questions, Answered!
Q: How long does homemade coffee creamer last?
A: Because we’re using fresh dairy, it won’t last as long as the shelf-stable store stuff (which is a good thing!). It will stay fresh and delicious in a sealed container in your fridge for up to 7 days. Always give it a sniff test if you’re near the end of the week!
Q: Why did my creamer get chunky or separate?
A: The most common culprit is heating the mixture too quickly or letting it boil. This can cause the dairy to curdle or the fat to separate. Always use medium heat and never let it boil! If it does separate, all is not lost. You can sometimes bring it back by blending it vigorously in a blender until it’s smooth again.
Q: Can I make this sugar-free?
A: Absolutely! You can swap the maple syrup for your favorite sugar-free sweetener. Monk fruit sweetener or erythritol blend well. Just note that the texture might be slightly thinner, and you’ll want to dissolve the sweetener completely while heating.
Q: My creamer is too thin. How can I thicken it?
A: Our base is meant to be pourable, but if you want it extra thick and decadent, you can try two things: 1) Use more heavy cream in place of some of the milk. 2) A tiny, tiny pinch of xanthan gum (like 1/16th of a teaspoon) whisked in vigorously while it’s warm can work wonders as a stabilizer without affecting taste.
Nutritional Information*
*Estimated for the base recipe (vanilla) using whole milk and maple syrup, per 2-tablespoon serving.
- Calories: 60
- Carbohydrates: 2g
- Fat: 5g
- Protein: <1g
- Sugar: 2g
Prep Time: 5 mins | Cook Time: 5 mins | Yield: ~2 cups (16 servings)