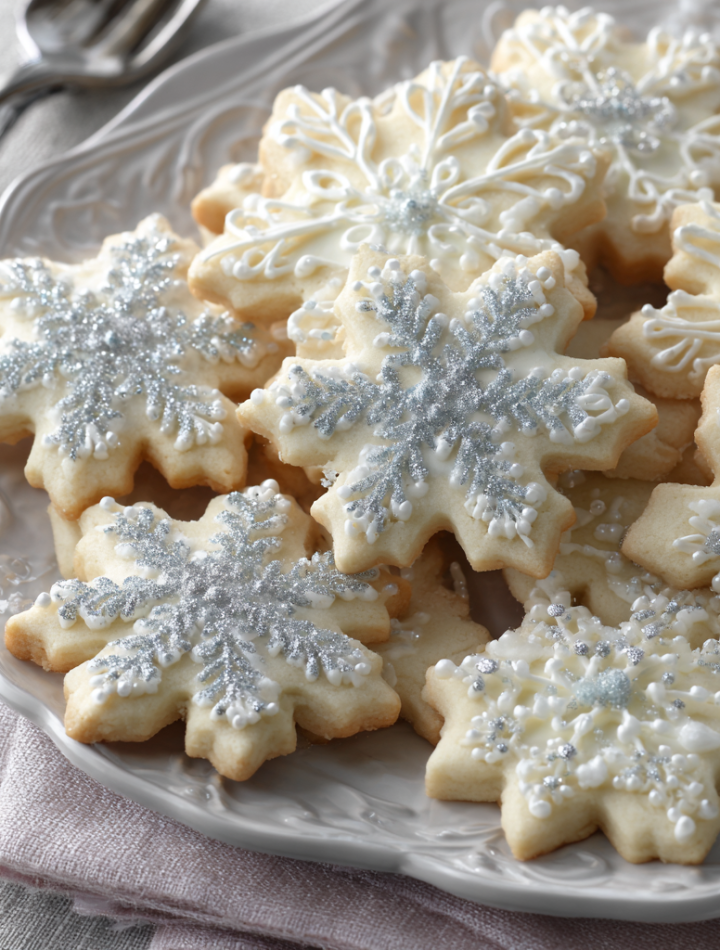
Let’s Bake Some Magic: Frosted Snowflake Shortbread Cookies
Hey there, friend! Isla here from BiteTide. Can you smell it? That crisp, cold air mixed with the warm, buttery scent of cookies baking in the oven. It’s officially the season of cozy sweaters, twinkling lights, and my absolute favorite—holiday baking! And today, we’re creating something truly special together: Frosted Snowflake Shortbread Cookies.
Now, I know what you might be thinking. “Shortbread? Isn’t that fussy?” I’m here to tell you, with a wink and a whisk, absolutely not. This recipe is my go-to for creating edible elegance without the stress. We’re talking melt-in-your-mouth, buttery cookies that hold their perfect snowflake shape, topped with a simple yet stunning royal icing that looks like a fresh dusting of winter frost. They’re perfect for gifting, for dazzling at a cookie exchange, or for simply enjoying with a hot mug of cocoa after a long day. This isn’t just about baking cookies; it’s about creating little edible memories. So, tie on your favorite apron, put on some festive tunes, and let’s make your kitchen the coziest, most delicious place to be.
A Blizzard of Baking Memories
This recipe always takes me right back to my grandma’s kitchen. Every December, her small, warm house would become a bakery wonderland, and I was her eager, flour-dusted apprentice. One particular year, a huge snowstorm blew in, canceling all our plans and leaving us with a whole day and a well-stocked pantry. It was the year she taught me the secret to perfect shortbread: patience. Not just in the mixing, but in the chilling. As the wind howled outside, we rolled and cut snowflakes, our cookies mirroring the intricate patterns forming on the windowpane. She told me that good things—the best things—often require a little waiting. That memory, of warmth and laughter inside while a silent, beautiful storm raged outside, is baked right into every single snowflake cookie I make. It’s a reminder that the simplest moments, often unplanned, are where the real magic happens.
Print
Frosted Snowflake Shortbread
- Total Time: 1 hour (with decorating)
- Yield: 24 cookies 1x
Description
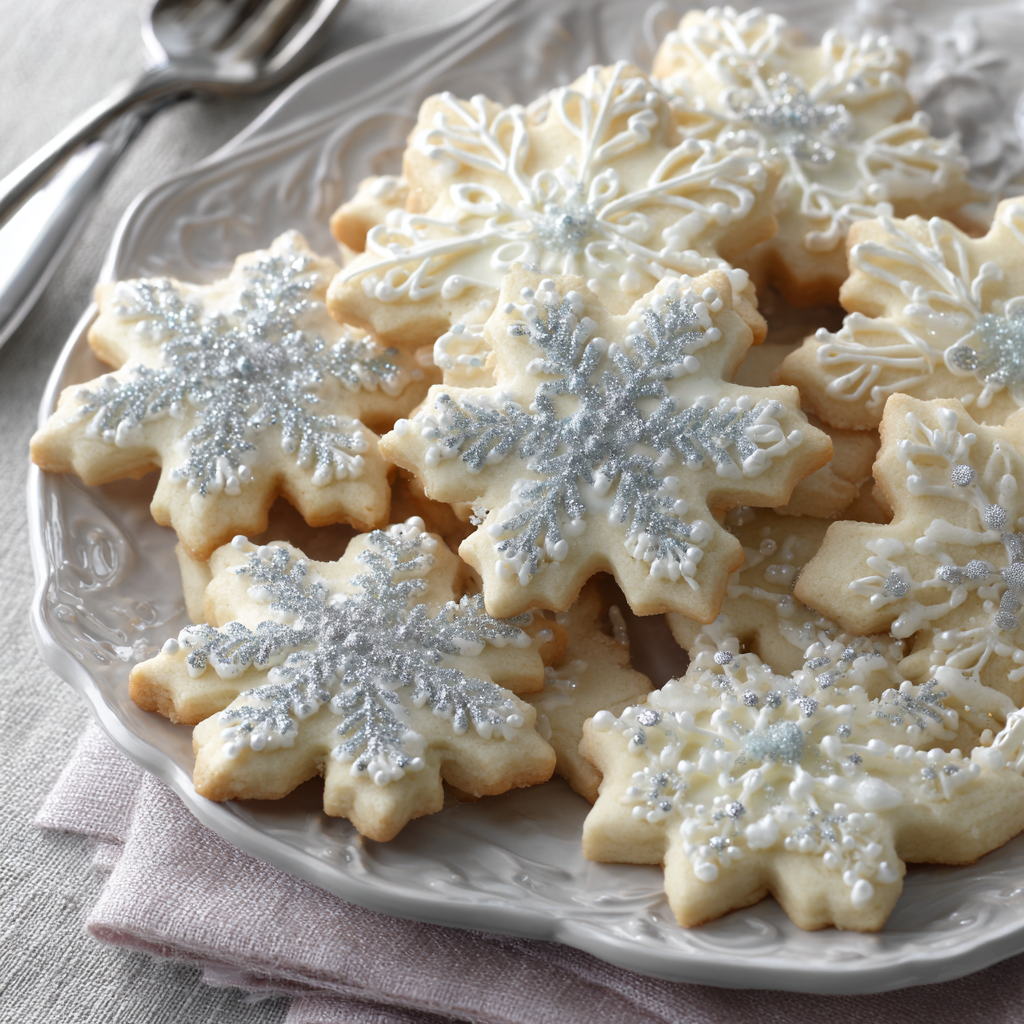
These delicate snowflake shortbread cookies are buttery, crisp, and beautifully decorated with white and silver royal icing. Perfect for winter gatherings, cookie exchanges, or edible gifts, they bring a touch of elegance to your holiday baking.
Ingredients
Shortbread Cookies
1 cup (2 sticks) unsalted butter, softened
½ cup powdered sugar
1 tsp vanilla extract
¼ tsp almond extract (optional for depth)
2 cups all-purpose flour
¼ tsp salt
Royal Icing
2 cups powdered sugar
1½ tbsp meringue powder
3–4 tbsp water (adjust as needed)
White gel food coloring
Silver edible pearls or luster dust (optional)
Instructions
Preheat oven to 350°F (175°C). Line baking sheets with parchment paper.
Cream butter and powdered sugar until smooth. Mix in vanilla and almond extract.
Add flour and salt. Mix until a soft dough forms.
Roll dough to ¼-inch thickness. Cut into snowflake shapes using cookie cutters.
Transfer to baking sheets and chill for 15 minutes.
Bake 10–12 minutes or until edges are just golden. Cool completely.
For icing, mix powdered sugar, meringue powder, and water until smooth and pipeable.
Decorate cookies with white royal icing. Add silver pearls or dust for a frosty finish. Let dry completely before storing.
- Prep Time: 20 minutes
- Cook Time: 10–12 minutes
- Category: Dessert
Nutrition
- Calories: 120
- Sugar: 6g
- Fat: 7g
- Carbohydrates: 14g
- Protein: 1g
Gathering Your Snowflake Squad: The Ingredients
Here’s the beautiful part: shortbread is famously simple. We’re using a handful of pantry staples to create something extraordinary. Quality matters here, as each flavor truly shines through!
- 1 cup (2 sticks) unsalted butter, softened – This is the star of the show! Use a high-quality butter for the best flavor. “Softened” is key—it should yield slightly when you press it but still hold its shape. Too soft/melted, and your cookies will spread. Pro tip: leave it on the counter for 30-60 minutes before you start.
- ½ cup powdered sugar – Powdered sugar gives shortbread its famously tender, fine crumb. We’re not using granulated sugar here, as it would create a more crisp, snappy texture.
- 1 tsp vanilla extract – Pure vanilla extract, please! It adds a warm, classic flavor base that makes the whole cookie sing.
- ¼ tsp almond extract (optional) – This is my secret weapon. It adds a incredible depth of flavor that makes people go, “Wow, what is that?” It’s subtle but magical. If you’re not a fan or have an allergy, simply leave it out.
- 2 cups all-purpose flour – The workhorse! Spoon and level your flour into the measuring cup to avoid packing it in. Too much flour is the number one reason shortbread can turn out dry.
- ¼ tsp salt – Don’t you dare skip it! Salt is the flavor enhancer that makes the butter and sugar pop and prevents the cookie from tasting flat.
For the Royal Icing:
- 2 cups powdered sugar – The base of our “snow.”
- 1½ tbsp meringue powder – This is what gives royal icing its structure and ability to harden. It’s a lifesaver and easily found in the baking aisle. It’s a safe, shelf-stable alternative to using raw egg whites.
- 3–4 tbsp water – We’ll add this slowly. The consistency is everything! We want it pipeable, not runny.
- White gel food coloring – Gel coloring gives us a brilliant, opaque white without thinning out our icing like liquid dyes would.
- Silver edible pearls or luster dust (optional) – For that final, frosty, magical touch. Because a little sparkle never hurt anybody!
Let’s Create Some Cookie Magic: The Method
Okay, team! Let’s do this. Read through these steps once before you begin—it’s like getting the lay of the land. You’ve got this!
1. Prep Your Station: Preheat your oven to 350°F (175°C). This is non-negotiable for even baking! Line your baking sheets with parchment paper. Trust me, this prevents sticking and makes cleanup a dream. No parchment? Silicone baking mats work great too.
2. Cream the Good Stuff: In a large bowl, beat the softened butter and powdered sugar together on medium speed until it’s just combined and smooth. We’re not looking for light and fluffy here, as we don’t want to incorporate too much air. Over-creaming can cause spreading! Mix in the vanilla and almond extracts until they’re fully incorporated. Stop and smell it. Amazing, right?
3. Bring in the Dry Team: With your mixer on low speed, gradually add the flour and salt to the butter mixture. Mix just until the dough starts to come together and there are no more dry streaks of flour. It will be soft and maybe even a little crumbly—that’s perfect! Don’t overmix, or your cookies could become tough.
4. Roll It Out: Turn the dough out onto a lightly floured surface. I like to roll it between two pieces of parchment paper to avoid adding extra flour. Roll to a consistent ¼-inch thickness. This is the sweet spot for a cookie that’s sturdy enough to decorate but still melts in your mouth.
5. Cut Your Snowflakes: Dip your snowflake cookie cutter in a little flour to prevent sticking, then press firmly into the dough. Gently lift the cutter and use a small offset spatula or knife to transfer the shapes to your prepared baking sheets, leaving about an inch between them.
6. The Chill Factor: This is the secret step! Pop the entire baking sheet into the refrigerator for 15 minutes. This re-chills the butter, which is crucial for preventing your beautiful snowflakes from spreading into blobs in the oven. Use this time to wash a bowl or just dance to a Christmas song.
7. Bake to Perfection: Bake for 10-12 minutes. You’re looking for the edges to be just barely, lightly golden. The tops should still look pale and not browned. They might look a little soft—that’s okay! They firm up as they cool. Overbaking is the enemy of tender shortbread.
8. The Cool Down: Let the cookies cool on the baking sheet for 5 minutes before transferring them to a wire rack to cool completely. I mean completely! Icing a warm cookie is a recipe for a melty, sad puddle.
9. Make the Icing: In a clean bowl, whisk together the powdered sugar and meringue powder. Gradually add the water, one tablespoon at a time, and whisk on high speed for 1-2 minutes until it’s glossy and holds a soft peak. Add a tiny drop of white gel food coloring to achieve a bright, snowy white. If it’s too thick, add water a drop at a time. Too thin? A little more powdered sugar.
10. Decorate! Spoon the icing into a piping bag fitted with a small round tip (or a zip-top bag with a tiny corner snipped off!). Outline each snowflake, then fill in the center, using a toothpick to gently spread the icing to the edges. Immediately add silver pearls or a dusting of luster dust before the icing sets. Then, let them dry completely, untouched, for at least 4 hours or overnight.
How to Serve Your Edible Art
These cookies are a showstopper all on their own! Pile them high on a beautiful vintage platter or a simple wooden board for your holiday party. For gift-giving, stack them in a clear cellophane bag tied with a rustic ribbon, or carefully layer them in a festive tin between sheets of parchment paper. They pair perfectly with a hot cup of coffee, a glass of cold milk, or a flute of bubbly prosecco for a truly celebratory touch. However you serve them, they’re sure to bring a smile.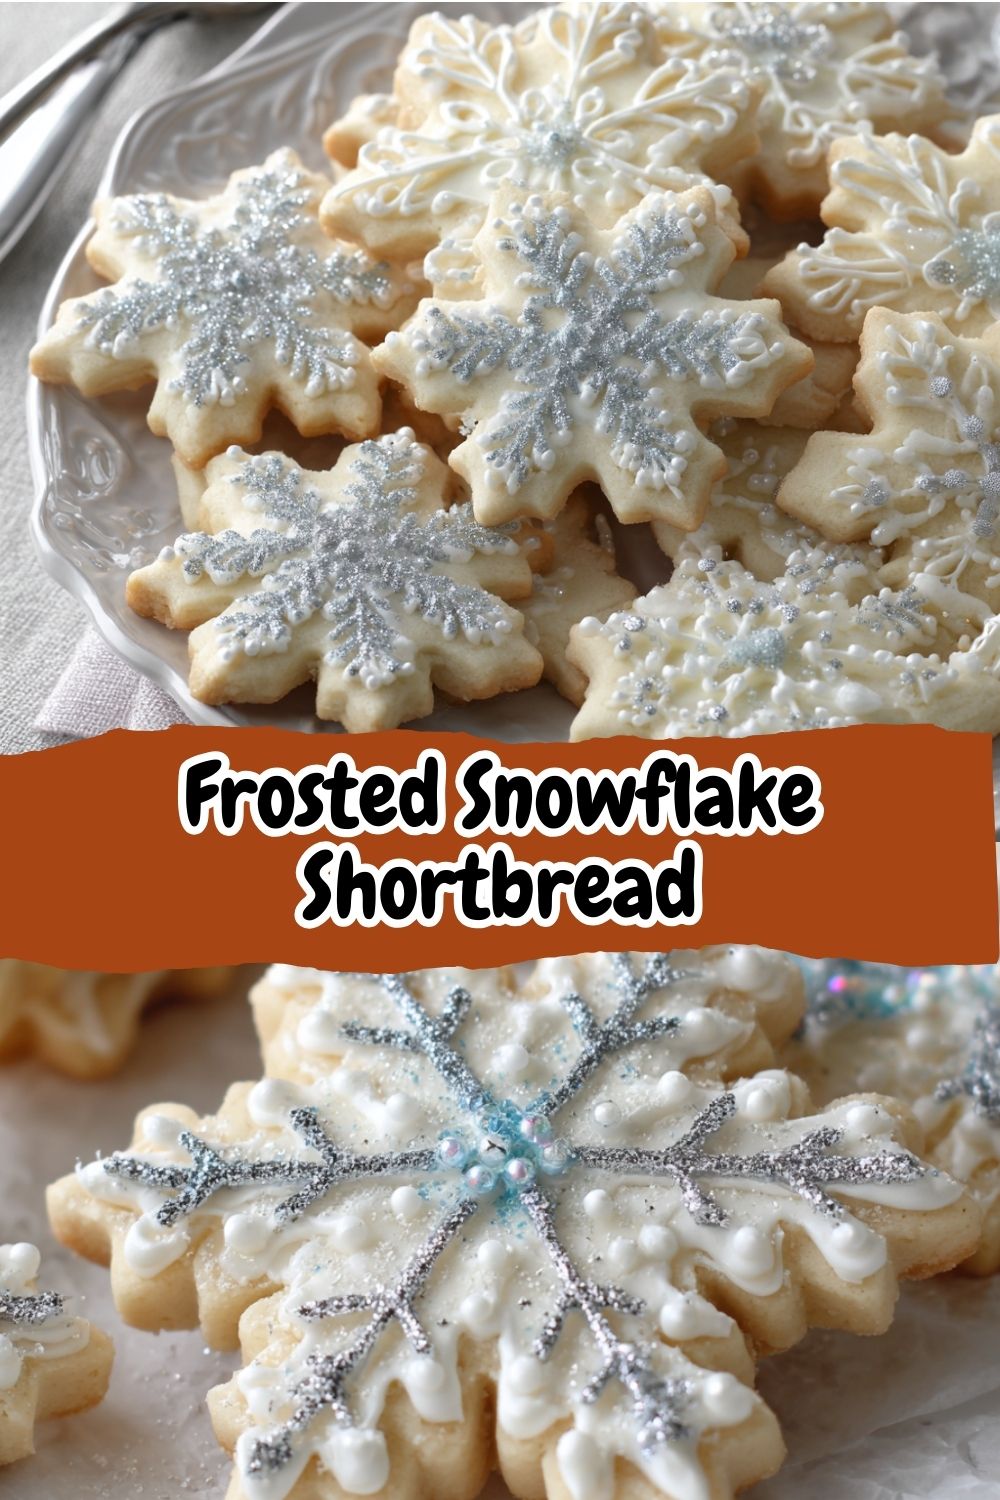
Ride a New Flavor Wave: Recipe Variations
Feel like mixing it up? Here are a few of my favorite twists on this classic:
- Lemon Zest: Add the zest of one lemon to the dough for a bright, sunny contrast to the sweet icing.
- Peppermint Sparkle: Swap the almond extract for ¼ tsp peppermint extract and crush some candy canes to sprinkle on the icing instead of pearls.
- Chocolate Dip: Skip the royal icing altogether and dip half of each cooled cookie in melted dark chocolate. Let set on parchment paper.
- Ginger Spice: Add ½ tsp ground ginger and ¼ tsp cinnamon to the dry ingredients for a warm, spiced flavor.
- Gluten-Free: Use a 1:1 gluten-free all-purpose flour blend. The texture might be slightly more delicate, but just as delicious!
Isla’s Chef Notes
This recipe has been my holiday constant for years, but it’s had its share of kitchen adventures! One year, my then-toddler “helped” by adding a whole extra stick of butter. We ended up with delicious, ultra-flat shortbread puddles that we crumbled over ice cream—a happy accident! The recipe you see here is the perfected, tried-and-true version after many, many batches. My biggest lesson? Embrace the imperfections. Not every snowflake in nature is perfect, and neither do your cookies need to be. A slightly wobbly outline or a pearl that’s out of place just adds character and shows they were made with real hands and a whole lot of love. That’s what people will remember.
Your Questions, Answered!
Q: My dough is too crumbly and won’t come together! What did I do wrong?
A: This usually means there’s a bit too much flour or the butter wasn’t quite soft enough. Don’t panic! Try adding a teaspoon of cold water at a time and gently working it in with your hands until the dough becomes cohesive.
Q: Why did my cookies spread and lose their sharp shape?
A> The two most common culprits are butter that was too warm/soft and skipping the chilling step. Remember, cold butter going into a hot oven is what creates structure. Next time, make sure your butter is just softened and never melty, and always give those cutouts a quick chill before baking.
Q: My royal icing is too runny/thick. How can I fix it?
A> Icing consistency is a practice thing! If it’s too runny, whisk in more powdered sugar, a tablespoon at a time. If it’s too thick and won’t pipe, add water literally a drop at a time until it reaches a smooth, pipeable consistency that holds its line.
Q: Can I make the dough ahead of time?
A> Absolutely! You can wrap the dough disk tightly in plastic wrap and refrigerate it for up to 3 days. Let it sit at room temperature for 10-15 minutes to soften slightly before rolling. You can also freeze the rolled, unbaked cookies on a sheet pan, then transfer them to a freezer bag for up to 2 months. Bake straight from frozen, adding a minute or two to the bake time.
Nutritional Information (Per Cookie, Approx.)
Calories: 120 | Fat: 7g | Carbs: 14g | Sugar: 6g | Protein: 1g
Prep Time: 20 minutes | Bake Time: 10-12 minutes | Total Time: 1 hour (with decorating) | Yield: 24 cookies