Forget Takeout: This Crispy Chicken Milanese is Your New Weeknight Hero
Hey there, friend! Isla here from BiteTide, and I am so excited you clicked on this recipe. Have you ever had one of those days where you’re craving something seriously satisfying, something crispy and golden and downright delicious, but the thought of a complicated recipe makes you want to just order a pizza instead? Yeah, me too. All. The. Time.
But what if I told you that in less than 30 minutes, you could be sitting down to a plate of the most incredible, restaurant-quality Chicken Milanese? A dish so good it feels fancy, but is honestly one of the easiest, most forgiving recipes in your arsenal. We’re talking juicy, tender chicken encased in a shatteringly crisp, golden breadcrumb crust, all fried to absolute perfection. It’s the kind of meal that makes you feel like a total kitchen rockstar with minimal effort.
Chicken Milanese is my ultimate go-to when I need a guaranteed win. It’s a crowd-pleaser for the family, an impressive-but-simple date night main, and honestly, it’s the best thing to make when you’re just cooking for one and want to treat yourself right. So, tie on your favorite apron, put on some fun music, and let’s create some magic together. I promise, this recipe is all about fun, flavor, and zero fuss. Let’s get cooking!
The Little Italian Nonna Who Stole My Heart (And Taught Me Everything)
My love affair with Chicken Milanese didn’t start in a fancy restaurant; it started in a tiny, steam-fogged kitchen in a coastal town in Italy. I was about nineteen, backpacking and living on a shoestring budget, which mostly meant a lot of questionable bread and cheese. One afternoon, I got hopelessly lost down a maze of cobblestone alleyways. The most incredible smell pulled me towards a small, open doorway—a little trattoria run by a formidable nonna named Giovanna.
She took one look at my lost, hungry face and sat me down at a wobbly table without a word. Minutes later, she placed a plate in front of me: a golden, enormous, crispy chicken cutlet, simply dressed with a mountain of peppery arugula and a huge wedge of lemon. That first bite was a revelation. It wasn’t just food; it was comfort, generosity, and mastery, all on one plate. I must have looked like I’d seen a ghost because she came out, laughed her hearty laugh, and in a mix of Italian and hand gestures, showed me how she pounded the chicken. That memory, the sound of the sizzle in her pan, and the taste of that perfect, simple meal is etched into my soul. This recipe is my humble tribute to Giovanna and the powerful, beautiful way food connects us all.
Print
Chicken Milanese
- Total Time: 20 minutes
- Yield: 4 servings 1x
Description
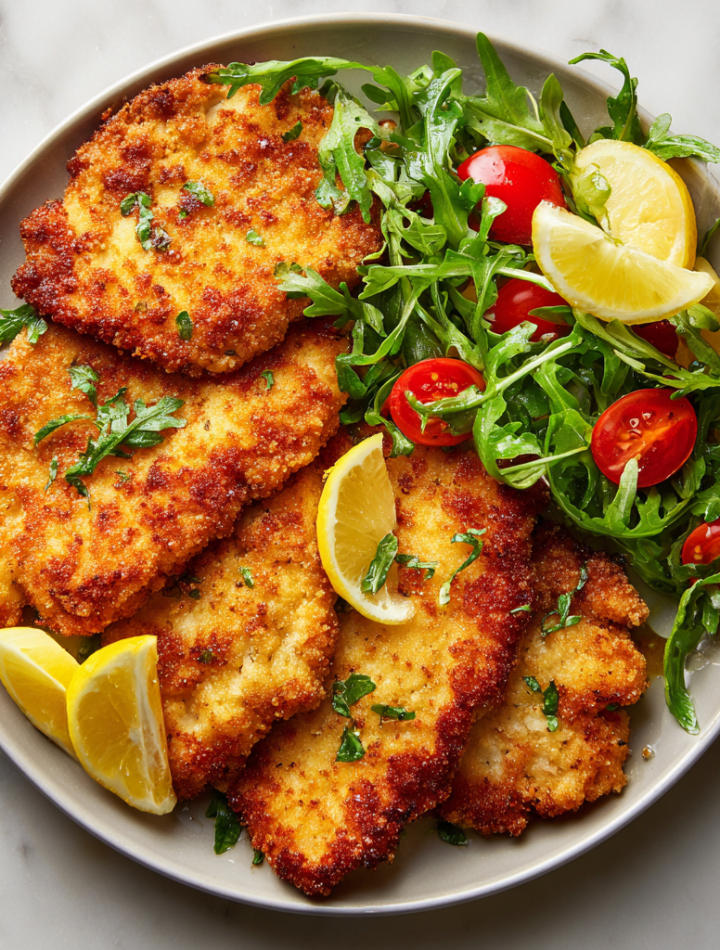
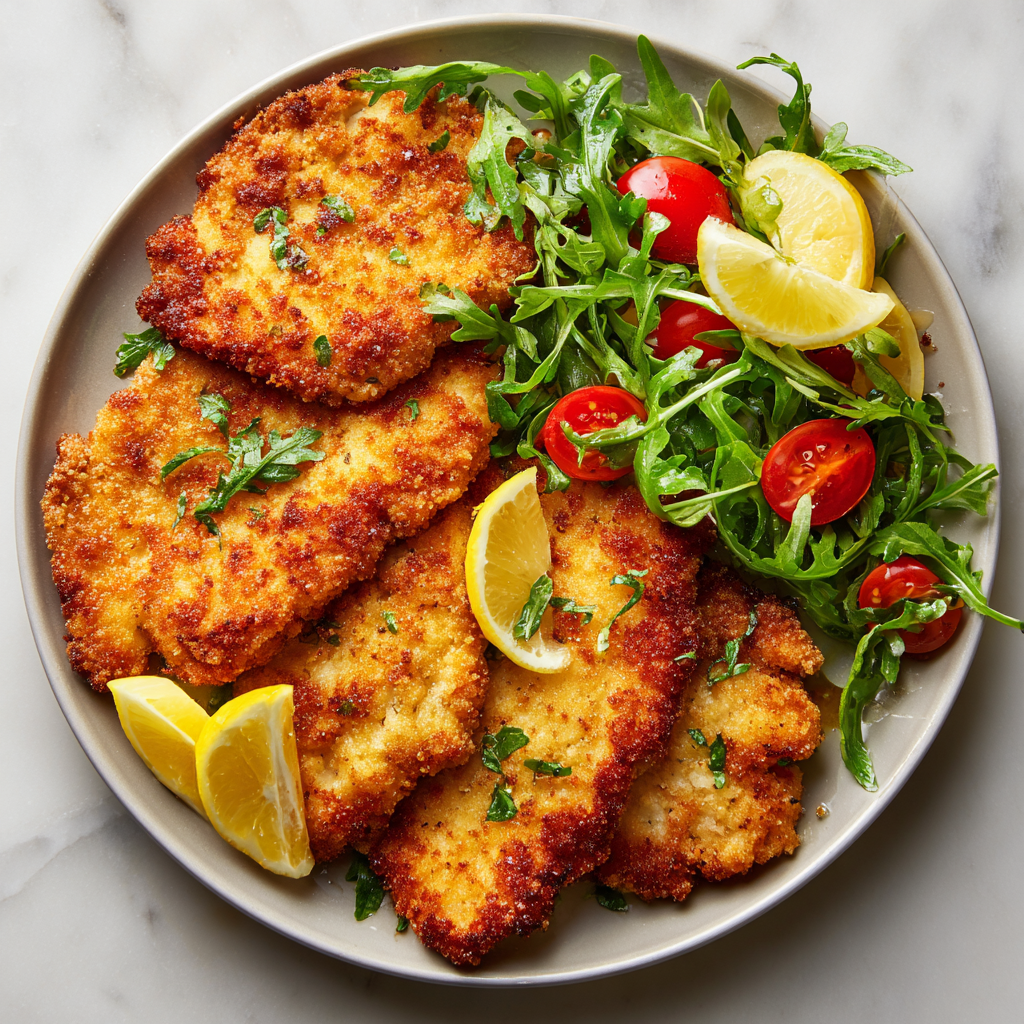
Crispy, golden, and irresistibly tender, Chicken Milanese is a classic Italian dish where thinly pounded chicken cutlets are coated in breadcrumbs and pan-fried to perfection. It’s light, flavorful, and delicious served with lemon wedges, arugula, or a simple side of pasta.
Ingredients
2 boneless, skinless chicken breasts, halved and pounded thin
Salt and pepper to taste
1/2 cup all-purpose flour
2 eggs, beaten
1 cup Italian-style breadcrumbs
1/2 cup grated Parmesan (optional for extra flavor)
1/4 cup olive oil, for frying
Lemon wedges, for serving
Instructions
Season chicken with salt and pepper.
Set up three bowls: one with flour, one with beaten eggs, and one with breadcrumbs (mix with Parmesan if using).
Dredge chicken in flour, dip in egg, then coat in breadcrumbs.
Heat oil in a large skillet over medium-high heat. Fry chicken 3–4 minutes per side until golden and cooked through.
Drain on paper towels and serve with lemon wedges.
- Prep Time: 10 minutes
- Cook Time: 10 minutes
- Category: Dinner, Main Course
Nutrition
- Calories: 320
- Fat: 16g
- Carbohydrates: 20g
- Protein: 28g
Gathering Your Flavor Arsenal: What You’ll Need
Part of the beauty of this dish is its simplicity. You probably have most of this already! Here’s the lineup for that perfect, crispy crust and juicy interior.
- 2 boneless, skinless chicken breasts: We’re going to butterfly and pound these bad boys thin. This is KEY for quick, even cooking and that classic Milanese shape. Chef’s Insight: If you’re short on time, ask your butcher for “chicken cutlets” or “scaloppine”—they’re already prepped for you!
- Salt and pepper to taste: Don’t be shy! Seasoning every layer is our first rule of flavor. I use fine sea salt and freshly cracked black pepper for the best taste.
- 1/2 cup all-purpose flour: This is our first coating and it creates a dry surface for the egg to stick to, which is the secret to a crust that won’t slide off! Substitution Tip: Gluten-free 1-to-1 flour blend works perfectly here.
- 2 large eggs, beaten: The glorious glue that holds our breadcrumb coating on. Chef’s Hack: Add a tablespoon of water or milk to the eggs—it makes them easier to dip into and can lead to a slightly lighter crust.
- 1 cup Italian-style breadcrumbs: They’re already seasoned with herbs like oregano and basil, which adds so much flavor. Substitution Tip: No Italian-style? Use plain Panko or regular breadcrumbs and add a teaspoon of dried Italian seasoning, a pinch of garlic powder, and a pinch of onion powder.
- 1/2 cup grated Parmesan cheese (optional but highly recommended): I say “optional” but really, it’s not. Mixing this into the breadcrumbs adds a nutty, salty, umami depth that takes the crust to a whole new level. Trust me on this one.
- 1/4 cup olive oil, for frying: A good, neutral olive oil is perfect. You want enough to generously coat the pan—we’re pan-frying, not deep-frying, but we need enough oil to get those gorgeous, crispy edges. Chef’s Insight: You can also use a neutral oil like avocado oil or grapeseed oil which have a higher smoke point.
- Fresh lemon wedges, for serving: Non-negotiable! The bright, fresh zip of lemon juice right at the end cuts through the richness and makes every single flavor pop.
Let’s Make Some Magic: Your Step-by-Step Guide to Crispy Perfection
Okay, team! Let’s break this down. It’s a simple process, but a few pro tips will make all the difference between good and *great*.
- Prep Your Chicken: Place one chicken breast on a sturdy cutting board. Place your hand flat on top of it. Using a sharp knife, carefully slice it horizontally, almost all the way through, and open it up like a book (this is called butterflying). Repeat with the second breast. Now, place the butterflied breasts between two pieces of plastic wrap or in a large zip-top bag. Using the flat side of a meat mallet, a rolling pin, or even a heavy skillet, gently pound the chicken until it’s about ¼ to ½ inch thick. Chef’s Hack: Pounding from the center outward helps keep the cutlet an even thickness. Season both sides generously with salt and pepper. This is your flavor foundation!
- Set Up Your Dredging Station: This is my favorite part—it feels so professional! Get three shallow bowls or plates. In the first, place your flour. In the second, place your beaten eggs (remember that tablespoon of water!). In the third, mix your breadcrumbs and grated Parmesan together. Line them up in that order: flour, egg, breadcrumbs. This creates an assembly line for flawless coating.
- The Dredging Dance: Now, let’s get messy! Take one seasoned chicken cutlet and dredge it in the flour, shaking off any excess. This first layer is crucial for adhesion. Next, dip it fully into the egg wash, letting the excess drip back into the bowl. Finally, press it firmly into the breadcrumb-Parmesan mixture, ensuring every single inch is coated. Gently press the crumbs onto the chicken to make sure they really stick. Place the finished cutlet on a clean plate and repeat with the remaining chicken. Chef’s Tip: Use one hand for the dry ingredients (flour and breadcrumbs) and the other hand for the wet (egg). This keeps you from getting “club fingers”—a dreaded condition where your fingers become a breadcrumb-covered mess!
- Heat the Oil: Place a large skillet (cast iron is amazing for this!) over medium-high heat. Add your olive oil. You’ll know it’s ready when a few breadcrumbs dropped into the oil sizzle immediately. We want it hot so the chicken sizzles the second it hits the pan, sealing that crust instantly.
- Fry to Golden Bliss: Carefully place one or two cutlets in the hot oil—don’t overcrowd the pan, or the temperature will drop and you’ll get soggy chicken! We want that sizzle. Fry for 3-4 minutes on the first side, until it’s a deep, golden brown. You can gently lift a corner to peek. Flip carefully and cook for another 3-4 minutes on the other side until equally golden and the chicken is cooked through. Chef’s Test: The internal temperature should read 165°F (74°C) on a meat thermometer, or you can cut into the thickest part to ensure it’s no longer pink.
- Drain and Rest: Once perfect, transfer the crispy chicken to a wire rack set over a baking sheet or a plate lined with paper towels. This allows air to circulate so the bottom stays crisp. Let it rest for just a minute—this helps the juices redistribute throughout the chicken, making it incredibly tender.
Plating Up: How to Serve Your Masterpiece
This is where the fun really begins! That gorgeous, golden cutlet is a blank canvas. The classic (and my personal favorite) way is to place the whole crispy cutlet on a plate, top it with a big, fresh handful of arugula (the peppery bite is perfect), and add a generous squeeze of fresh lemon juice right over the top. The heat from the chicken will slightly wilt the greens, and it’s just… *chef’s kiss*.
You can also serve it alongside a simple pasta—think angel hair with a light tomato sauce or just a drizzle of good olive oil and garlic. It’s also fantastic with a side of roasted potatoes or a simple, bright chopped salad. However you serve it, that lemon wedge is non-negotiable. Squeeze it over right before you eat for the full, vibrant effect!
Ride the Flavor Wave: Creative Twists on the Classic
Once you’ve mastered the basic, try playing with these fun variations!
- Herbaceous Delight: Add 2 tablespoons of finely chopped fresh parsley, basil, or chives to the breadcrumb mixture.
- The “Parm Crisp”: For an extra cheesy, lacy crust, press a thin layer of finely shredded Parmesan directly onto the chicken after the egg dip, *then* press into the breadcrumbs.
- Piccata Style: After removing the chicken from the pan, add a splash of white wine and the juice of half a lemon to the skillet to deglaze. Swirl in a tablespoon of capers and two tablespoons of butter for a quick, incredible sauce to pour over the top.
- Gluten-Free & Low-Carb: Use almond flour instead of all-purpose and crushed pork rinds or gluten-free panko instead of breadcrumbs for a fantastic crunch.
- Milanese Sandwich: Let the cutlet cool slightly, then pile it on a crusty ciabatta roll with arugula, a slice of tomato, and a smear of garlic aioli. Life-changing.
Isla’s Kitchen Notes: The Story Behind The Crust
This recipe has evolved so much in my kitchen over the years. I’ve made it for frantic weeknights, for fancy dinner parties, and everything in between. One time, I was filming a quick video for Instagram and was so busy chatting that I completely forgot to season the flour bowl. The result? The blandest chicken of my life! We had to douse it in lemon and salt at the table. Lesson learned: season every single layer, people! It’s a core memory now.
I also used to be terrified of frying. I’d put the heat on too low for fear of burning, and I’d end up with oily, soggy chicken. Don’t be like past Isla! Trust the process and get that oil nice and hot. The sizzle is your best friend. This recipe is forgiving, fun, and absolutely meant to be made with joy. Put on your favorite playlist, don’t stress about a messy kitchen, and enjoy the process. The happy dance you’ll do when you take that first bite is 100% guaranteed.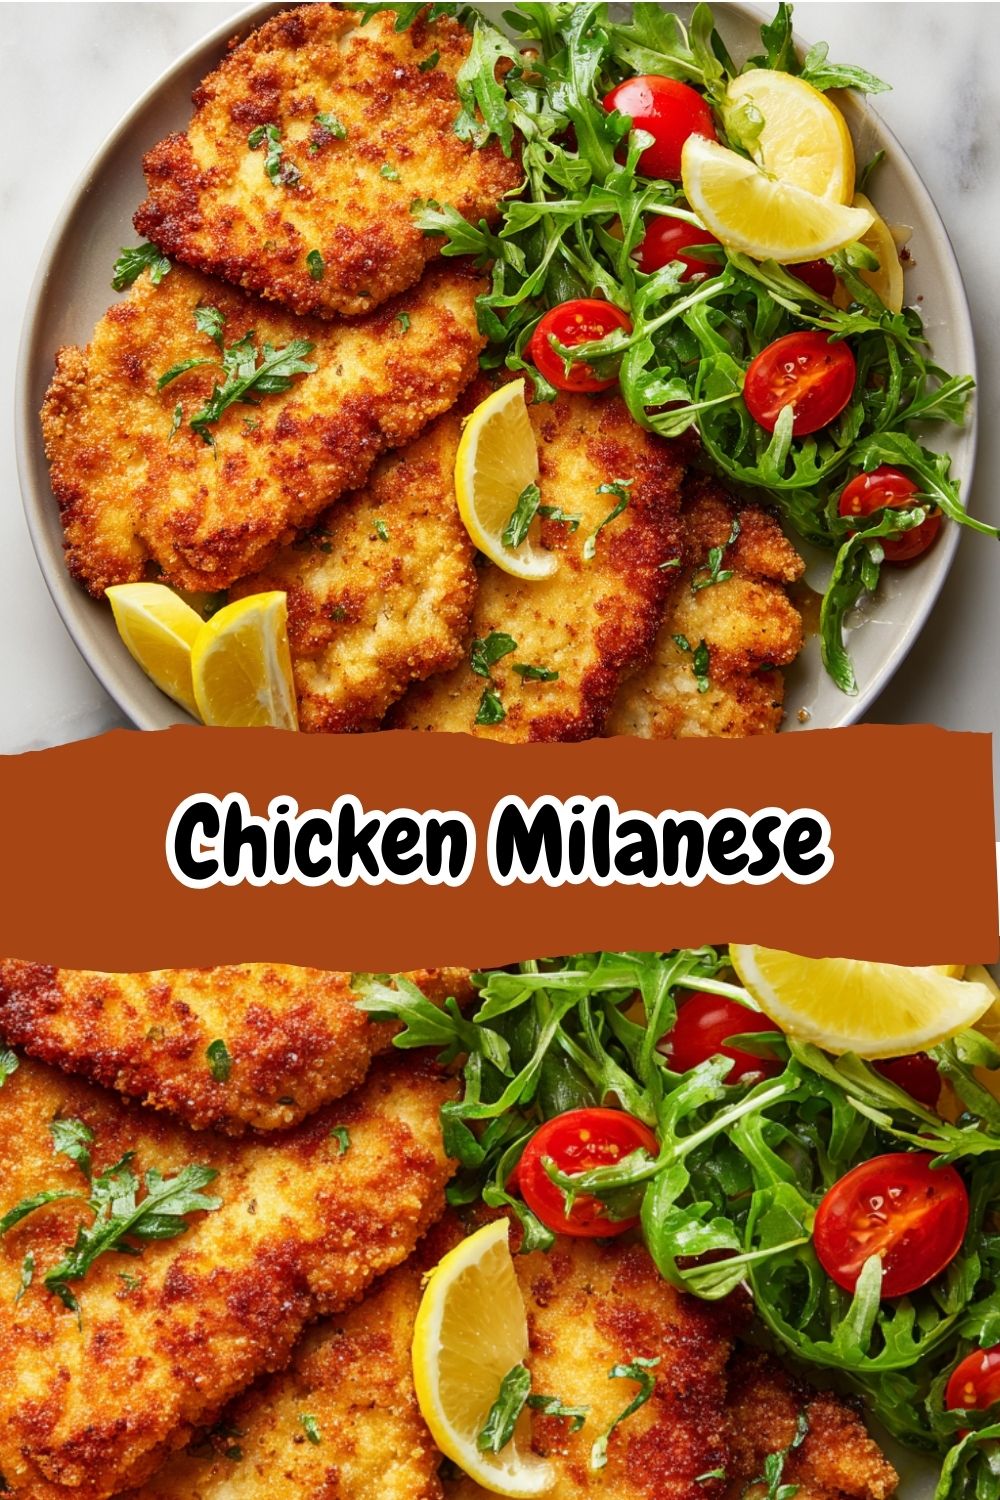
Your Questions, Answered: Milanese FAQs
Q: My breading is falling off! What did I do wrong?
A: The most common culprit is not shaking off the excess flour after the first dredge. That flour layer needs to be thin and even so the egg can grip onto it. The egg then acts as the glue for the breadcrumbs. Also, make sure your oil is hot enough before adding the chicken. If it’s not, the coating will absorb oil instead of sealing, and it can slide right off.
Q: Can I bake Chicken Milanese instead of pan-frying?
A: You can! For a lighter version, place your breaded cutlets on a wire rack set on a baking sheet (this is key for air circulation!). Spray both sides generously with cooking spray or drizzle with a little oil. Bake at 400°F (200°C) for 15-20 minutes, flipping halfway through, until golden brown and cooked through. The crust won’t be *quite* as crispy as pan-fried, but it’s still delicious!
Q: Can I make this ahead of time?
A> You can prep the cutlets ahead! Bread them completely, place them in a single layer on a baking sheet, and cover with plastic wrap. You can refrigerate them for up to 4 hours before cooking. This is a huge weeknight time-saver. I don’t recommend freezing the breaded raw chicken, as it can make the coating soggy when thawed.
Q: My chicken is burning before it cooks through. Help!
A: This means your heat is too high! The outside is browning faster than the inside can cook. Next time, reduce the heat to medium. The chicken should sizzle gently but not violently. If it’s happening right now, you can finish the chicken in a 350°F (175°C) oven for a few minutes after you get a good sear on both sides.
Nutritional Information*
Prep time: 10 minutes | Cook time: 10 minutes | Serves: 4
*This is an estimate for 1 cutlet using the ingredients listed, calculated with a nutrition API. Values can vary based on specific ingredients used and portion size.
Approx. per serving: 320 calories | 20g carbs | 28g protein | 16g fat