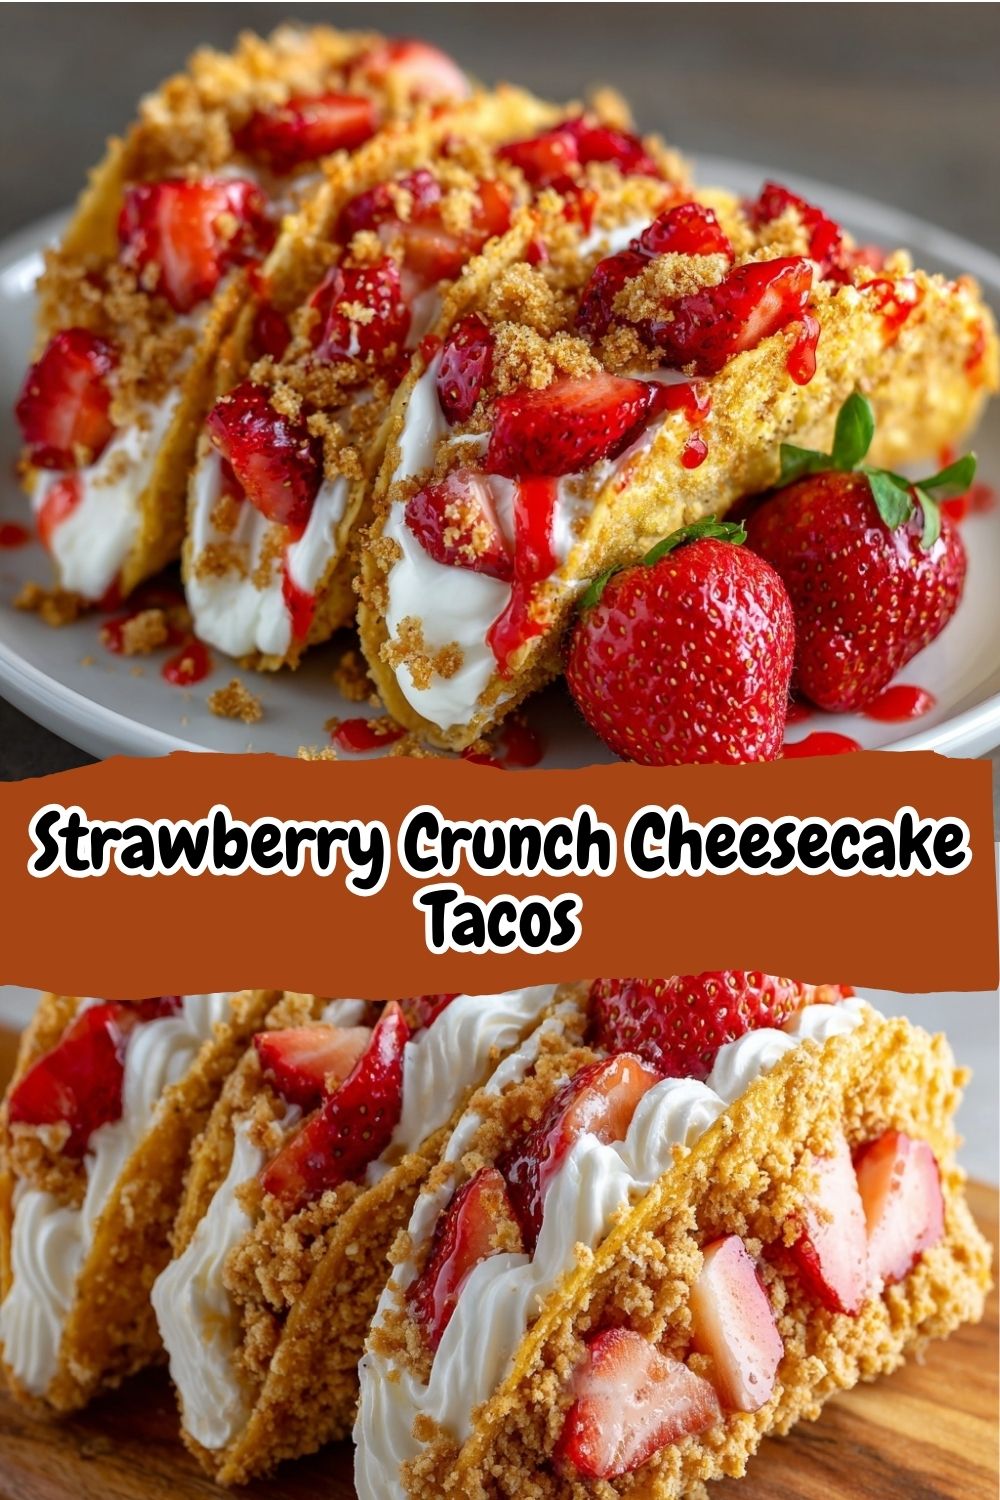
Strawberry Crunch Cheesecake Tacos: Your New Favorite Dessert Party Trick
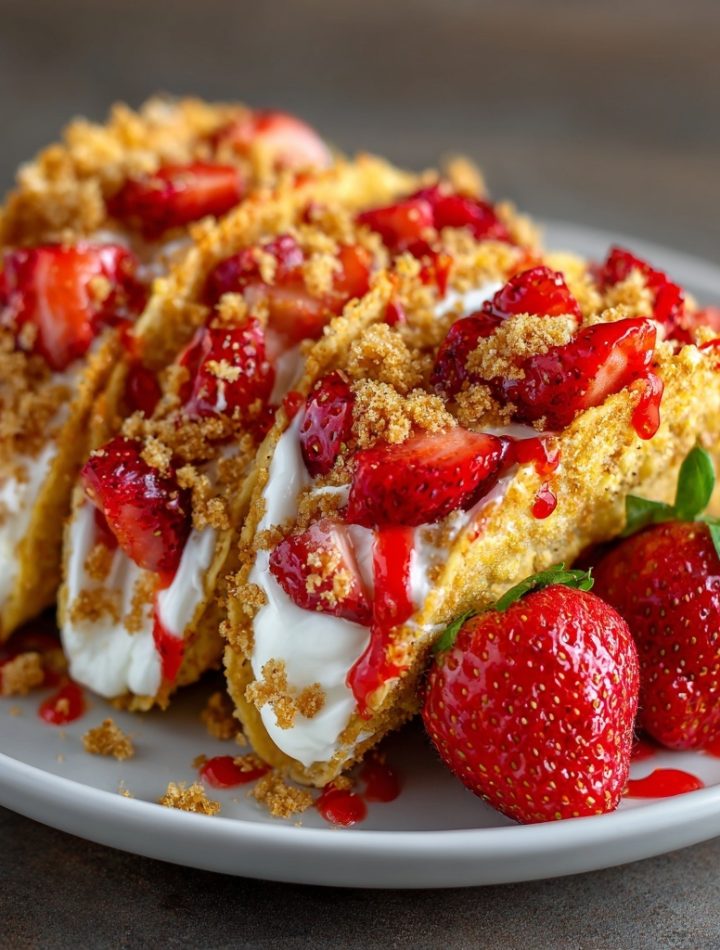
Hey, friend! Pull up a stool and get ready for a flavor story that ends with you holding the most fun, fuss-free dessert imaginable. Today, we’re making Strawberry Crunch Cheesecake Tacos. Yes, you read that right—tacos, but for dessert. We’re talking crispy, cinnamon-sugar taco shells cradling the dreamiest, fluffiest no-bake cheesecake filling, all crowned with that iconic, nostalgia-packed strawberry shortcake crunch and fresh berries.
If you’ve ever stood in the grocery store freezer aisle, eyed those strawberry shortcake ice cream bars, and thought, “I wish I could live inside this flavor,” this recipe is your homemade, elevated answer. It’s the perfect marriage of playful presentation and seriously delicious payoff. Whether you’re planning a summer BBQ, need a show-stopper for a potluck, or just want to turn an ordinary Tuesday into a celebration, these handheld delights are your secret weapon. They come together in under 30 minutes, require zero fancy equipment, and are guaranteed to spark joy (and maybe a few happy dances). Let’s ditch the complicated pastry recipes and ride this sweet, crunchy, berry-licious wave together.
The Strawberry Shortcake Memory That Inspired It All
This recipe didn’t just pop into my head. It floated in on the scent of my grandma’s kitchen in July. Every summer, she’d buy a box of those neon-pink strawberry shortcake snack cakes—the kind with the irresistible crumbly coating. My cousins and I would sit on her porch swing, legs sticking to the vinyl, meticulously licking the “crunch” off the outside before devouring the cake. It was our messy, sugary ritual.
Years later, while trying to create a dessert for a friend’s “Taco Tuesday & Margarita Night” party, that memory came rushing back. What if the shell was part of the dessert? What if we could recreate that magical crunch? A few experiments (and a couple of delicious failures) later, these cheesecake tacos were born. They capture that pure, joyful childhood flavor but wrap it up in a sophisticated, shareable package that makes grown-ups feel like kids again. For me, that’s the heart of BiteTide: connecting those delicious dots between memory and the meal (or dessert!) right in front of you.
Print
Strawberry Crunch Cheesecake Tacos :Crispy, Creamy & Berry-Licious
- Total Time: 25 minutes
- Yield: 6 servings 1x
Description
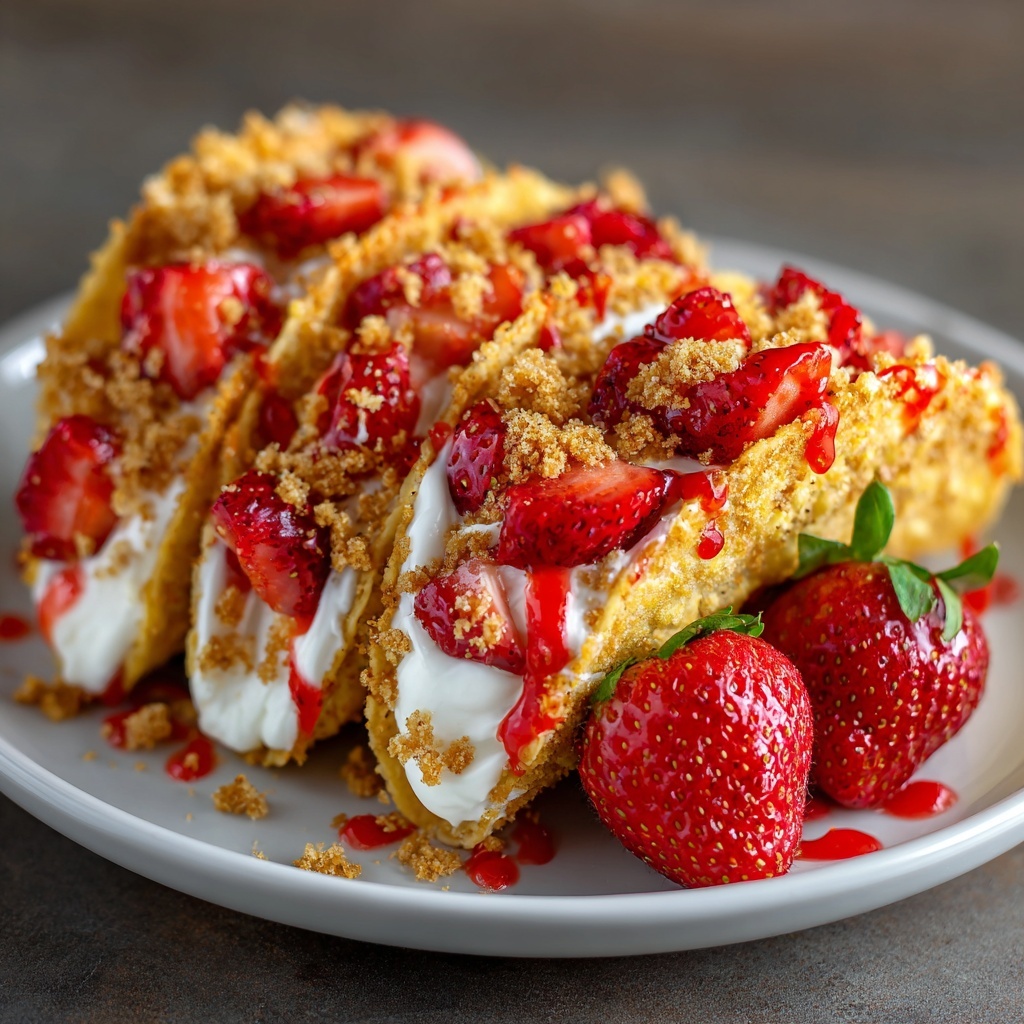
Strawberry Crunch Cheesecake Tacos are the ultimate hand-held dessert! Crispy taco shells are filled with fluffy cheesecake cream and topped with a nostalgic strawberry shortcake crunch. Packed with sweet berry flavor and fun to assemble, these dessert tacos are perfect for parties, BBQs, or anytime you want to wow with something unexpected.
Ingredients
For the Taco Shells:
6 small flour tortillas
2 tablespoons butter, melted
1/4 cup sugar + 1 teaspoon cinnamon (for coating)
For the Cheesecake Filling:
8 oz cream cheese, softened
1/3 cup powdered sugar
1 teaspoon vanilla extract
1 cup whipped cream or whipped topping
For the Strawberry Crunch Topping:
1/2 cup crushed Golden Oreos
1/4 cup freeze-dried strawberries
1 tablespoon melted butter
To Garnish:
Fresh strawberries, chopped
Optional: strawberry sauce or glaze drizzle
Instructions
Make Shells: Preheat oven to 375°F (190°C). Brush tortillas with melted butter, sprinkle with cinnamon sugar, then drape over the bars of an oven rack or a taco mold. Bake for 8–10 minutes until crisp. Cool completely.
Make Filling: Beat cream cheese, powdered sugar, and vanilla until smooth. Fold in whipped topping until light and fluffy.
Make Crunch: Pulse Golden Oreos and freeze-dried strawberries in a food processor. Stir in melted butter until crumbly.
Assemble Tacos: Spoon or pipe cheesecake filling into taco shells. Top with strawberry crunch, chopped berries, and optional strawberry drizzle.
Serve Immediately or chill briefly for a firmer bite.
- Prep Time: 15 mins
- Cook Time: 10 minutes
- Category: Dessert
Nutrition
- Calories: 320
- Carbohydrates: 28g
- Protein: 4g
Gathering Your Flavor Crew: Ingredients & Why They Work
Here’s everything you’ll need to build these epic dessert tacos. I’ve included my chef notes and easy swaps so you can shop and cook with confidence!
- Small Flour Tortillas (6): The vessel! The small “street taco” size is perfect for a handheld dessert. Chef Tip: Don’t use corn tortillas here—they’re more likely to crack when bending. For a fun twist, you can use mini cinnamon-sugar pita breads.
- Butter, melted (2 tbsp + 1 tbsp): Our flavor glue and crisp-maker. Brushing it on the tortillas helps the cinnamon sugar stick and promotes that gorgeous golden crispiness in the oven. Salted or unsalted works fine here.
- Sugar & Cinnamon (1/4 cup + 1 tsp): The dynamic duo that transforms a simple tortilla into a churro-like shell. Mix them in a shallow bowl for easy coating.
- Cream Cheese, softened (8 oz / one block): The rich, tangy base of our filling. CRUCIAL: Let it sit out for 30-60 minutes until it’s room temperature and soft. This is the #1 secret to a lump-free, silky filling. Full-fat is best for flavor and structure.
- Powdered Sugar (1/3 cup): Sweetens and slightly thickens our filling without any graininess. You can adjust to taste if you like things a bit less sweet.
- Vanilla Extract (1 tsp): The flavor enhancer. A good pure vanilla adds a beautiful depth that makes the cheesecake taste “real.”
- Whipped Cream or Whipped Topping (1 cup): This is what gives our filling its heavenly, cloud-like fluff. Using a tub of whipped topping (like Cool Whip) is super easy and stable. For a from-scratch version, whip 1/2 cup of heavy cream with 1 tbsp of the powdered sugar until stiff peaks form.
- Golden Oreos (1/2 cup, crushed): The “shortcake” base of our iconic crunch. Their vanilla flavor is perfect. You can also use Nilla Wafers or shortbread cookies in a pinch!
- Freeze-Dried Strawberries (1/4 cup): The flavor powerhouse! These little gems pack an intense, concentrated strawberry punch without adding any moisture that would make the crunch soggy. Find them in the snack aisle or with the dried fruit.
- Fresh Strawberries, chopped: For garnish. They add a juicy, fresh contrast and make the tacos look absolutely gorgeous.
- Optional: Strawberry Sauce: A drizzle of store-bought or homemade sauce takes these over the top. It’s the pro-level move!
Let’s Build Some Magic: Step-by-Step Instructions
Ready? Apron on, oven preheating to 375°F (190°C), and let’s have some fun. I’m walking you through every step with my favorite hacks to ensure taco success.
Step 1: Crafting the Crispy Cinnamon Sugar Shells
This is the only “cooking” part, and it’s a breeze. In a small bowl, mix your 1/4 cup sugar and 1 teaspoon of cinnamon. Brush one side of each tortilla lightly but evenly with melted butter. Dip the buttered side into the cinnamon sugar, pressing gently so it adheres. Now, here’s the trick for the perfect taco shape: drape each tortilla over two bars of your oven rack, sugared side facing out. Make sure the rack is in the middle position. The tortillas will form a natural, curved taco shell as they bake! No special mold needed. If you’re nervous, you can also drape them over a rolled-up foil log placed on a baking sheet.
Bake for 8-10 minutes. Watch for them to become firm and golden at the edges—they’ll crisp up more as they cool. Let them cool completely on the rack. Chef Hack: If they seem to be browning too quickly on the thin edges, just fold a little piece of foil over them.
Step 2: Whipping Up the Cloud-Like Cheesecake Filling
While the shells cool, let’s make the filling. In a medium bowl, beat your softened cream cheese with an electric mixer (or a lot of elbow grease and a whisk) until it’s completely smooth. No lumps allowed! Scrape down the sides of the bowl. Add the powdered sugar and vanilla, and beat again until combined and creamy.
Now, gently fold in the whipped cream or whipped topping. “Folding” means using a spatula to cut down through the middle, scoop along the bottom, and turn the mixture over itself. Do this just until no white streaks remain. Be gentle—this keeps the filling light and airy, not dense. Cover and pop it in the fridge to firm up slightly while you make the crunch.
Step 3: Creating the Iconic Strawberry Crunch
This is the fun part! In a food processor, pulse the Golden Oreos and freeze-dried strawberries until you have fine, colorful crumbs. No food processor? No problem! Place them in a sturdy zip-top bag, seal it (let the air out!), and crush with a rolling pin or the bottom of a heavy pan. Transfer the crumbs to a bowl and drizzle with the 1 tablespoon of melted butter. Stir until it looks like wet sand and the butter is evenly distributed. Set aside.
Step 4: The Grand Assembly (The Best Part!)
Lay out your cooled, crispy shells. You can spoon the filling in, but for a beautiful, bakery-worthy look, transfer the filling to a piping bag or a zip-top bag with a corner snipped off. Pipe a generous amount into each shell. Now, generously sprinkle the strawberry crunch over the filling, pressing it in lightly so it sticks. Top with a heap of chopped fresh strawberries and finish with a luscious drizzle of strawberry sauce if you’re using it. The contrast of creamy, crunchy, fresh, and sweet is everything.
How to Serve & Wow Your Guests
Presentation is half the fun! I love serving these on a long wooden board or a bright platter. Arrange them so the colorful fillings are visible. For a party, set up a “taco bar” with bowls of the cheesecake filling, crunch, berries, sauces, and even some mini chocolate chips or sprinkles. Let everyone assemble their own—it’s a total crowd-pleaser. Serve immediately for the ultimate crisp-creamy experience, or you can chill them, assembled, for up to an hour before serving if you need to get ahead. Pair with a glass of cold milk, a bubbly prosecco, or a creamy iced coffee!
Ride Your Own Flavor Wave: Fun Variations
This recipe is a fantastic blueprint! Get creative with these easy twists:
- Chocolate Lover’s Dream: Use chocolate graham crackers for the crunch and add a tablespoon of cocoa powder to the filling. Drizzle with chocolate sauce.
- Lemon Berry Bliss: Add 1 tbsp of lemon zest to the cheesecake filling. Use crushed lemon Oreos or vanilla wafers with the freeze-dried strawberries for the crunch.
- Peaches & Cream: Swap the freeze-dried strawberries for freeze-dried peaches. Garnish with fresh diced peaches and a honey drizzle.
- Birth Cake Tacos: Use funfetti cake mix crumbs (toasted) for the crunch and fold rainbow sprinkles into the filling!
- Dairy-Free/Swap: Use your favorite plant-based cream cheese and whipped topping. The cookies are often accidentally vegan, but always check the label.
Isla’s Chef Notes & Kitchen Confessions
This recipe is a testament to the fact that the best ideas often come from happy accidents. The first time I tried these, I molded the shells over upside-down muffin tins. Let’s just say… retrieval was a comedy of errors involving broken shells and a lot of laughter. The oven rack method was a game-changer born from necessity (and a lack of clean muffin tins!).
Over time, I’ve learned that the quality of your vanilla extract really sings in the simple filling, and that letting the cream cheese truly soften is non-negotiable. I’ve also been known to double—no, triple—the batch of the strawberry crunch because it’s dangerously good sprinkled over yogurt or ice cream straight from the fridge. This recipe has become my go-to for last-minute hostess gifts, and watching someone’s face light up when they take the first bite never gets old. That’s the BiteTide magic.
Your Questions, Answered: FAQs & Troubleshooting
Q: My shells got soggy after filling. What happened?
A: This usually means they weren’t cooled completely before filling, or the filling was very warm. Ensure shells are 100% cool to the touch. Also, assemble close to serving time. The longer they sit, the more moisture from the filling will soften the shell.
Q: Can I make any part ahead of time?
A> Absolutely! You can bake and cool the shells a day ahead; store them in an airtight container at room temperature. The crunch topping can also be made a day ahead and stored at room temp. Make the filling up to a day ahead and keep it covered in the fridge. Assemble within an hour of serving for best texture.
Q: My cream cheese filling is lumpy. Can I fix it?
A> This is almost always because the cream cheese was too cold. To salvage it, let the lumpy mixture sit for 10 more minutes to warm slightly, then beat it vigorously with your mixer. If that fails, you can press it through a fine-mesh sieve—a bit fussy, but it works!
Q: I can’t find freeze-dried strawberries. What can I use?
A> You can use 2-3 tablespoons of strawberry powder (like from Jell-O brand) or even a packaged “strawberry crunch” topping from the baking aisle. The flavor won’t be as naturally fruity, but it will still be delicious. Alternatively, pulse in a handful of dried strawberries (not freeze-dried), but note they’ll be chewier.
Nutritional Information*
*This is an estimate provided for informational purposes. Variations in ingredients will cause changes.
Per Taco (approx.): Calories: 320 | Total Fat: 20g | Saturated Fat: 12g | Carbohydrates: 28g | Fiber: 1g | Sugar: 17g | Protein: 4g