The Chocolate Cake That Feels Like a Hug: Your New Go-To Celebration Dessert
Hey there, fellow flavor-seeker! Isla here from BiteTide, your partner in crime for all things deliciously uncomplicated. Let’s talk about that one chocolate cake recipe – you know, the kind that makes eyes light up, forks clink frantically, and leaves a little cocoa-dusted smile on everyone’s face. This isn’t just any cake. This is the Ultra-Moist Chocolate Layer Cake of your dreams, the one that feels like a warm hug in dessert form. Whether you’re celebrating a birthday, conquering a tough week, or simply answering the siren call of chocolate (no judgment here!), this cake is your answer. It’s bakery-level decadent with deep, rich cocoa flavor and a melt-in-your-mouth crumb, yet miraculously simple to whip up in your own kitchen. Forget dry, sad cake imposters. We’re riding a wave of pure, unadulterated chocolate joy, topped with a cloud of silky chocolate buttercream that’s smoother than your favorite playlist. Grab your favorite mixing bowl – we’re about to make some magic (and probably lick a spoon or two!).
Grandma’s Apron & The Cake That Started It All
This cake? It smells like childhood summers at my grandma’s tiny seaside cottage. Her kitchen was about 5 feet wide, always steamy, and smelled perpetually of salt air and something baking. One sweltering July afternoon, she decided I was finally old enough to help make her “World-Famous” (well, family-famous!) chocolate cake for Uncle Pete’s birthday. Flour puffed everywhere like edible clouds, cocoa dusted my nose, and the batter… oh, that batter! It was suspiciously thin, almost like chocolate soup. Little 8-year-old me was convinced we’d messed up. “Just wait, Button,” Grandma winked, wiping flour off my cheek with her apron. “Trust the tide.” When those layers emerged, impossibly tall and smelling like heaven, and we slathered on the fudgy frosting, it was pure alchemy. That first bite – impossibly moist, deeply chocolatey, the frosting melting on my tongue – wasn’t just cake. It was love, laughter, and the messy, beautiful proof that sometimes the runniest batters make the most magical cakes. Baking this now? It’s like getting a hug from her every single time.
Your Chocolate Dream Team: Ingredients (& Why They Matter!)
Gather your squad! Here’s what you’ll need to create this moist masterpiece, plus my insider tips for flexibility:
🍫 For the Cake:
- 1¾ cups (219g) all-purpose flour: The trusty foundation. Want it extra tender? Swap in cake flour, but use 2 cups minus 2 tbsp (spoon & level!).
- ¾ cup (62g) unsweetened natural cocoa powder: Not Dutch-process! Natural cocoa gives that classic tangy depth and reacts perfectly with our leaveners. Hershey’s Special Dark is my fave for intense flavor.
- 1¾ cups (350g) granulated sugar: Sweetness and structure. Don’t reduce it – moisture magic relies on this!
- 2 tsp baking soda + 1 tsp baking powder: Our dynamic rising duo! Soda reacts with the cocoa and buttermilk, powder gives extra lift. Crucial for that perfect crumb.
- 1 tsp salt: Flavor enhancer supreme! Makes the chocolate sing. Always use fine sea salt or kosher salt.
- 2 tsp espresso powder (optional but HIGHLY recommended): The secret weapon! Doesn’t make it taste like coffee – just deepens, darkens, and intensifies the chocolate flavor like magic. Instant coffee (fine ground) works too.
- ½ cup (120ml) vegetable oil: The key to MOISTURE! Keeps the crumb tender. Canola or melted coconut oil work too.
- 2 large eggs, at room temp: Binds and enriches. Room temp blends smoother! Cold eggs can make batter seize.
- 2 tsp vanilla extract: Pure vanilla adds warmth and complexity. Use the good stuff!
- 1 cup (240ml) buttermilk, at room temp: Tangy tenderness! No buttermilk? Make your own: Stir 1 tbsp lemon juice or vinegar into 1 cup milk, let sit 5 mins. Room temp is non-negotiable!
- 1 cup (240ml) strong hot coffee (regular or decaf): The BIG moisture secret! Hot liquid “blooms” the cocoa, making flavor POP and creating that incredible, velvety texture. Water works, but coffee is better. Don’t panic – the batter WILL be thin!Print
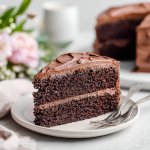
Deliciously Moist Chocolate Layer Cake
- Total Time: 1 hour 5 minutes
- Yield: 12 slices
Description
This rich, ultra-moist chocolate cake is what dessert dreams are made of—deep cocoa flavor, velvety buttercream, and pure indulgence in every bite. Perfect for birthdays, holidays, or anytime you crave a little joy.
Instructions
Bake the Cake:
Preheat oven to 350°F (177°C). Grease and line two 9-inch pans.
Whisk dry ingredients in a bowl. Add oil, eggs, vanilla, and buttermilk—mix until smooth.
Stir in hot coffee (batter will be thin).
Divide into pans. Bake 30–35 mins. Cool completely.Make Frosting:
Beat butter until creamy. Add sugar, cocoa, salt, vanilla, and cream.
Whip until fluffy, adding cream for consistency.Assemble:
Spread buttercream between layers and over top/sides.
Sprinkle with chocolate chips if desired.- Prep Time: 30 min
- Cook Time: 35 min
Nutrition
- Calories: ~480
🧁 For the Chocolate Buttercream:
- 1¼ cups (282g) unsalted butter, softened: Creamy dream base! MUST be softened (leave out 1-2 hours). Salted butter? Omit the added salt.
- 3½ cups (420g) confectioners’ sugar: Silky smoothness. Sift it if lumpy!
- ¾ cup (65g) unsweetened cocoa powder: Use the same natural cocoa as the cake for consistent flavor.
- 3–5 tbsp (45–75ml) heavy cream or milk: Adjusts consistency. Heavy cream = richer, more stable frosting.
- ¼ tsp salt: Balances the sweetness. Essential!
- 1 tsp vanilla extract: Flavor booster.
- Optional: mini chocolate chips for topping: Fun texture and visual pop!
Let’s Bake! Step-by-Step to Chocolate Nirvana
Okay, team, aprons on! This is where the fun (and the deliciousness) happens. Don’t fear the thin batter – embrace it! That’s the moisture magic.
- Preheat & Prep: Crank your oven to 350°F (177°C). This is prime baking temp for even layers. Now, show your cake pans (two 9-inch rounds) some love! Grease the bottoms and sides thoroughly with butter or non-stick spray. Line the bottoms with parchment paper circles – this is your insurance policy for flawless release! Trust me, after the “Great Cake Stick of ’19”, I never skip this. Set pans aside.
- Whisk the Dry Crew: Grab a large bowl (think big – batter gets voluminous!). Whisk together the flour, cocoa powder, sugar, baking soda, baking powder, salt, and that flavor-boosting espresso powder (if using!). Whisk really well for a full minute. This isn’t just mixing; it’s aerating and ensuring every leavener is evenly distributed. No one wants a baking soda pocket! Chef Hack: Sift the cocoa if it’s clumpy for extra smoothness.
- Bring in the Wet Team (Well, Mostly Wet): To your beautiful mound of dry ingredients, add the vegetable oil, room temperature eggs, vanilla extract, and room temperature buttermilk. Important! Use your hand mixer or stand mixer on medium speed just until combined – about 1 minute. Scrape down the sides. It will be thick and glorious. Don’t overmix here! We’re about to add the liquid gold.
- Embrace the Pour (The Thin Batter is GOOD!): Now, with the mixer on low speed, slowly and steadily pour in the hot coffee. Keep pouring until it’s all in there. The batter will transform – it will become thin, almost like chocolate soup. This is PERFECT! This liquid is the key to that legendary moist texture. Mix just until fully blended, scraping the bowl once. Don’t overmix! Chef Hack: Pour the coffee down the side of the bowl to minimize splashing.
- Bake to Perfection: Immediately divide the batter evenly between your prepared pans. A kitchen scale helps for precision, but eyeballing works too – aim for them to look similar. Slide them into the preheated oven, preferably on the same middle rack (or upper and lower, rotating pans halfway through if needed). Bake for 30-35 minutes. The cakes are done when a toothpick inserted into the center comes out with just a few moist crumbs clinging to it, not wet batter. DO NOT OPEN THE OVEN DOOR BEFORE 25 MINUTES! Cold air = sunken cakes. Sad cakes are not on the menu today.
- Cool Like a Pro: Take the pans out of the oven and let them cool on a wire rack for 15 minutes. Then, run a thin knife around the edges to loosen. Invert the cakes onto the rack, peel off the parchment paper, and let them cool completely. I mean COMPLETELY cold to the touch. Frosting a warm cake = melty, slidey disaster. Patience, grasshopper! Chef Hack: Speed things up by popping the cooled layers (unfrosted) in the fridge for 30 mins.
- Whip Up That Dreamy Buttercream: While the cakes cool, make your frosting. In a large bowl, beat the softened butter with an electric mixer on medium-high speed for 3-4 minutes. You want it pale, super creamy, and fluffy – this incorporates air for lightness. Scrape the bowl. Sift in the confectioners’ sugar and cocoa powder (this prevents lumps!). Add the salt and vanilla. Start mixing on low speed (unless you want a powdered sugar cloud in your kitchen!), gradually increasing to medium. Add 3 tbsp of cream/milk. Beat for another 2-3 minutes until incredibly light and fluffy. If it’s too thick, add more cream, 1 tsp at a time. Too thin? Add a touch more powdered sugar. You want it smooth, spreadable, and dreamy.
- Assemble Your Masterpiece: Place one completely cool cake layer on your serving plate or cake stand. Dollop a generous amount of frosting (about 1 cup) in the center. Spread it evenly to the edges with an offset spatula or butter knife. Carefully place the second layer on top, flat side up for stability. Spread a thin layer of frosting over the entire cake – this is the “crumb coat” that traps loose crumbs. Pop it in the fridge for 15 minutes to set. Then, pile on the remaining frosting and swirl it beautifully over the top and sides. Decorate with mini chocolate chips if desired! Chef Hack: Use a bench scraper held vertically against the side of the cake while turning the stand for super smooth sides!
Showtime! Serving Your Chocolate Triumph
This cake deserves a moment! Let it sit for at least 30 minutes after frosting (if you can resist!) to let the flavors meld. For picture-perfect slices (or just because it’s fun), dip a sharp knife in hot water, wipe it dry, and slice slowly. Clean the knife between slices. Serve generous slabs just as they are – the pure chocolate experience is glorious. Feeling fancy? A dusting of cocoa powder, fresh raspberries, a drizzle of salted caramel, or a scoop of vanilla bean ice cream take it over the top. Coffee or cold milk are its perfect partners. Watch those happy sighs roll in!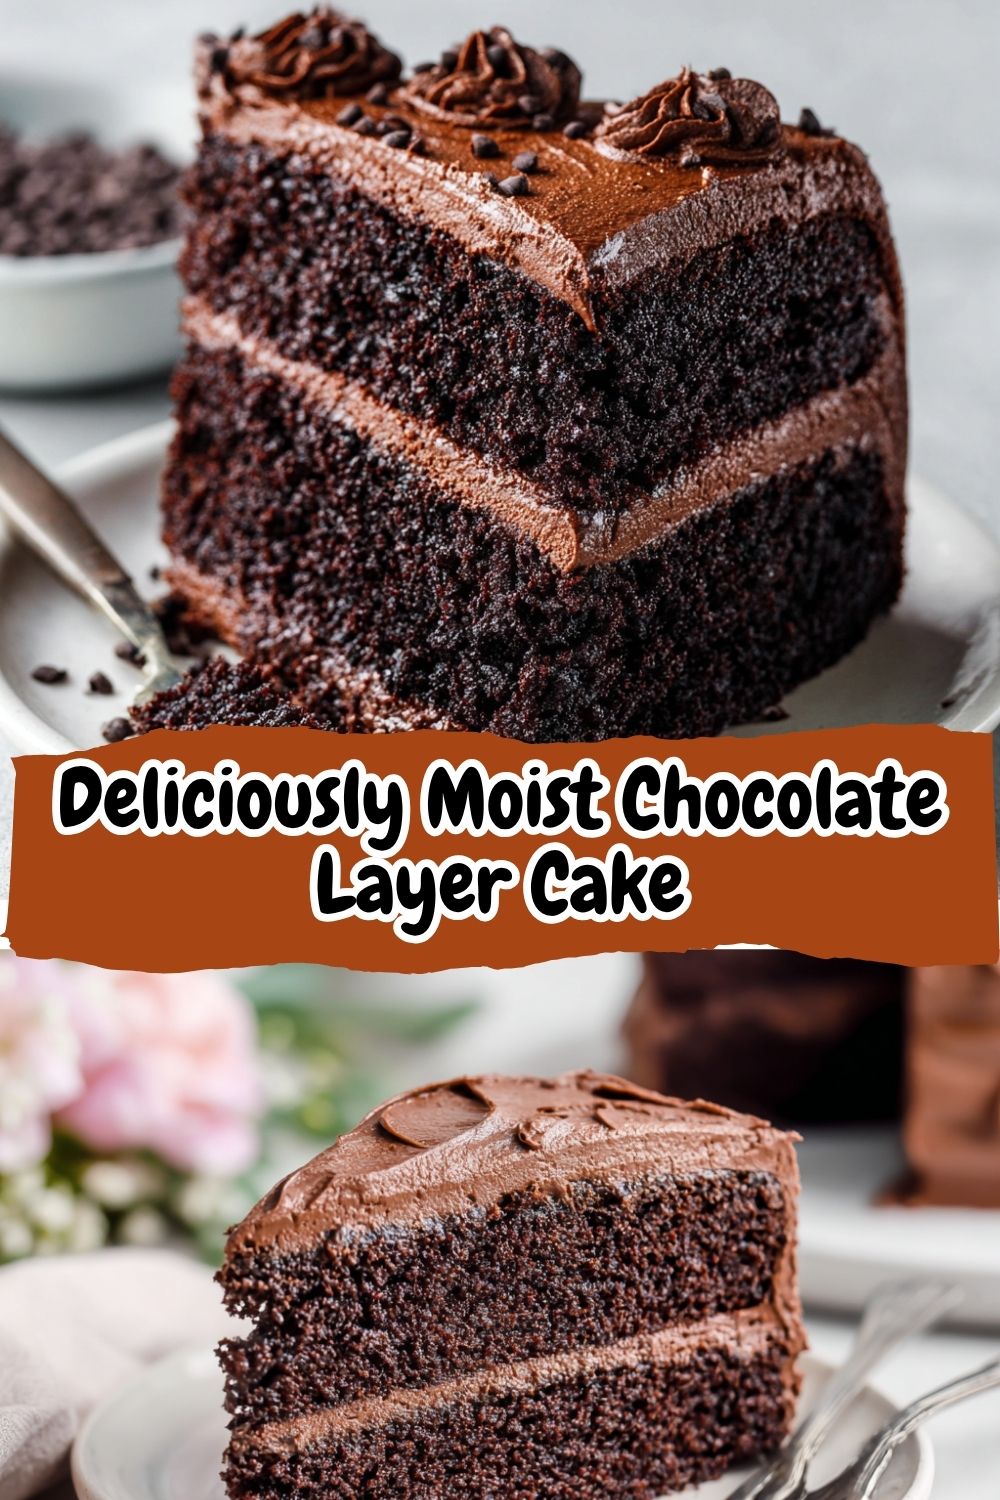
Make It Your Own: Delicious Twists on the Classic
Love the base? Ride the flavor wave with these fun spins!
- Raspberry Rapture: Spread a thin layer of seedless raspberry jam between the cake layers before adding the buttercream. Tart meets rich = heaven!
- Mocha Madness: Add 1-2 tsp of instant espresso powder to the buttercream along with the cocoa. Coffee + chocolate = best friends forever.
- Peanut Butter Paradise: Swirl ½ cup of smooth peanut butter into the finished chocolate buttercream. Frost as usual, then top with chopped peanuts or Reese’s pieces.
- Gluten-Free Glory: Swap the all-purpose flour for a quality 1:1 gluten-free baking blend (like Bob’s Red Mill or King Arthur). Ensure other ingredients (esp. baking powder/soda) are GF.
- Dairy-Free Dream: Use plant-based milk + lemon juice for buttermilk, vegan butter, and dairy-free cream (like full-fat coconut cream) in the frosting. Check cocoa powder is dairy-free!
This Ultra-Moist Chocolate Layer Cake is everything you need in a celebration dessert. Rich, chocolatey, and impossibly tender, it’s the kind of cake that’s perfect for any occasion. Whether you’re celebrating big or just need a chocolate fix, the combination of a deep cocoa flavor, velvety buttercream, and melt-in-your-mouth texture is a guaranteed crowd-pleaser. It’s not just a dessert; it’s an experience—one that feels like a warm embrace with every bite.