Crispy Chicken Schnitzel – Golden, Juicy & Ready in 30 Minutes
Hey there, friend! Isla here from BiteTide. Let’s talk about one of life’s simplest, most glorious pleasures: the sound of a perfectly crispy piece of chicken hitting a hot pan. That sizzle? It’s the official start of a seriously good meal. And today, we’re making my absolute go-to for a busy weeknight that still feels like a celebration: Golden Crispy Chicken Schnitzel.
Now, I know what you might be thinking. “Schnitzel? Isn’t that fancy?” I’m here to tell you, with a wink and a whisk, that it’s anything but. This is the kind of food that’s all about maximum reward for minimal effort. We’re talking about tender chicken, pounded thin, coated in a crunchy, golden crust, and fried to absolute perfection. It’s the culinary equivalent of a warm, crispy hug.
This recipe is your new secret weapon. It’s faster than waiting for delivery, more satisfying than a sad salad, and guaranteed to make everyone at the table do a little happy dance. I’ve packed this guide with all my best chef hacks and heartwarming stories, so grab your favorite skillet, and let’s turn a simple chicken breast into a masterpiece of crunch and flavor. Ready to make some noise in the kitchen?
The Little Kitchen That Could: My First Schnitzel
My love affair with schnitzel started not in a fancy bistro, but in my Oma’s tiny, steam-fogged kitchen. I was maybe seven years old, perched on a wobbly stool, my job being the official “crumb crusher.” She’d hand me a rolling pin and a bag of stale bread, and I’d go to town, creating a mountain of fine, golden dust. The rhythm was hypnotic: the thump-thump-thump of the pin, the sizzle of the butter and oil in her heavy cast-iron pan, and the rich, savory smell that filled the entire house.
She’d let me dip the pounded cutlets first in flour, then in the egg, my small fingers getting delightfully messy. “Press hard, liebling,” she’d say in her gentle accent. “Make the crumbs stick. That’s where the magic lives.” And she was right. That first bite, drenched in a squeeze of fresh lemon, was a revelation. It was crispy, juicy, and full of love. To this day, every time I make this recipe, I’m right back on that stool, feeling the warmth of her kitchen and the joy of creating something truly wonderful from simple, honest ingredients.
Print
Crispy Chicken Schnitzel : Golden, Juicy & Ready in 30 Minutes
- Total Time: 30 mins
- Yield: 6 servings 1x
Description
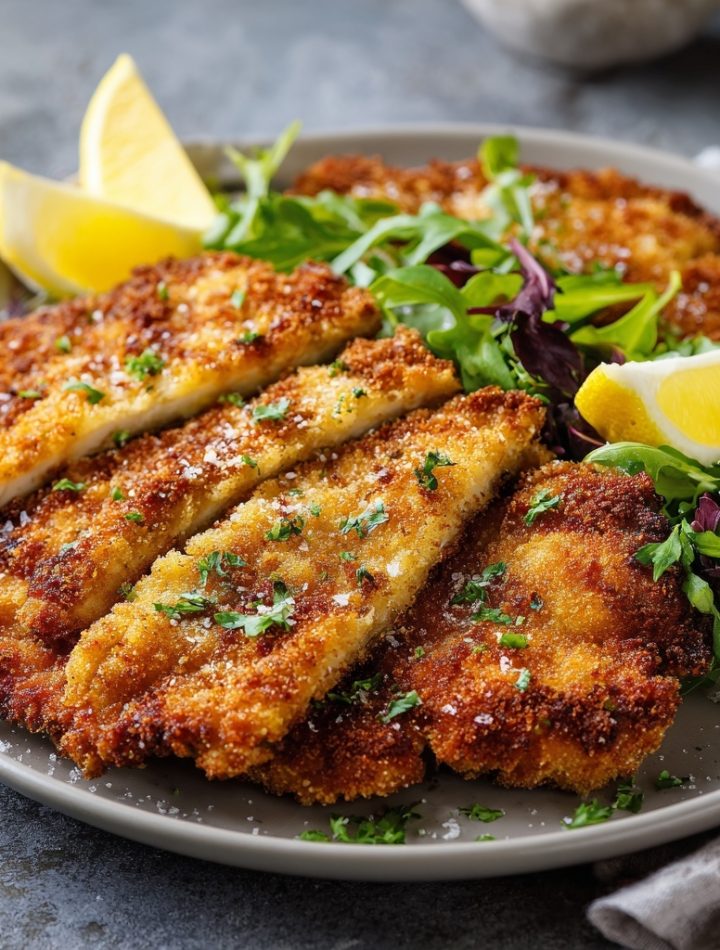
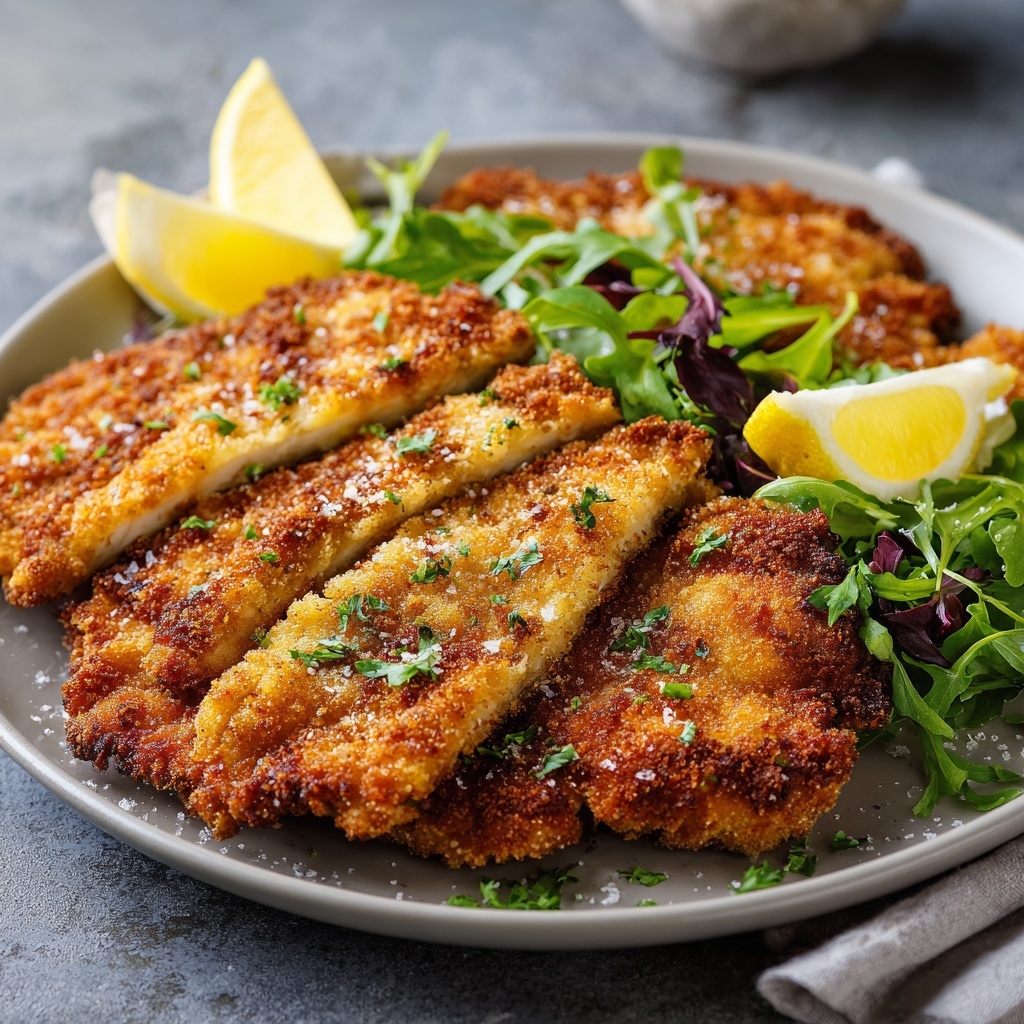
This chicken schnitzel recipe delivers perfectly crispy, juicy cutlets that are ready in no time. Coated in golden breadcrumbs and pan-fried to perfection, it’s a classic comfort dish that’s simple, satisfying, and endlessly versatile. Serve with lemon wedges, mashed potatoes, or a fresh salad for a dinner that feels like a hug on a plate.
Ingredients
4 boneless, skinless chicken breasts
Salt and pepper, to taste
1 cup all-purpose flour
2 large eggs
2 tbsp milk
2 cups breadcrumbs (plain or panko for extra crunch)
½ cup grated Parmesan (optional for added flavor)
½ tsp paprika
Oil for frying (vegetable, canola, or avocado)
Lemon wedges, for serving
Instructions
Prep the chicken: Slice each chicken breast in half horizontally to create thin cutlets. Place between plastic wrap and pound to ¼-inch thickness. Season with salt and pepper.
Set up breading station: Place flour in one bowl. In another, whisk eggs with milk. In a third, mix breadcrumbs, Parmesan, and paprika.
Bread the chicken: Dredge cutlets in flour, then egg, then breadcrumb mixture—pressing to adhere.
Fry to perfection: Heat ¼ inch of oil in a skillet over medium-high heat. Fry schnitzels 2–3 minutes per side until golden and cooked through. Transfer to paper towels to drain.
Serve hot: Serve with lemon wedges and your favorite sides.
- Prep Time: 15 mins
- Cook Time: 15 mins
- Category: Dinner
Your Schnitzel Toolkit: What You’ll Need
Gathering your ingredients is the first step to schnitzel success! Here’s everything you need, plus a few of my favorite chef insights to make the process even smoother.
- 4 boneless, skinless chicken breasts: Look for breasts that are roughly the same size so they cook evenly. This is our blank canvas for crunch!
- Salt and pepper, to taste: Don’t be shy! Seasoning the chicken directly is our first and most important layer of flavor. I use a coarse sea salt for the best texture.
- 1 cup all-purpose flour: This is our first coating, and it creates a dry surface that helps the egg wash stick like glue. No slipping and sliding here!
- 2 large eggs: The ultimate “edible glue.” They bind the flour to the breadcrumbs, creating that iconic, sturdy crust.
- 2 tbsp milk: A little splash of milk mixed with the eggs creates a slightly richer, more forgiving wash that leads to a more even browning. Chef’s secret!
- 2 cups breadcrumbs: The star of the show! Panko breadcrumbs will give you an extra shatteringly crisp, airy crust. Plain breadcrumbs offer a more traditional, fine crunch. You can’t go wrong with either!
- ½ cup grated Parmesan (optional but highly recommended): This is my not-so-secret weapon. Mixed into the breadcrumbs, it adds a deep, savory, umami flavor that takes your schnitzel from great to “can I have the recipe?!” incredible.
- ½ tsp paprika: For a hint of warmth and a gorgeous, golden-red color on the finished crust. Smoked paprika is a fun twist here!
- Oil for frying: You need a neutral oil with a high smoke point. Avocado oil, canola oil, or vegetable oil are all perfect. We’re not deep-frying, just pan-frying in about a ¼-inch layer.
- Lemon wedges, for serving: Non-negotiable! The bright, acidic zing of fresh lemon juice cuts through the richness of the fried crust and is the perfect finishing touch.
Let’s Get Crunchy: Your Step-by-Step Guide
Alright, let’s get our hands dirty! This process is simple, fun, and oh-so-satisfying. Follow these steps, and you’ll be a schnitzel pro in no time.
- Prep the Chicken: Place one chicken breast on a sturdy cutting board. Place your hand flat on top of it. Using a sharp knife, carefully slice it in half horizontally, as if you were opening a book. This is called “butterflying.” If it’s easier, you can also just buy pre-cut thin-cut chicken cutlets! Next, one at a time, place the cutlets between two sheets of plastic wrap or inside a large zip-top bag. Now, the fun part: grab a rolling pin, a heavy skillet, or a meat mallet and gently pound the chicken until it’s an even ¼-inch thickness. Chef Hack: Start from the center and pound outward. This tenderizes the meat and ensures it cooks quickly and evenly. Season both sides generously with salt and pepper.
- Set Up Your Breading Station: Organization is key here! Get three shallow bowls or plates. In the first one, place your all-purpose flour. In the second, whisk the two eggs with the 2 tablespoons of milk until they’re completely smooth and combined. In the third bowl, mix together your breadcrumbs, the grated Parmesan (if using), and the paprika. Little Chef Tip: I like to use one hand for the “dry” steps (flour and breadcrumbs) and the other hand for the “wet” step (egg wash). This keeps you from getting a club of breadcrumb-coated fingers! We call this the “dry hand, wet hand” method.
- Bread the Chicken Like a Pro: Take one of your seasoned chicken cutlets and dredge it fully in the flour, shaking off any excess. Next, dip it completely into the egg wash, letting the extra drip back into the bowl. Finally, place it into the breadcrumb mixture. Now, press down firmly and pat the crumbs onto the chicken. Don’t be gentle! You want a solid, well-adhered coating. This is what gives you that amazing, craggy, crunchy texture. Place the finished cutlet on a clean plate and repeat with the remaining chicken.
- Fry to Golden Perfection: Place a large skillet (cast iron is my favorite for this) over medium-high heat. Add enough oil to coat the bottom by about ¼-inch. Let the oil get properly hot. To test if it’s ready, flick a tiny breadcrumb into the oil—if it sizzles immediately, you’re good to go! Carefully lay the chicken cutlets in the pan, without crowding them. You’ll probably need to do this in two batches. Fry for 2-3 minutes on the first side, until it’s a deep, glorious golden brown. Flip carefully and cook for another 2-3 minutes on the second side. Watch for the Color: The color doesn’t lie! A beautiful golden brown crust means a perfectly cooked, juicy interior.
- Drain and Serve Immediately: Once your schnitzels are cooked through (you can check by making a small cut to ensure there’s no pink left), transfer them to a wire rack set over a baking sheet or a plate lined with paper towels. This allows air to circulate and keeps the bottom from getting soggy. Sprinkle with a little flaky sea salt right when they come out of the oil. Serve hot, hot, hot!
Plating Up Your Masterpiece
Presentation is part of the fun! I love serving schnitzel family-style on a big, warm platter. Place the golden cutlets slightly overlapping, and tuck fresh lemon wedges all around the edges. The vibrant yellow against the crispy brown is just gorgeous. For a classic pairing, a big dollop of creamy mashed potatoes or buttery egg noodles and a simple arugula salad with a sharp vinaigrette are my go-to’s. The salad adds a fresh, peppery bite that balances the richness of the chicken perfectly. Don’t forget a small bowl of whole-grain mustard for dipping!
Ride the Flavor Wave: Creative Twists
Once you’ve mastered the classic, the world is your schnitzel! Here are a few of my favorite ways to mix it up:
- Pork or Turkey Schnitzel: This method works beautifully with thin pork cutlets or turkey cutlets. Just adjust the cooking time slightly based on thickness.
- “Everything Bagel” Crust: Swap out half the breadcrumbs for Everything Bagel Seasoning. Trust me on this one.
- Gluten-Free Goodness: Use a 1:1 gluten-free flour blend and gluten-free panko breadcrumbs. It works like a dream!
- Herbaceous Delight: Add 2 tablespoons of finely chopped fresh herbs (parsley, dill, and chives are a dream team) to your breadcrumb mixture.
- Air Fryer Magic: For a lighter version, spray your breaded cutlets with cooking spray and air fry at 400°F (200°C) for 10-12 minutes, flipping halfway through.
Isla’s Kitchen Notes & Stories
This recipe has been a living, evolving thing in my kitchen. I’ve made it for first dates (it’s a winner!), for potlucks where it disappears in minutes, and on nights when I just needed a big, crispy dose of comfort food. One time, I was filming a quick video for TikTok and got so caught up in chatting that I accidentally used powdered sugar instead of flour in my first breading station bowl. Let me tell you, a sweet-and-savory schnitzel is… an interesting experiment! We ordered pizza that night, but we laughed until we cried. The moral of the story? Always label your mason jars, friends.
Over time, I’ve learned that the real key to this dish isn’t just the technique—it’s the joy you put into it. Don’t stress about making it look perfect. A little rustic, a little messy, that’s where the character is. This recipe is a testament to my core belief: good food should be fun, flavorful, and never, ever fussy.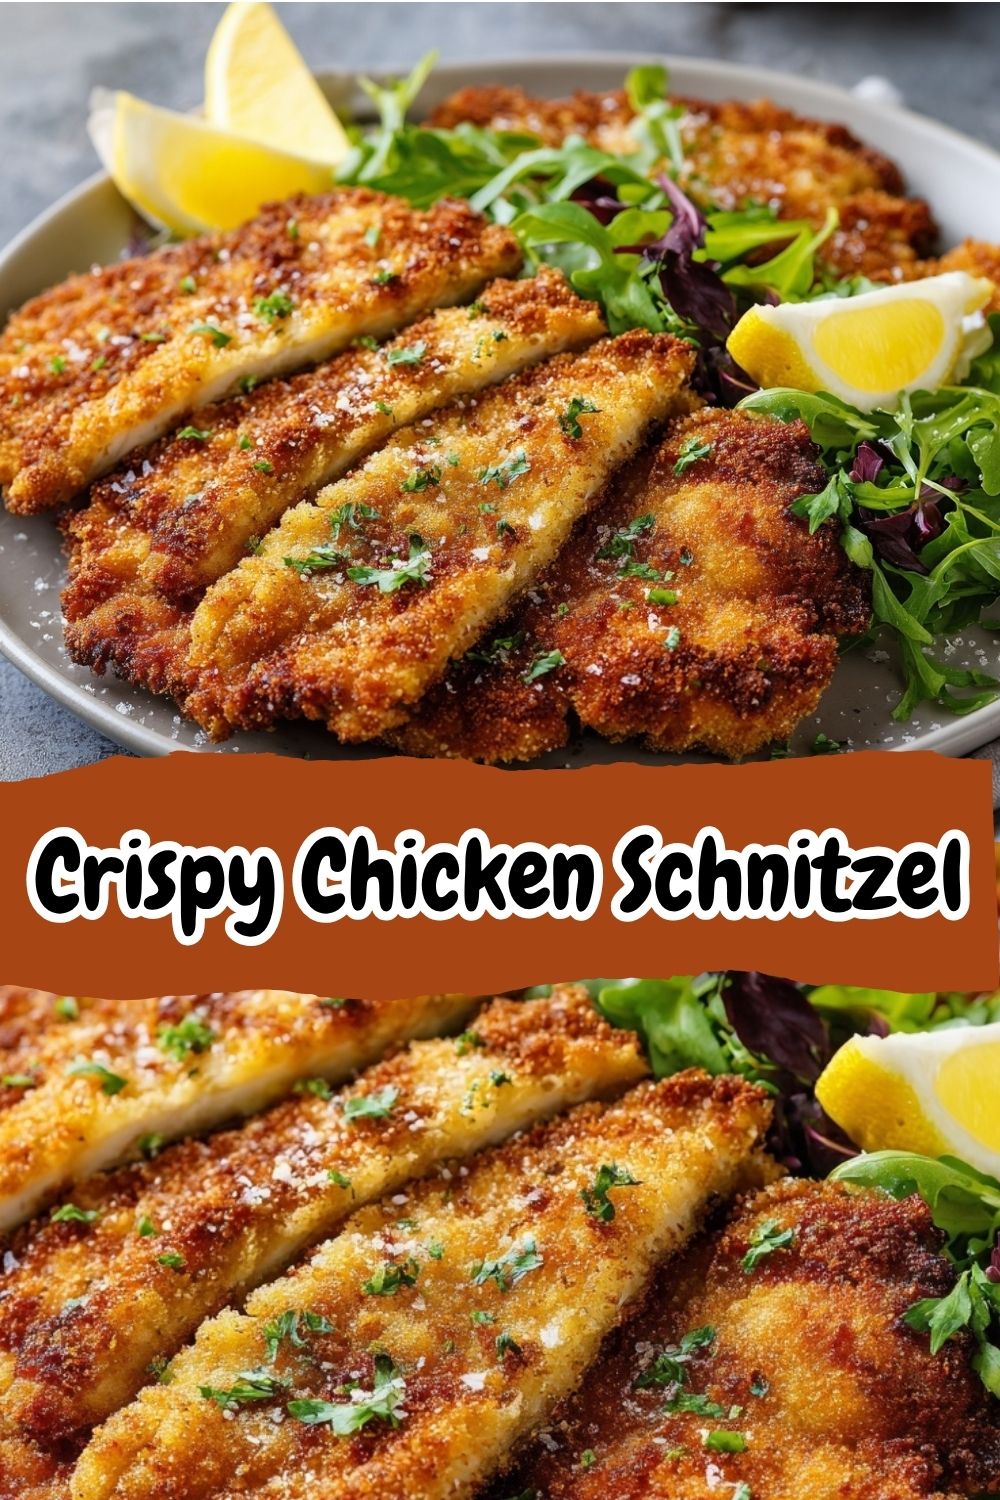
Your Schnitzel Questions, Answered!
I’ve gotten thousands of comments and DMs about this recipe, so I’ve gathered the most common questions right here to help you out.
Q: My breading is falling off in the pan! What am I doing wrong?
A: This is usually a two-part issue. First, make sure you’re shaking off the excess flour after the first dredge. A thin, even layer is all you need. Second, and most importantly, you might not be pressing the breadcrumbs on firmly enough. Really get in there and pat them on! That dry-hand/wet-hand method I mentioned is a game-changer for this.
Q: Is my oil hot enough? How can I tell?
A: The flicked breadcrumb test is my favorite, but if you have a kitchen thermometer, aim for 350-375°F (175-190°C). If the oil isn’t hot enough, the schnitzel will absorb too much oil and become greasy. If it’s too hot, the outside will burn before the inside is cooked. A happy, steady sizzle when the chicken goes in is what you’re listening for.
Q: Can I bake this instead of frying?
A> You can! For a baked version, place your breaded cutlets on a wire rack set over a baking sheet. Spray both sides generously with cooking spray or drizzle with a bit of oil. Bake at 425°F (220°C) for 15-20 minutes, flipping halfway through, until golden brown and cooked through. The crust won’t be *quite* as shatteringly crisp as the fried version, but it’s still absolutely delicious and a bit lighter.
Q: How do I keep the first batch warm while I cook the second?
A> Great question! Place your finished schnitzels in a single layer on a wire rack set on a baking sheet and pop them into a 250°F (120°C) oven. This will keep them warm and crispy while you finish the rest. Avoid stacking them, as the steam will make the bottom ones soggy.
Quick Nutritional Breakdown
(*Please note: This is an estimate based on the ingredients used and can vary significantly with specific brands, portion sizes, and substitutions.)
Prep Time: 15 minutes | Cook Time: 15 minutes | Total Time: 30 minutes | Servings: 4
Estimated per serving: 450 calories | 22g fat | 28g carbs | 35g protein
This chicken schnitzel delivers maximum comfort in minimal time. With its golden, crunchy coating and tender, juicy interior, it’s a foolproof weeknight favorite that pairs perfectly with lemon and your favorite sides, making dinner both effortless and delicious.