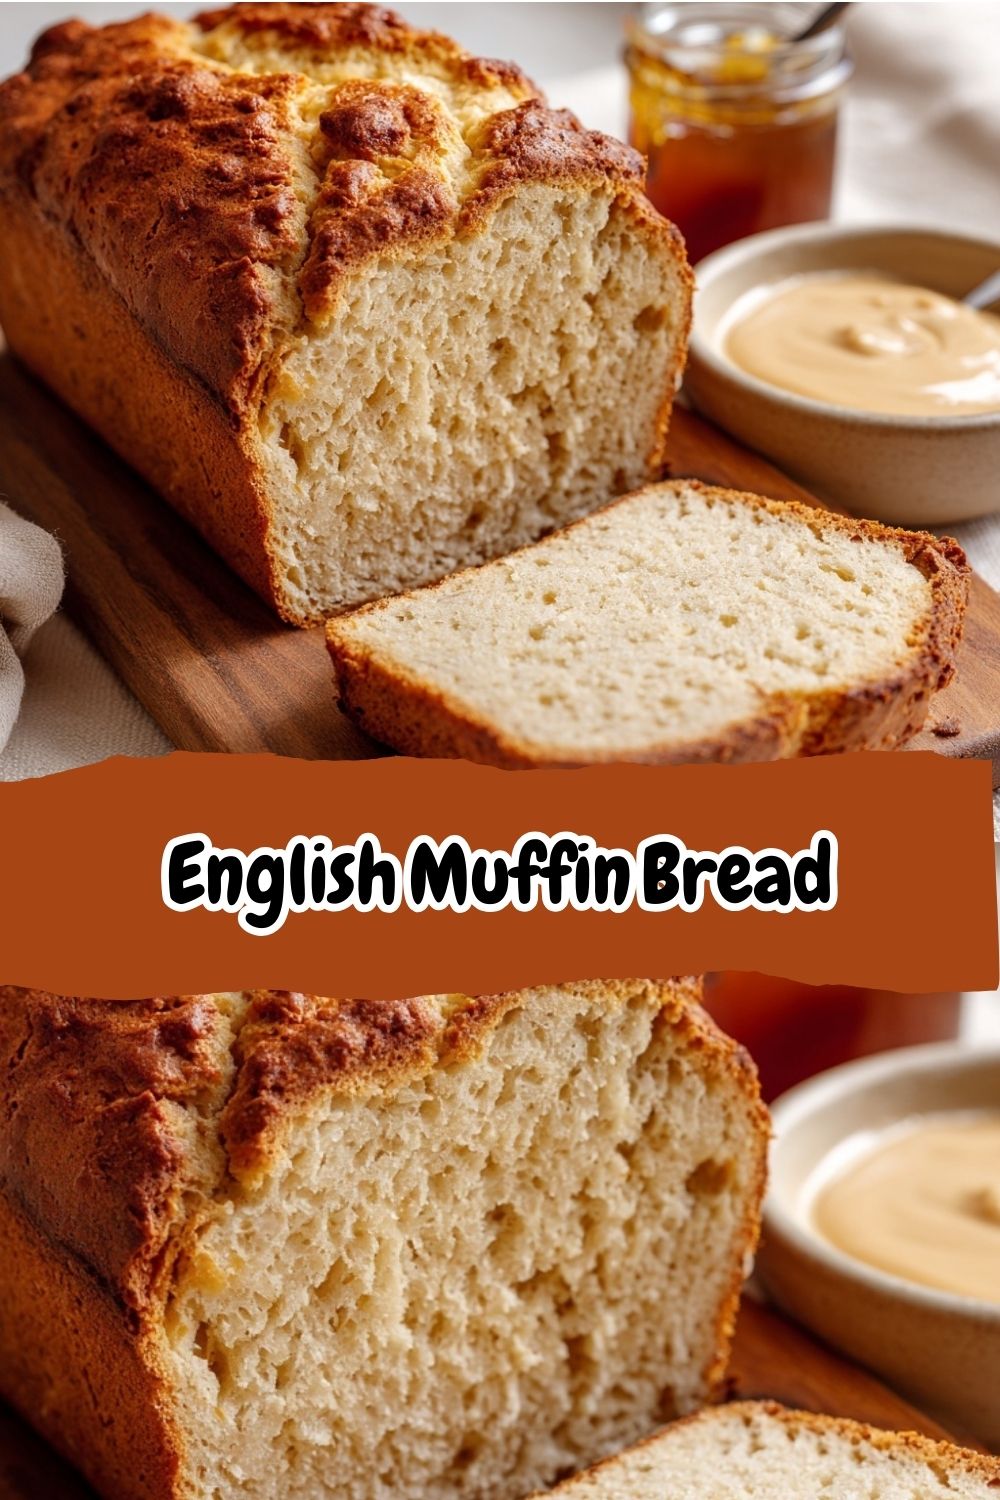
English Muffin Bread: Your New Toast-Ready, Nooks-and-Crannies Obsession
Hey, friend! Isla here from BiteTide. Let’s talk about one of life’s simple, perfect pleasures: a beautifully toasted English muffin. You know the one. It’s got those craggy, butter-grabbing nooks and crannies, a slightly crisp exterior, and a soft, tender inside that makes even a simple weekday breakfast feel like a small, triumphant event. But what if I told you that you could capture all that magic in a full-sized, sliceable, incredibly easy-to-make loaf of bread?
Yes, you read that right. This is English Muffin Bread, and it’s about to become your new kitchen hero. Imagine waking up, slicing off a piece, popping it in the toaster, and within minutes, slathering it with melty butter and your favorite jam—all without any of the fuss of traditional bread-making. No kneading, no complicated shaping, just a simple, stir-together dough that does all the hard work for you. This recipe is the ultimate expression of my BiteTide philosophy: maximum flavor, zero fuss. It’s the kind of baking that feels like a fun project, not a chore, and the payoff is a loaf that will have your entire family doing a happy dance around the kitchen. So, tie on your apron, and let’s bake some joy!
Print
English Muffin Bread : Toast‑Ready, Nooks‑and‑Crannies Loaf
- Total Time: ~1 hour 15 minutes
- Yield: 1 loaf (~12–14 slices) 1x
Description
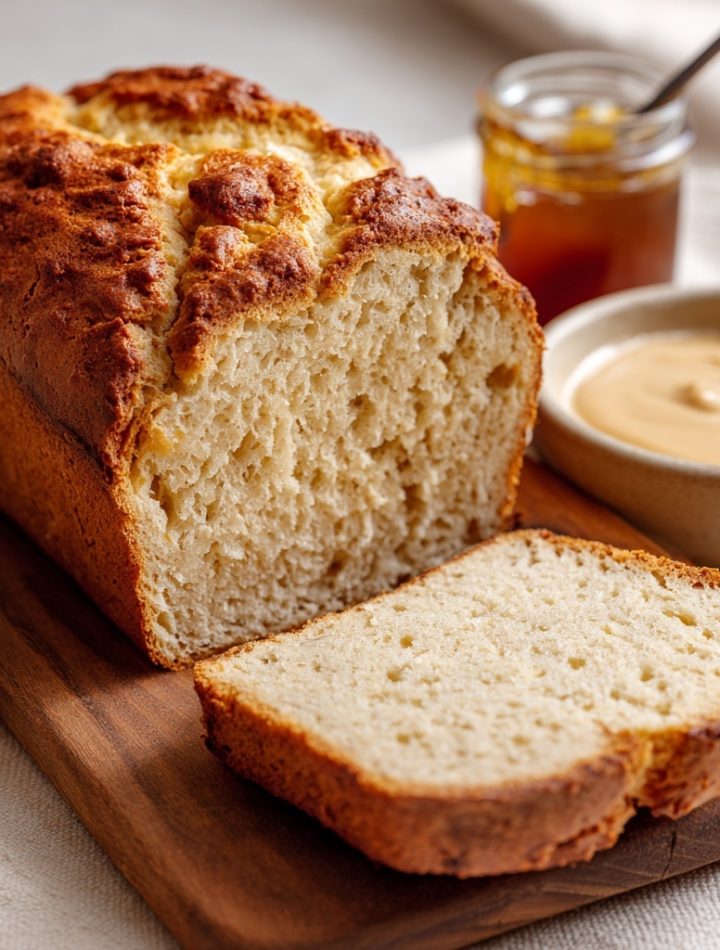
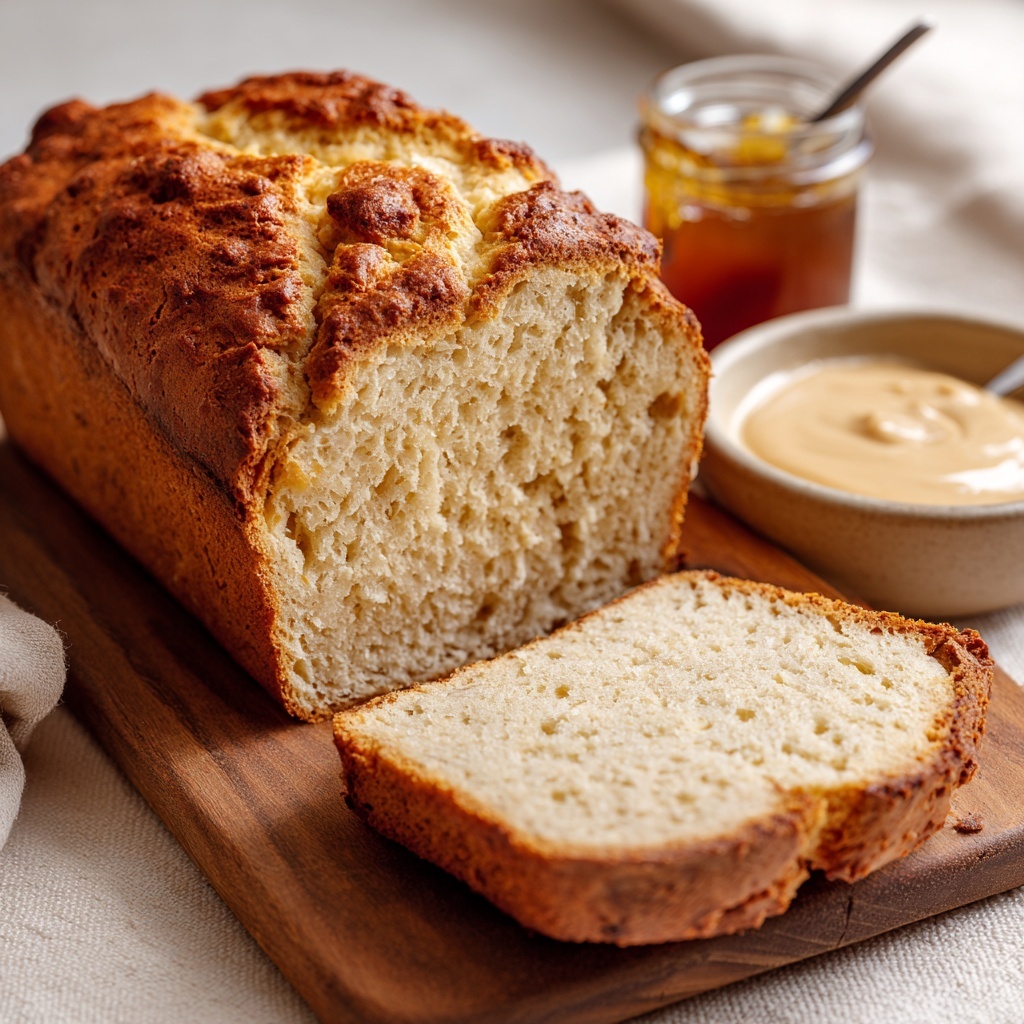
This English muffin‑style bread brings the beloved texture of a toasted English muffin—those nooks, crannies, and buttery edges—into a straightforward loaf recipe. Ideal for breakfast, sandwiches, or simply slathering with butter and jam.
Ingredients
2¼ tsp (1 packet) active dry yeast
1 tbsp honey or sugar
¼ cup (60 ml) warm water (~110°F / 43°C)
2¼ cups (approx. 280 g) warm milk (~110°F / 43°C)
½ tsp baking soda
1 tsp salt
4½ cups (approx. 550 g) all‑purpose flour
Cornmeal or semolina for dusting pans
Instructions
Activate yeast: In a small bowl, mix warm water, honey/sugar, and yeast. Let sit ~5‑10 minutes until foamy.
Mix wet + dry: In a large bowl, combine warm milk, yeast mixture. Stir in flour, baking soda and salt until you have a sticky, “goopy” dough—don’t over‑mix.
Restless Chipotle
+1
Pour into pan: Grease a loaf pan (9×5 inch or similar) and dust with cornmeal or semolina. Pour dough into the pan, smoothing top.
Rise: Cover the loaf pan and let the dough rise in a warm area until almost doubled (about 45‑60 minutes).
The Kitchn
Bake: Preheat oven to 350°F (175°C). Bake for ~22‑27 minutes or until golden and an inserted wooden skewer comes out clean.
King Arthur Baking
+1
Cool and slice: Remove from pan, cool on a wire rack. For best texture, slice and toast before serving.
- Prep Time: 15 mins
- Cook Time: ~1 hour
- Category: Breakfast
The Sunday Morning Symphony
My love for this bread is deeply rooted in the soundtrack of my childhood Sunday mornings. Picture this: the sun streaming through the kitchen window of our small coastal home, the radio softly playing old folk songs, and the unmistakable, rhythmic click-POP! of the toaster ejecting a batch of English muffins. My dad was the master of this ritual. He’d split them with a fork (never a knife, he insisted it preserved the texture!), and my job was the butter application. I’d watch, mesmerized, as the golden pats of butter would melt and cascade into every tiny pocket and cranny. The smell was pure comfort—toasty, yeasty, and warm.
We’d sit at our cluttered kitchen table, the Sunday paper spread out, and for those fifteen minutes, the world stopped. It wasn’t just about the food; it was about that slow, connected start to the day. This English Muffin Bread recipe is my way of bottling that feeling. It’s the same incredible texture and toasty flavor, but in a format that’s even more shareable. It’s the taste of a lazy Sunday, ready whenever you need a little slice of comfort.
Gather Your Ingredients!
One of the best things about this recipe is that you probably have most of these ingredients in your pantry right now. Let’s break them down.
- 2¼ tsp (1 packet) active dry yeast: This is our magical leavening agent, the tiny organism that makes our bread rise and gives it that wonderful airy texture. Make sure your yeast isn’t expired for the best results!
- 1 tbsp honey or sugar: A little snack for the yeast to get it excited and active. I love the subtle floral note honey adds, but plain granulated sugar works perfectly, too.
- ¼ cup (60 ml) warm water: The key word here is warm, not hot! Think baby-bottle temperature, around 110°F (43°C). Too hot, and you’ll harm the yeast; too cold, and it won’t wake up properly.
- 2¼ cups (approx. 280 g) warm milk: Just like the water, we want this warm. Using milk instead of all water gives the bread a richer flavor and a softer, more tender crumb. Whole milk is my go-to for the best flavor, but 2% works great, too.
- ½ tsp baking soda: This is our secret weapon! It’s what helps create those signature, craggy “nooks and crannies” by slightly relaxing the gluten and contributing to the unique texture.
- 1 tsp salt: Essential for balancing the flavors and making the taste pop. Don’t skip it!
- 4½ cups (approx. 550 g) all-purpose flour: The backbone of our loaf. I’ve found that using a kitchen scale for flour is the most accurate way to measure and guarantees perfect results every time. If you’re using cup measures, fluff your flour with a spoon before scooping and level it off with a knife to avoid a dense loaf.
- Cornmeal or semolina for dusting: This isn’t just for looks! It gives the crust that classic, slightly gritty English muffin texture and prevents the loaf from sticking to the pan. It’s a non-negotiable for authenticity!
Let’s Make Some Magic: Step-by-Step
Ready to see how easy this is? Follow these steps, and you’ll be a bread-baking pro in no time.
- Activate Your Yeast: In a small bowl, combine the warm water, honey (or sugar), and the packet of yeast. Give it a quick stir and then walk away for 5-10 minutes. You’re looking for a foamy, creamy layer on top—this is your sign that the yeast is alive, happy, and ready to work its magic. If you don’t see foam, your yeast might be old, and it’s best to start fresh.
- Mix the Dough (No Knead!): In a large mixing bowl, whisk together the warm milk and that lovely, foamy yeast mixture. Now, add in the flour, baking soda, and salt. Grab a sturdy wooden spoon or a spatula and stir everything together. Chef’s Hack: The dough is supposed to be very sticky, thick, and almost “goopy”—this is exactly what we want! Do not be tempted to add more flour. This wet dough is the key to creating all those beautiful air pockets. Just mix until you no longer see dry spots of flour.
- Pour and Prepare: Take your loaf pan (a standard 9×5 inch works perfectly) and grease it well with butter or cooking spray. Now, sprinkle a generous tablespoon or two of cornmeal or semolina into the pan, tilting it to coat the bottom and sides evenly. This creates a non-stick barrier and gives us that authentic texture. Pour your sticky dough directly into the prepared pan. Use a spatula or wet fingers to gently smooth out the top.
- The Rise: Loosely cover the pan with a clean kitchen towel or a piece of plastic wrap. Find a warm, draft-free spot in your kitchen (on top of the preheating oven is a great spot!) and let the dough rise. This should take about 45-60 minutes. You’ll know it’s ready when the dough has just started to crest the top of the pan—it should look puffy and alive. It doesn’t need to fully double, just get nice and poofy.
- Bake to Golden Perfection: While your dough is on its final rise, preheat your oven to 350°F (175°C). Once risen, place the loaf pan right in the center of the oven and bake for 22-27 minutes. Chef’s Insight: You’re looking for a deep golden-brown top. The real test is inserting a wooden skewer or a thin knife into the center—if it comes out clean, your bread is done! The top might also sound hollow if you tap it lightly.
- Cool (The Hardest Part!): Carefully remove the pan from the oven. Let the bread cool in the pan for about 5 minutes, then run a knife around the edges to loosen it and turn it out onto a wire rack. This is crucial: You MUST let it cool completely before slicing. I know it’s tempting, but slicing into a warm loaf will make it gummy. The structure needs time to set! For the absolute best experience, wait until it’s fully cool, slice, and THEN toast it.
How to Serve Your Masterpiece
The beauty of this bread is in its simplicity. Slice it thick or thin, depending on your mood, and pop it straight into the toaster. You’ll watch in awe as the heat opens up all those nooks and crannies you just created. Then, the real fun begins. My absolute favorite is a generous slather of good, salted butter, watching it melt into every pore, followed by a dollop of tangy raspberry jam. It’s also phenomenal with avocado and a sprinkle of chili flakes, as the base for an epic breakfast sandwich with egg and cheese, or simply dipped into a softly boiled egg. However you choose to enjoy it, you’ve earned it!
Ride the Flavor Wave: Recipe Variations
Once you’ve mastered the classic, feel free to get creative! Here are a few of my favorite twists:
- Everything Bagel Style: Before baking, brush the top of the loaf with an egg wash (1 egg beaten with 1 tbsp water) and sprinkle generously with everything bagel seasoning.
- Cheesy Garlic Herb: Fold 1 cup of shredded sharp cheddar cheese and 1 teaspoon of dried Italian herbs into the dough right before pouring it into the pan. Heaven!
- Whole Wheat Boost: Substitute up to half of the all-purpose flour with whole wheat flour for a heartier, nuttier flavor.
- Cinnamon Raisin: Add 1 teaspoon of cinnamon to the dry ingredients and fold in ¾ cup of raisins at the end of mixing for a sweet breakfast treat.
- Dairy-Free/Vegan: Easily swap the warm milk for your favorite unsweetened plant-based milk (almond or oat milk work wonderfully).
Isla’s Chef’s Notes & Kitchen Stories
This recipe has been a staple in my kitchen for years, and it’s evolved through plenty of happy (and a few messy!) experiments. The first time I made it, I was so skeptical of the batter-like dough that I almost added another cup of flour. I’m so glad I trusted the process! That initial loaf was a revelation—craggy, light, and so delicious. It’s the recipe I gift to friends who are nervous about baking bread because it’s virtually foolproof.
One of my favorite kitchen memories involves this bread and my then-toddler nephew. He was my “assistant” and was in charge of sprinkling the cornmeal. Let’s just say the entire kitchen counter looked like it had been in a cornmeal snowstorm. But his face when he took a bite of the warm, toasted bread with jam? Priceless. That’s the real magic of this recipe—it’s not just about the food you make, but the memories you create while making it.
Your Questions, Answered!
I’ve gotten a lot of questions about this bread over the years, so here are the answers to the most common ones.
- My bread is dense and didn’t rise much. What happened? The most common culprit is expired or dead yeast. Always test it in the first step! Another possibility is that your liquid was too hot and killed the yeast, or the rise happened in a place that was too cold. Also, be sure you’re not packing your flour into the measuring cup, as too much flour will weigh the dough down.
- Can I make this without a stand mixer? Absolutely! In fact, I almost always make it by hand. A sturdy wooden spoon and a little elbow grease are all you need. Remember, we’re just mixing, not kneading, so it’s very simple.
- How should I store this bread? Because it has no preservatives, it’s best kept in a plastic bag or an airtight container at room temperature for 2-3 days. For longer storage, slice it and freeze it in a freezer bag. You can pop frozen slices straight into the toaster—no need to thaw!
- The top of my bread is very pale. How can I get a darker, crispier crust? Ovens can vary! If you find your crust is too light, you can move the rack one position higher for the last 5 minutes of baking, or broil it for the final 1-2 minutes, watching it like a hawk to prevent burning.
Quick Nutrition Note
This is a rough estimate per slice (based on 12 slices per loaf) and can vary based on specific ingredients used. Remember, the real joy is in the flavor!
- Calories: ~160 kcal
- Carbohydrates: ~30 g
- Fat: ~3 g
- Protein: ~5 g
And there you have it! My beloved, no-fuss English Muffin Bread. I hope this recipe brings as much warmth and joy to your kitchen as it has to mine. If you make it, I’d be absolutely thrilled to see your creation! Tag me on Instagram @BiteTide or drop a comment below. Happy baking!
– Isla 💛