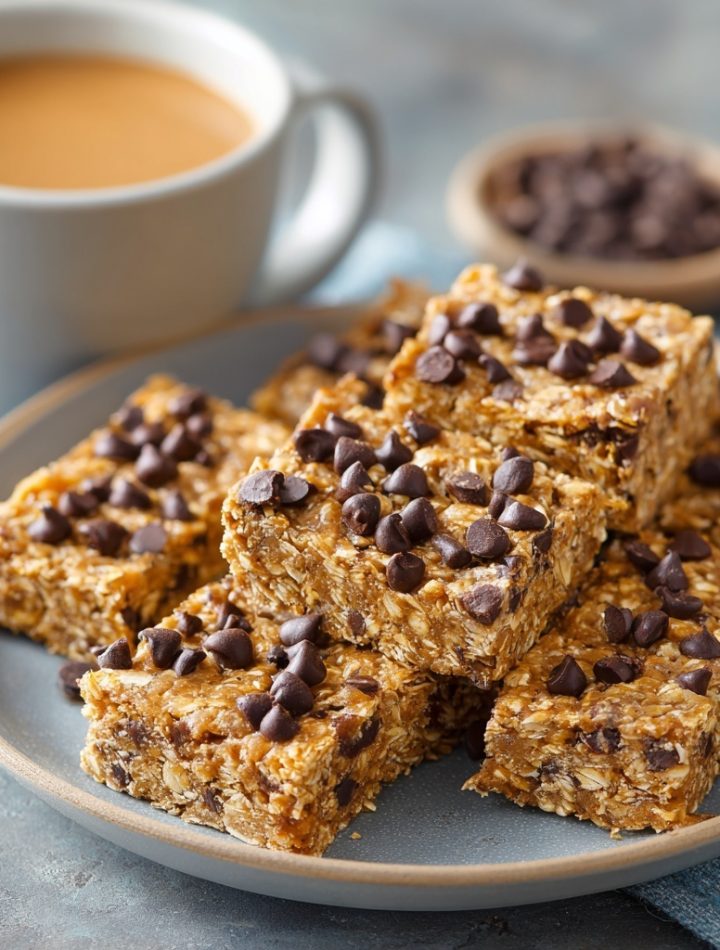
Healthy No-Bake Peanut Butter Oat Bars with Chocolate Chips
Your New Go-To Snack is Just a Stir Away
Hey there, friend! Isla here, from my cozy kitchen to yours. Let’s be real for a second: life gets loud. Between work deadlines, school runs, and that ever-growing to-do list, the last thing you need is a complicated recipe that dirties every bowl in the cupboard. You crave something wholesome, delicious, and—let’s be honest—ready before a mid-afternoon hunger meltdown strikes.
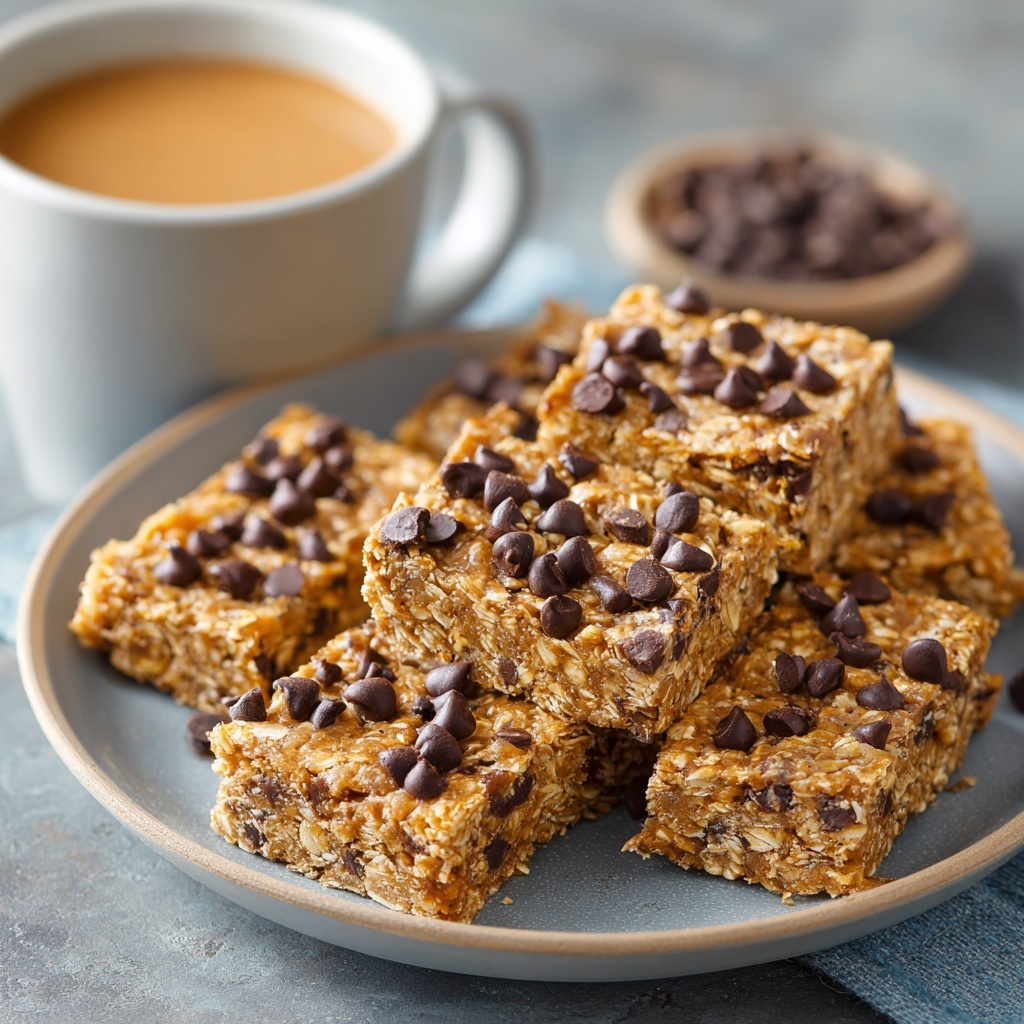
That’s exactly why I’m so obsessed with these No-Bake Chocolate Chip Peanut Butter Oat Bars. They are my kitchen’s ultimate rescue mission. Imagine a snack that’s chewy, a little salty, a little sweet, and packed with hearty oats and melty chocolate chips, all held together by a creamy peanut butter hug. Now imagine it requires zero oven time and comes together in one pot in about 10 minutes. Sounds like a dream, right? It’s not! This is the real-deal, pantry-staple magic I built BiteTide on.
This recipe is for anyone who needs a reliable, healthy-ish snack for lunchboxes, a pre-workout boost, or a 3 PM treat that won’t lead to a sugar crash. It’s forgiving, fun to make (get the kids involved!), and so incredibly satisfying. So, let’s ditch the fuss and ride this flavor wave straight to snack heaven. Grab your favorite pot and your trusty spatula—we’re about to make something amazing.
The Messy Beginnings: A Kitchen Memory
This recipe always takes me back to my grandma’s sun-drenched kitchen. She wasn’t a fancy chef, but she was a wizard with simple ingredients. Her version of these bars was a thick, sticky concoction she’d press into a pie plate and call “energy cake.” I’d stand on a wobbly wooden stool, “helping” her stir the pot, my small hands struggling with the thick, glossy mixture. More oats would end up on the floor than in the pan, and she’d always let me sneak a taste of the pure peanut butter and honey straight from the spoon.
The best part was the waiting. She’d slide the pan into the fridge, and the next hour felt like an eternity. We’d busy ourselves with other things, but the anticipation was a physical presence in the room. When she finally deemed it set, she’d cut us two generous squares. We’d sit at her checkered tablecloth, the silence broken only by the sound of happy chewing. It wasn’t just a snack; it was a moment of pure, uncomplicated joy. That’s the feeling I want to bottle up and share with you in every single one of these bars.
Gathering Your Flavor Crew
The beauty of this recipe is in its simplicity. You probably have most of this in your pantry right now! Here’s what you’ll need and my little chef insights on each ingredient.
- 6 cups Old-Fashioned Rolled Oats: This is the heart and soul of our bar, giving it that wonderful chewy texture and whole-grain goodness. Chef’s Tip: If you only have quick oats, that’s totally fine! The texture will be a bit softer and less chewy, but just as delicious. Avoid using steel-cut oats, as they won’t soften properly.
- 2 ½ cups Creamy Peanut Butter: Our superstar binder! It brings the rich, nutty flavor and helps everything stick together. Chef’s Insight: I recommend using a conventional, no-stir peanut butter for the best binding. The natural, oily kinds can sometimes make the bars a bit greasy and less firm. For allergies, feel free to swap in almond butter or sunflower seed butter—they work beautifully.
- 1 ½ cups Maple Syrup: This is our natural sweetener that also adds a lovely depth of flavor. Substitution Tip: Honey is a fantastic one-to-one swap here and will give you a slightly richer, floral sweetness. If you need a sugar-free option, a sticky sugar-free syrup like Lakanto Maple-Flavored Syrup can work in a pinch.
- 1 cup Mini Chocolate Chips: Because what’s a treat without a little chocolate joy? Why Mini? I love mini chips because they distribute the chocolate flavor more evenly in every single bite. If you only have regular-sized chips, that’s perfectly okay! You can also use chopped dark chocolate or even cacao nibs for a less sweet, antioxidant-packed twist.Print

No-Bake Chocolate Chip Peanut Butter Oat Bars : Easy, Healthy Snack
- Total Time: 1 hour 10 minutes (includes chilling)
- Yield: Makes about 12 bars 1x
- Diet: Vegetarian
Description
No-Bake Chocolate Chip Peanut Butter Oat Bars are an easy, healthy snack made with just a few simple ingredients. Packed with oats, peanut butter, and a touch of sweetness, these bars are perfect for meal prep, lunchboxes, or anytime you need a quick energy boost.
Ingredients
Scale- 2 cups old-fashioned rolled oats
- ¾ cup creamy peanut butter
- ⅓ cup honey or maple syrup
- ½ tsp vanilla extract
- ¼ cup mini chocolate chips
- Optional: pinch of salt, 2 tbsp chia or flax seeds
Instructions
- Line an 8×8-inch pan with parchment paper.
- In a large bowl, mix oats, chia or flax seeds (if using), and salt.
- In a microwave-safe bowl, warm peanut butter and honey for 20–30 seconds until smooth. Stir in vanilla extract.
- Pour wet mixture over oats and stir until fully combined.
- Let mixture cool slightly, then fold in mini chocolate chips.
- Press mixture firmly into the prepared pan. Use the back of a spoon or spatula to flatten evenly.
- Refrigerate for at least 1 hour to set.
- Cut into bars and store in an airtight container in the fridge for up to 1 week or freeze for up to 2 months.
Notes
- Use almond or sunflower seed butter for variations.
- Press mixture firmly to ensure bars hold their shape.
- Add a sprinkle of sea salt on top for a sweet-salty finish.
- Customize with dried fruit, coconut flakes, or protein powder.
- Let chocolate chips cool slightly before adding to avoid melting.
- Prep Time: 10 minutes
- Cook Time: 0 minutes
- Category: Snack, No-Bake
- Method: No-Bake, Mixing
- Cuisine: American
Nutrition
- Serving Size: 1 bar
- Calories: 180
- Sugar: 8g
- Sodium: 60mg
- Fat: 9g
- Saturated Fat: 2g
- Unsaturated Fat: 6g
- Trans Fat: 0g
- Carbohydrates: 20g
- Fiber: 2g
- Protein: 5g
- Cholesterol: 0mg
Keywords: no-bake oat bars, chocolate chip peanut butter bars, healthy snack bars, easy no-bake recipe, peanut butter energy bars, lunchbox snacks
Let’s Make Some Magic: The No-Bake Process
Ready? This is where the fun begins. We’re going to create snack perfection in just a few simple steps. I’ll walk you through it with all my favorite little hacks to ensure your bars are flawless.
- Warm the Base: Grab your largest saucepan or pot—trust me, you’ll need the space! Place it over low heat and add your peanut butter and maple syrup. Now, the key here is low and slow. We’re not cooking it, just warming it enough to make it smooth, fluid, and easy to mix. Stir constantly with a spatula for 2-3 minutes until the mixture becomes one glossy, dreamy, peanut buttery river. You’ll smell the most incredible aroma—that’s your signal it’s ready! Why low heat? Too much heat can cause the peanut butter to seize up or the syrup to burn, and we definitely don’t want that.
- Mix It Up: Take the pot off the heat. Now, dump in all those glorious rolled oats. Using your spatula, fold and stir until every single oat is completely coated in that peanut butter syrup. It’s an arm workout, but so worth it! Once it’s fully combined, let the mixture sit and cool down for about 3-5 minutes. This waiting period is my secret weapon! It prevents the chocolate chips from instantly melting into a puddle when we add them. We want defined, melty pockets of chocolate, not a chocolate-swirled bar (which is still tasty, but not the goal today!).
- Fold in the Chocolate: After the mixture has cooled slightly, sprinkle in your cup of mini chocolate chips. Gently fold them in until they’re evenly distributed. See? No melted chocolate mess! Beautiful.
- Shape the Bars: Line a 9×13 inch baking dish with parchment paper, leaving some overhang on the sides. This little trick is a lifesaver for easy removal later! Transfer your oat mixture into the prepared pan. Now, for the most important step for the perfect bar texture: PRESS, PRESS, PRESS! Use a flat-bottomed measuring cup, the back of a spatula, or your clean hands to press the mixture down as firmly and evenly as possible. The more compact it is, the better your bars will hold their shape once sliced.
- Top & Chill: For a little extra pizzazz, sprinkle a handful of additional chocolate chips over the top and press them in lightly. This gives the bars a professional, bakery-style finish. Now, slide the pan into the refrigerator and let it chill for at least 2 hours, or until completely firm. This is the hardest part—the waiting! But it’s essential for the bars to set up properly.
- Slice & Store: Once firm, use the parchment paper overhang to lift the entire slab of bars out of the pan. Place it on a cutting board and use a sharp knife to slice it into 24 bars or squares. For super clean cuts, I sometimes run my knife under hot water and wipe it dry between slices.
How to Serve & Savor
These bars are fantastic straight from the fridge, all cool and firm. I love grabbing one with my morning coffee for a sustained energy boost, or wrapping one up for a midday desk snack. For the ultimate experience, pack them in a lunchbox alongside some apple slices and yogurt, or serve one slightly warmed (just 10 seconds in the microwave!) with a scoop of vanilla ice cream for a deconstructed “cookies and cream” dessert. However you eat them, do it with a smile.
Ride Your Own Flavor Wave: Fun Variations
This recipe is a blank canvas for your cravings! Here are a few of my favorite twists:
- Tropical Twist: Swap the chocolate chips for a mix of chopped dried mango, pineapple, and shredded coconut.
- Trail Mix Bar: Fold in ½ cup of your favorite trail mix—think raisins, sunflower seeds, and chopped nuts—along with the chocolate chips.
- Double Chocolate Bliss: Add ¼ cup of cocoa powder to the warm peanut butter and syrup mixture for a rich, chocolatey base.
- Protein Powerhouse: Stir in ½ cup of your favorite vanilla or chocolate protein powder. You may need to add a splash more maple syrup or a tablespoon of milk if the mixture seems too dry.
- “SunButter” Sensation: For a nut-free version, use sunflower seed butter and swap the chocolate chips for dairy-free or seed-based “chips.” It’s a lunchbox-safe superstar!
Isla’s Chef Notes & Kitchen Confessions
This recipe has been a living, evolving thing in my kitchen for years. The first time I made a version, I was in college and used honey that had crystallized in the jar. Let’s just say my “bars” were more of a granola crumble! But you learn by doing. Over time, I’ve perfected the peanut-butter-to-syrup ratio and learned the critical importance of that cooling-off period before adding the chocolate.
One of my favorite kitchen stories involves my nephew, Leo. He was about four and “helped” me make these, which meant he was in charge of adding the chocolate chips. He got so excited that he dumped the entire bag in before I could stop him. We ended up with what we now call “Chocolate Chip Bars with Some Oats In There.” They were a mess to slice, but honestly? They were a huge hit. It just goes to show that even the “mistakes” can be delicious. Don’t stress about perfection—just have fun with it!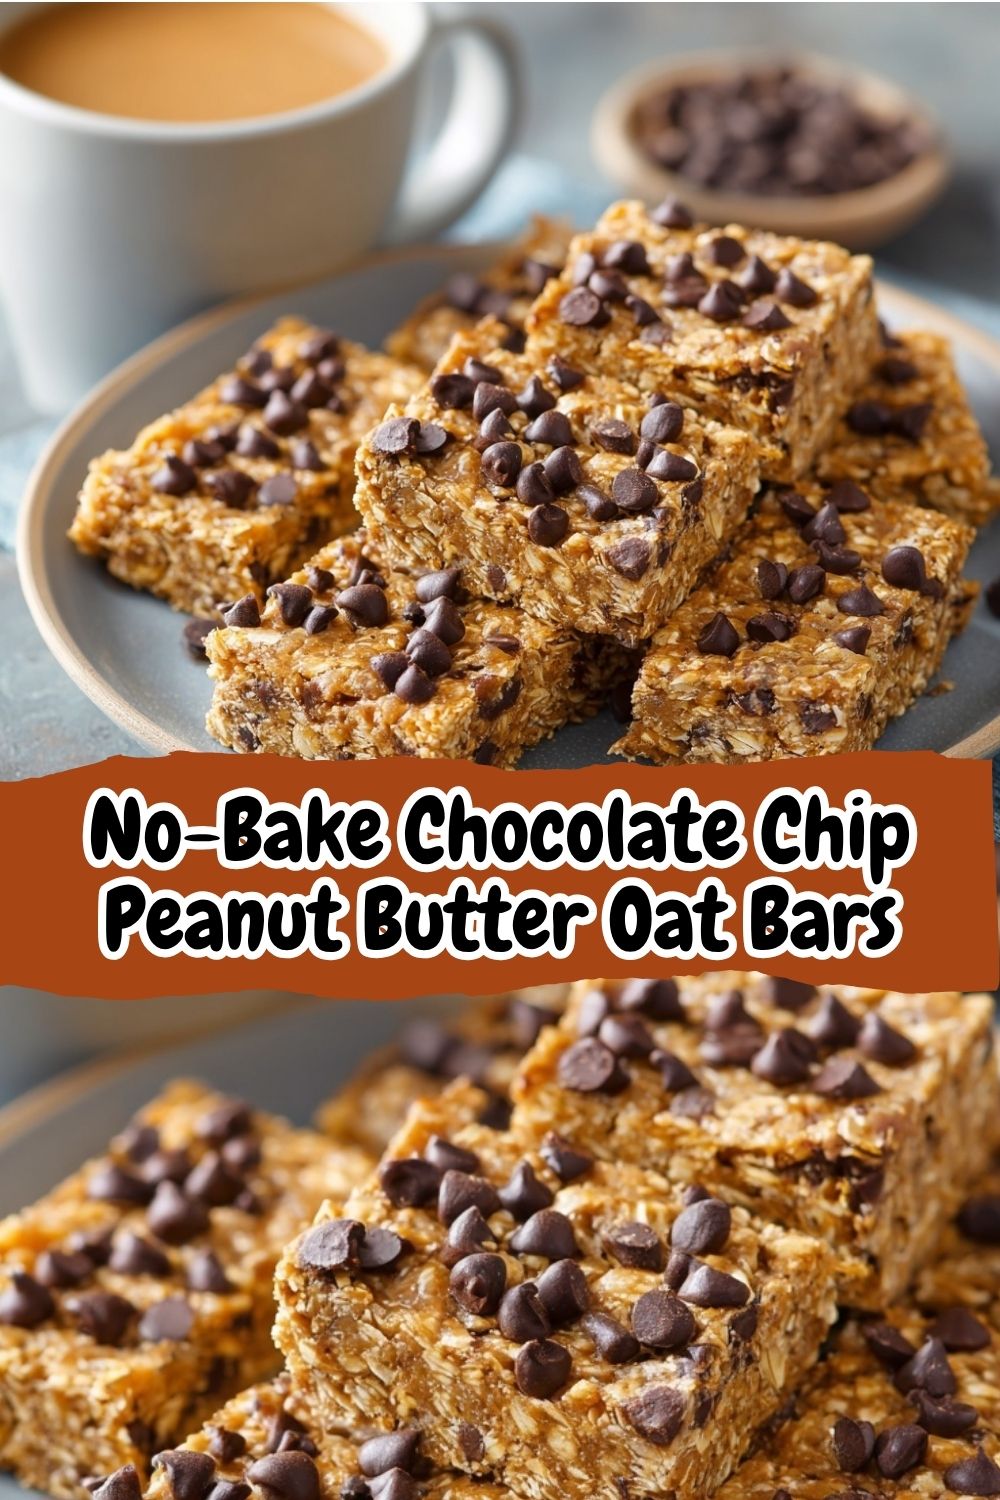
Your Questions, Answered!
I’ve made these bars a zillion times and have answered tons of questions from the BiteTide community. Here are the most common ones to help you out.
- My bars are too crumbly and won’t hold together! What happened? This is usually one of two things. First, you may not have pressed the mixture firmly enough into the pan. Really lean into it! Second, you might need a touch more of your binding agent. Next time, try adding an extra ¼ cup of peanut butter to the warm mixture. The ratio of wet to dry ingredients can vary slightly depending on your brand of peanut butter and oats.
- Can I make these without any sweetener? The sweetener is crucial not just for taste, but also for helping the bars set. Without it, they will be very dry and crumbly. If you’re looking to reduce sugar, you can try reducing the maple syrup to 1 cup and using sugar-free chocolate chips, but the texture will be denser.
- Why do mine seem too soft, even after chilling? If your bars are still soft, it’s likely due to the specific peanut butter you used. Natural peanut butters with a lot of oil can lead to a softer bar. Another culprit could be not heating the peanut butter and syrup enough to properly combine them. They should be warm and fluid to fully coat the oats. If this happens, don’t worry! Just enjoy them as a “spoonable” granola or parfait topping—it’s still delicious.
- How long will they last, and can I freeze them? Absolutely! These bars are perfect for the freezer. Store them in a single layer in an airtight container with parchment paper between layers. They’ll keep beautifully for up to 2 months. In the fridge, they’re good for about 1-1.5 weeks.
Nutritional Info (Per Bar – Approximate)
Please remember this is just an estimate and can vary based on your specific ingredients!
- Calories: 210
- Protein: 6g
- Carbohydrates: 22g
- Fat: 11g
- Fiber: 3g
And there you have it! Your new favorite, no-fuss, healthy-ish snack. I hope these bars bring as much joy and convenience to your kitchen as they have to mine. If you make them, I’d be absolutely thrilled to see your creation! Tag me on Instagram @BiteTide or drop a comment below. Happy no-baking!
With love and a full jar of peanut butter,
Isla