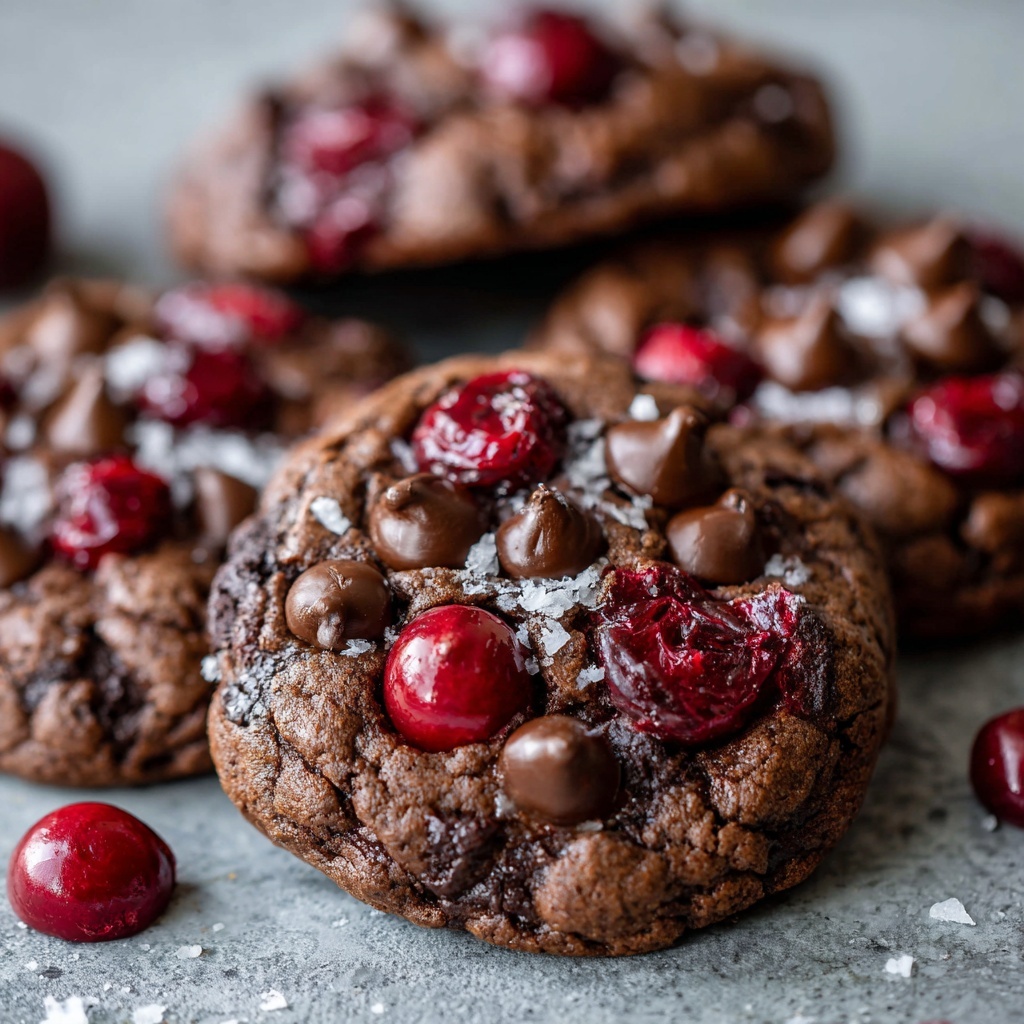
Your New Favorite No-Bake Dessert is Here!
Hey there, friend! Isla here from BiteTide, and I am practically buzzing with excitement to share this recipe with you today. If you’ve ever found yourself staring down a last-minute potluck invite, a holiday meal that needs a show-stopping finale, or just a serious craving for something sweet, creamy, and utterly delightful without turning on your oven… you’ve just hit the jackpot.
We’re diving fork-first into the world of Classic Cherry Delight. This is the kind of dessert that creates its own little hush when you bring it to the table. It’s a symphony of textures and tastes: a buttery, crunchy graham cracker crust, a cloud-like, tangy cheesecake filling, and a glossy, sweet-tart cherry topping that just sings. It’s nostalgic, it’s impressive, and the best part? It’s unbelievably simple.
I live for recipes that deliver maximum “wow” with minimum stress, and this one is the poster child. Whether you’re a seasoned baker or someone who considers boiling water a culinary achievement, this Classic Cherry Delight is your new secret weapon. So, let’s tie on our aprons, put on some fun music, and create a little magic together. I promise, by the end of this, you’ll be ready to ride this flavor wave all the way to an empty pan and a very happy crowd.
A Slice of Sunshine and Sweet Memories
This recipe always, without fail, takes me right back to my grandma’s sun-drenched kitchen. She wasn’t a fancy chef, but she was a wizard of “making do” and creating joy with what she had. One sweltering summer afternoon, with a last-minute visit from a whole herd of cousins, she looked at her pantry, smiled, and declared, “We’re making a delight.”
I was her designated crumb-presser. She’d hand me the graham crackers in a bag, and I’d whack them with a rolling pin until my little arms got tired, feeling like the most powerful kitchen assistant in the world. She’d mix the filling with her sturdy wooden spoon, letting me lick the sweetened condensed milk can (a coveted privilege!), and then we’d artfully arrange the cherry topping, pretending each cherry was a ruby. The wait for it to chill in the fridge felt like an eternity, but that first cold, creamy, crunchy bite was pure, unadulterated bliss. It taught me that the best food isn’t about complexity; it’s about the love and the memories you stir into it.
Print
Classic Cherry Delight
- Total Time: 20 minutes (plus chilling time)
- Yield: 12 Cookies 1x
Description
A cool, creamy no-bake dessert layered with a buttery graham cracker crust, smooth cheesecake filling, and a sweet cherry topping. It’s a perfect crowd-pleaser for holidays, potlucks, or any occasion.
Ingredients
For the crust:
250g graham cracker crumbs (or digestive biscuits)
100g unsalted butter, melted
For the cheesecake filling:
400g cream cheese, softened
250g sweetened condensed milk
180ml heavy cream
50g powdered sugar
1 tsp vanilla extract
For the topping:
400g cherry pie filling (or use fresh, pitted cherries)
Instructions
Make the crust:
Combine graham cracker crumbs and melted butter in a bowl. Mix until evenly moistened. Press firmly into the bottom of a 9×9-inch square baking pan to form an even crust. Refrigerate while making the filling.
Prepare the filling:
In a mixing bowl, beat cream cheese until smooth and creamy. Add sweetened condensed milk, powdered sugar, and vanilla extract. Mix until fully combined and silky.
Whip the cream:
In a separate bowl, whip the heavy cream until soft peaks form. Gently fold the whipped cream into the cream cheese mixture until light and fluffy.
Assemble:
Spread the cheesecake filling evenly over the chilled crust. Smooth the top with a spatula. Chill in the refrigerator for at least 3–4 hours, preferably overnight, until set.
Top and serve:
Spoon the cherry pie filling over the set cheesecake layer. Spread evenly. Slice into 12 squares and serve chilled.
- Prep Time: 20 minutes
- Category: Dessert
Nutrition
- Calories: 375
- Sodium: 210mg
- Fat: 25g
- Cholesterol: 80mg
Gathering Your Flavor Crew
Here’s your shopping list for this no-bake wonder! I’ve included some of my favorite chef-y insights and easy swaps so you can make this recipe your own.
For the Crust:
- 250g Graham Cracker Crumbs: This is your foundation! That toasty, honey-kissed flavor is classic, but don’t feel boxed in. Chef’s Tip: You can use digestive biscuits for a slightly more buttery, less sweet base, or even gluten-free graham crackers to make this celiac-friendly.
- 100g Unsalted Butter, Melted: This is the glue that holds our crunchy dream together. Using unsalted lets you control the salt level. If you only have salted, it’s totally fine—just maybe skip adding any extra pinch of salt later. The key is to make sure it’s properly melted so every crumb gets coated!
For the Cheesecake Filling:
- 400g Cream Cheese, Softened: This is the star of the show, so use full-fat for the creamiest, most luxurious texture. VERY IMPORTANT: Let it sit on the counter for at least an hour before you start. A soft cream cheese blends smoothly, preventing a lumpy filling. Cold cream cheese is the enemy of silkiness!
- 250g Sweetened Condensed Milk: This little can of magic adds sweetness and a wonderfully smooth, fudgy body to the filling. It’s what makes it so uniquely delicious compared to a standard no-bake cheesecake.
- 180ml Heavy Cream: Also called double cream or whipping cream. We’re whipping this to soft peaks to give our filling an airy, mousse-like lightness. It’s the difference between dense and dreamy.
- 50g Powdered Sugar: A little extra sweetness and it dissolves instantly, unlike granulated sugar which can leave a gritty texture.
- 1 tsp Vanilla Extract: The flavor enhancer! Use pure vanilla extract if you have it—it adds a warm, complex depth that really elevates the whole dessert.
For the Topping:
- 400g Cherry Pie Filling: The classic, gorgeous finish. It’s convenient and delicious. Chef’s Swap: Feel free to get creative! Use blueberry, apple, or strawberry pie filling. Or, for a fresher twist, see the variations section below for a quick homemade cherry compote.
Let’s Build this Dreamy Dessert!
Ready to create some magic? Follow these steps, and you’ll have a perfect Cherry Delight in no time. I’ve sprinkled in all my best kitchen hacks to ensure your success.
- Make the Crust:In a medium bowl, combine your graham cracker crumbs and melted butter. Use a fork to mix it until every last crumb is evenly moistened and has that lovely, damp-sand texture. Chef’s Hack: Pour the mixture directly into your 9×9-inch square baking pan (no need to grease it!) and use the flat bottom of a measuring cup or a glass to press it down firmly and evenly. A tight, compact crust is key—it won’t crumble when you slice it! Once it’s pressed in, pop the whole pan into the refrigerator. This chills the butter, helping the crust set up quickly and firmly while you make the filling.
- Prepare the Filling:In a large mixing bowl, beat your softened cream cheese with an electric hand mixer (or a stand mixer with the paddle attachment) on medium speed until it’s completely smooth, creamy, and free of any lumps. This should take about 1-2 minutes. Scrape down the sides of the bowl with a spatula to make sure you get everything. Now, add the sweetened condensed milk, powdered sugar, and vanilla extract. Beat again on medium-low speed until everything is fully combined and the mixture is silky and uniform. Pro Tip: Don’t overbeat at this stage! Just mix until combined to keep the filling from becoming too dense.
- Whip the Cream:Now, in a separate, clean, dry bowl, pour in your heavy cream. Using a clean set of beaters, whip the cream on medium-high speed until soft peaks form. What’s a soft peak? When you lift the beaters out, the peak of cream should curl over gracefully at the top rather than standing straight up. This gentle incorporation gives us that fluffy texture we’re after.
- Combine and Conquer:This is the most crucial step for a light filling! Take about one-third of your whipped cream and add it to the cream cheese mixture. Use your spatula to fold it in gently. Folding means you’re cutting down through the middle, scraping along the bottom of the bowl, and turning the mixture over itself. This initial addition loosens the thick cream cheese base. Once that’s incorporated, gently fold in the remaining whipped cream until no white streaks remain. Be patient and gentle—you want to keep all that lovely air you just whipped into the cream.
- Assemble and Chill:Take your chilled crust out of the fridge. Pour the beautiful, fluffy filling over the top. Use your spatula to spread it evenly, right to the edges, and smooth the top. Now, for the hardest part: the wait. Cover the pan with plastic wrap and chill it in the refrigerator for at least 3-4 hours, but honestly, overnight is pure perfection. This extended time allows the flavors to meld and the filling to set up firmly, making for clean, gorgeous slices.
- Top and Serve:Just before you’re ready to serve, give your cherry pie filling a good stir. Spoon it evenly over the entire surface of the set cheesecake layer. Use the back of the spoon to spread it into a beautiful, even layer of ruby-red goodness. To slice, run a sharp knife under hot water, wipe it dry, and then make your cuts. This gives you those super-clean, professional-looking edges! Serve immediately and watch the smiles appear.
How to Serve Your Cherry Delight
Presentation is part of the fun! I love serving this on a simple white platter to let those gorgeous red cherries really pop. For a fancy touch, add a dollop of freshly whipped cream on the side and a single, perfect mint leaf. It’s the perfect dessert to bring to a gathering because it travels like a champ right in its pan. Just cover it with foil and pop it in a cooler. At home, a simple square on a vintage plate with a cup of strong coffee is my idea of heaven.
Ride a New Flavor Wave! Creative Twists
Once you’ve mastered the classic, the flavor world is your oyster! Here are a few of my favorite ways to mix it up:
- Chocolate Lovers: Add 1/4 cup of cocoa powder to the crust mixture, or fold 1/2 cup of mini chocolate chips into the filling. Top with a chocolate ganache instead of cherries!
- Lemon Berry Bliss: Add the zest of one lemon to the cream cheese filling for a bright, zingy twist. Top with a blueberry or mixed berry pie filling.
- Tropical Dream: Use a crushed Nilla wafer or shortbread cookie crust. Fold 1/2 cup of toasted coconut into the filling and top with a mango or pineapple pie filling.
- Fresh Fruit Fix: Skip the canned pie filling! Make a quick compote by simmering 2 cups of fresh or frozen pitted cherries with 2 tablespoons of sugar and a squeeze of lemon juice until thickened.
- Dairy-Free Delight: Use vegan butter and cream cheese, coconut cream instead of heavy cream, and a can of full-fat coconut milk (chilled, use the solid part) mixed with a little maple syrup instead of sweetened condensed milk.
Isla’s Chef Notes & Kitchen Confessions
This recipe has been my trusty sidekick for years, and it’s evolved in my kitchen. I once, in a frantic pre-holiday rush, accidentally used salted caramel condensed milk because the cans looked identical. Guess what? It was a delicious, happy accident everyone raved about! So don’t be afraid to play.
I’ve also learned that the quality of your cream cheese makes a huge difference. I always opt for the block-style, full-fat Philadelphia brand for the ultimate in stability and flavor. The tubs of spreadable cream cheese have more stabilizers and can sometimes result in a softer set.
And my final, most important note: this dessert tastes even better the next day. The crust softens slightly, melding with the filling, and the flavors have a chance to party together overnight. So if you can plan ahead, do it! Your future self will thank you.
Your Questions, Answered!
I’ve gotten so many messages about this recipe over the years. Here are the answers to the most common questions to make sure your Cherry Delight is flawless.
Q: My filling is too soft/runny. What happened?
A: This usually boils down to two things: 1) The cream cheese wasn’t soft enough, leading to lumps and an uneven mix that doesn’t set properly. Or 2) The whipping cream was under-whipped. It needs to be at soft peaks to give the filling enough structure. If it happens, don’t panic! Just pop it in the freezer for an hour or two to firm up quickly.
Q: Can I freeze Classic Cherry Delight?
A> You absolutely can! It freezes beautifully. Assemble the crust and filling, but wait to add the cherry topping. Wrap the pan tightly in two layers of plastic wrap and one of foil. Freeze for up to 2 months. Thaw in the refrigerator overnight, then add the cherry topping before serving. The texture might be slightly firmer, but it’s still delicious.
Q: My crust is crumbling when I cut it! Help!
A> This means the crust wasn’t pressed firmly enough into the pan. Next time, really use some muscle with the bottom of that glass to compact it. For now, just serve it with a spoon—it will taste just as amazing, I promise! No one has ever complained about a deconstructed dessert.
Q: Can I make this in a different pan?
A> Of course! A 9×9-inch square pan gives you nice, thick squares. A 9×13-inch pan will give you more, thinner servings (great for a bigger crowd!). You can also make individual servings in little mason jars or dessert cups for a super cute presentation.
Nutritional Information*
*Please note: These are estimates based on the specific ingredients listed and will vary based on brands and exact quantities used.
Per Serving (1 of 12 squares): Calories: 375 | Total Fat: 25g | Saturated Fat: 15g | Cholesterol: 80mg | Sodium: 210mg | Total Carbohydrates: 33g | Sugars: 22g | Protein: 5g | Fiber: 1g
