
Soft Sugar Cookie Hearts: Your New Favorite Sweet, Buttery Canvas
Hey there, friend! Isla here, from my flour-dusted kitchen to yours. Have you ever reached for a sugar cookie, hoping for a soft, melt-in-your-mouth moment of pure bliss, only to be met with a crumbly, dry, or way-too-sweet disappointment? I’ve been there, and let me tell you, it’s a heartbreak I don’t wish on any fellow foodie. That’s why I’ve poured all my flavor-fanatic energy into creating the ultimate Soft Sugar Cookie Heart recipe.
These aren’t just any cookies. They’re the kind of cookies that make your kitchen smell like a happy childhood memory. They’re tender, buttery, with just the right amount of sweetness, and they hold their perfect heart shape (or star, or dinosaur shape—no judgment here!) like a champ. Whether you’re baking for Valentine’s Day, Galentine’s Day, a birthday, or just a Tuesday that needs a little more sparkle, this recipe is your new go-to.
And the best part? They are incredibly fun and easy to decorate. We’re adding a playful swirl of pink or red right into the dough for a gorgeous marbled effect, making them pretty enough to impress even before you break out the sprinkles. So, tie on your favorite apron, put on some feel-good music, and let’s bake a batch of joy together. I promise, this is one flavor wave you’re going to want to ride again and again.
The Cookie That Started It All: A Grandma’s Love
This recipe always takes me right back to my grandma’s cozy, yellow kitchen. She was the queen of “a little bit of this, a pinch of that” cooking, but when it came to her sugar cookies, she was a scientist. Every December, we’d have a massive cookie-decorating marathon, and her soft, pillowy sugar cookies were the star of the show. I remember standing on a wobbly stool, my tiny hands covered in flour, watching her cream the butter and sugar with a wooden spoon, her movements smooth and sure.
One year, I was determined to make the cookies all by myself. I was feeling confident, maybe a little too confident. I misread “teaspoon” as “tablespoon” for the vanilla. Let’s just say my first solo batch tasted… potent. But instead of scolding me, Grandma just laughed her big, booming laugh, gave me a hug, and said, “Well, honey, now we know! Let’s try again, together.” That day, she didn’t just teach me how to measure vanilla. She taught me that mistakes in the kitchen aren’t failures; they’re just discoveries. This recipe is an homage to her—a foolproof, lovingly tested version that guarantees success, so you can create your own sweet, smell-the-vanilla memories.
Print
Soft Sugar Cookie Hearts : Sweet, Buttery & Ready to Decorate
- Total Time: 25 minutes
- Yield: Approximately 24 heart‑shaped cookies 1x
- Diet: Vegetarian
Description
Soft Sugar Cookie Hearts are beautifully shaped, tender, buttery vanilla cookies with a soft melt‑in‑your‑mouth texture—perfect for decorating, gifting, or simply enjoying anytime you crave a sweet buttery treat.
Ingredients
- 1 cup (2 sticks) unsalted butter, softened
- 1 cup granulated sugar
- 2 large eggs
- 2 teaspoons vanilla extract
- ¼ teaspoon almond extract (optional)
- 2½ cups all-purpose flour
- 1 teaspoon baking powder
- ½ teaspoon salt
- Optional decorating items: colored icing, sprinkles, sanding sugar
Instructions
- Preheat oven to 350 °F (175 °C) and line baking sheets with parchment paper.
- In a mixing bowl, cream the softened butter and sugar together until light and fluffy.
- Beat in the eggs, vanilla extract, and almond extract (if using) until well combined.
- In a separate bowl, whisk together flour, baking powder, and salt. Gradually add the dry ingredients to the wet mixture and mix until a soft dough forms.
- On a lightly floured surface, roll out the dough to about ¼‑inch thickness. Use a heart‑shaped cookie cutter to cut out shapes and place them on the prepared baking sheets about 1 inch apart.
- Bake for 8–12 minutes (time may vary depending on cookie size) or until the edges are lightly golden and the centers are set.
- Allow cookies to cool on the baking sheets for 2‑3 minutes, then transfer to a wire rack to cool completely before decorating.
- Once cooled, decorate with icing, sprinkles or sanding sugar as desired.
Notes
- Chilling the dough for 30 minutes helps maintain shape during baking.
- Use almond extract for a subtle nutty vanilla twist.
- If you prefer crisper edges, roll the dough slightly thinner; for softer centers, keep dough a bit thicker.
- Store decorated cookies in an airtight container at room temperature for up to 5 days.
- Prep Time: 15 minutes
- Cook Time: 10 minutes
- Category: Dessert, Baking
- Method: Baking
- Cuisine: American
Nutrition
- Serving Size: 1 cookie
- Calories: 120
- Sugar: 8g
- Sodium: 70mg
- Fat: 6g
- Saturated Fat: 3.5g
- Unsaturated Fat: 2g
- Trans Fat: 0g
- Carbohydrates: 15g
- Fiber: 0g
- Protein: 1g
- Cholesterol: 25mg
Keywords: Soft Sugar Cookie Hearts, heart sugar cookies, buttery vanilla cookies, decorate sugar cookies, Valentine’s sugar cookies, soft sugar cookie recipe, cookie decorating, melt‑in‑your‑mouth sugar cookies
Gathering Your Cookie Crew: The Ingredients
Before we start, let’s get acquainted with our all-star cast of ingredients. Using simple, quality ingredients is the secret to big, bold flavor. Here’s what you’ll need:
- 1½ cups unsalted butter, softened – This is the soul of our cookie! Using unsalted butter lets you control the salt level. And “softened” is key here—it should be cool to the touch but yield easily when you press it. Pro tip: if you forgot to take it out of the fridge, cut it into tablespoons and let it sit for 15-20 minutes. No microwaving!
- 2 cups granulated sugar – This sweetens the deal and, when creamed with the butter, creates tiny air pockets that give our cookies a lovely, soft texture.
- 2 tsp vanilla extract – The classic flavor backbone. Use the good stuff—pure vanilla extract—if you can. It makes a world of difference.
- 4 large eggs – These are the binders, holding our dough together and adding richness and structure. Make sure they’re at room temperature to blend seamlessly with the butter.
- 5 cups all-purpose flour – The sturdy foundation of our cookie. I always fluff my flour with a spoon before scooping and leveling it off with a knife to avoid a dense, dry cookie.
- 2 tsp baking powder – Our leavening agent! This is what gives the cookies their slight rise and that wonderfully soft, cake-like crumb. It’s the magic that makes them *not* flat and crispy.
- 1 tsp salt – Don’t skip this! Salt is a flavor enhancer. It balances the sweetness and makes the buttery, vanilla notes really sing.
- Red or pink food coloring (natural or gel) – For that beautiful swirl! I highly recommend gel food coloring because it’s more concentrated, so you get vibrant color without adding extra liquid to the dough.
- Optional: 1 tsp almond extract – This is my secret weapon! It adds a subtle, sophisticated depth that pairs beautifully with the vanilla. It tastes like a bakery cookie, trust me.
- Optional: Colored sanding sugar, royal icing, or melted white chocolate for decorating – The fun part! Go wild with your favorites.
Let’s Get Baking: The Step-by-Step Fun
Ready to make some magic? Follow these steps, and you’ll have perfect cookies in no time. I’ve sprinkled in my favorite chef hacks to make the process smooth and stress-free.
- Preheat oven to 350°F (175°C). Line baking sheets with parchment paper. Chef’s Hack: Parchment paper is a non-negotiable for me. It prevents sticking and makes cleanup an absolute dream. No parchment? A silicone baking mat works wonders too!
- In a large bowl, cream together butter and sugar until light and fluffy. Chef’s Hack: This is the MOST important step for texture. Don’t rush it! Beat on medium-high speed for a good 2-3 minutes. You’ll know it’s ready when the mixture is pale yellow and has almost doubled in volume. This incorporates air, which is key for a soft cookie.
- Beat in vanilla, eggs, and almond extract (if using). Chef’s Hack: Add the eggs one at a time, beating well after each addition. This ensures each egg is fully emulsified into the butter mixture, which prevents a greasy, curdled-looking dough.
- In a separate bowl, whisk together flour, baking powder, and salt. Chef’s Hack: Whisking your dry ingredients does two things: it evenly distributes the baking powder so your cookies rise uniformly, and it aerates the flour one more time for a lighter texture.
- Gradually add dry ingredients to wet mixture and mix until just combined. Chef’s Hack: I add the flour in three batches, mixing on low speed. The moment you no longer see dry flour, STOP MIXING! Over-mixing at this stage develops gluten and can lead to tough cookies. A few stray flour bits are okay—they’ll get worked in when we roll the dough.
- Divide dough and knead food coloring into one portion to make colored swirls or roll out each color separately for cut-out shapes. Chef’s Hack: For a gorgeous marbled effect, I divide my plain dough in half. I color one half pink, then tear off small chunks of both the plain and pink dough and gently press them together before rolling. It creates a beautiful, natural-looking swirl!
- Roll dough to ¼-inch thickness on a floured surface. Use heart-shaped or favorite cookie cutters. Chef’s Hack: Lightly flour your rolling pin and surface, but don’t go overboard with the flour, as it can make the cookies dry. If the dough gets too warm and sticky, pop it in the fridge for 10-15 minutes to firm up.
- Place cookies on baking sheet, 2 inches apart. Chef’s Hack: Give them space! They don’t spread a ton, but they do puff up a little, and you want that hot air to circulate evenly for perfect baking.
- Bake for 8–10 minutes, just until the edges are set. Do not overbake. Chef’s Hack: This is the second most important step! The cookies will still look very soft and pale in the center, and that’s exactly what you want. They continue to cook on the hot baking sheet as they cool. Pull them out when you see the faintest hint of gold on the very bottom edges. Over-baking is the enemy of a soft sugar cookie!
- Cool completely before decorating with icing or sprinkles. Chef’s Hack: Let them cool on the baking sheet for 5 minutes before transferring them to a wire rack. This allows them to set without breaking. If you’re using icing, a completely cool cookie is a must, or you’ll have a melty, messy situation.
Sharing the Sweetness: How to Serve Your Masterpieces
Now for the grand finale! These cookies are stars on their own, but presentation is half the fun. Pile them high on a rustic wooden board for a casual gathering, or arrange them carefully on a beautiful vintage platter for a more elegant touch. I love tying a few together with baker’s twine and giving them as a heartfelt, homemade gift. They’re perfect with a cold glass of milk, a hot cup of coffee, or just as a sweet hand-held treat as you’re running out the door. However you serve them, do it with a smile—you just baked something amazing!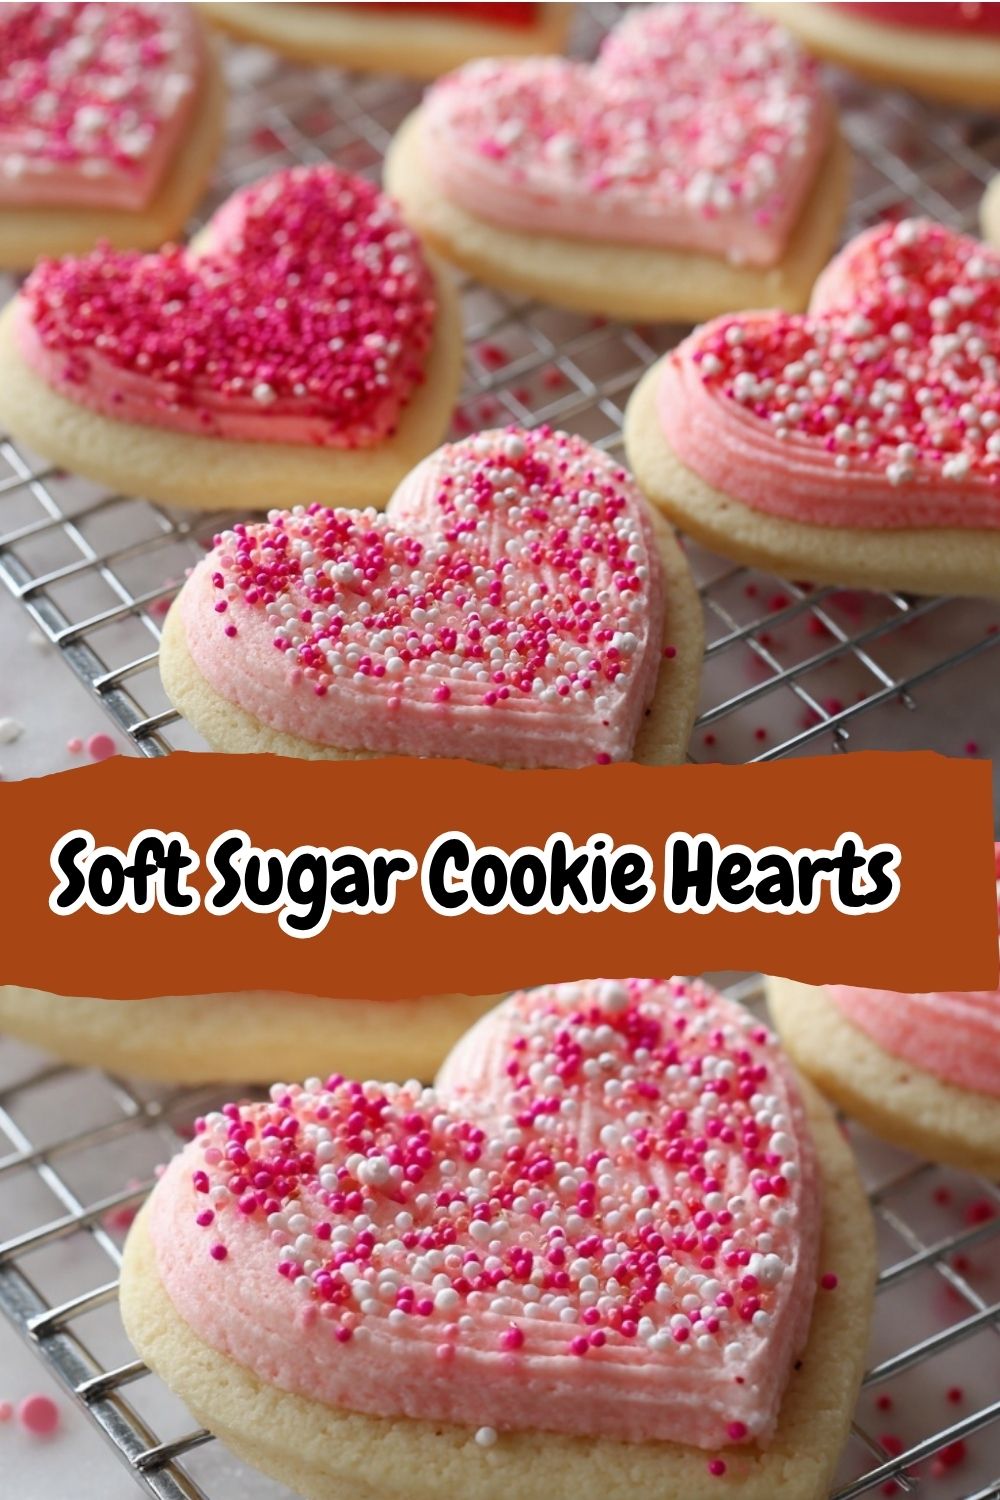
Ride Your Own Flavor Wave: Fun Recipe Twists
Once you’ve mastered the classic, feel free to get creative! This dough is a wonderful blank canvas.
- Lemon Zest Sunshine: Add the zest of one large lemon to the dough for a bright, citrusy pop. A lemon glaze instead of royal icing would be divine.
- Funfetti Party: Skip the food coloring and fold in ½ cup of rainbow sprinkles for a classic birthday cookie vibe.
- Chocolate Dip Dream: After the cookies are cooled, dip half of each one in melted dark or semi-sweet chocolate and let it set. Simple and stunning.
- Gluten-Free Friendliness: Swap the all-purpose flour for a 1:1 gluten-free baking blend. I’ve had great success with this!
- Venture Beyond Hearts: Use this dough for any holiday! Christmas trees, Easter bunnies, spooky Halloween ghosts—it works for every shape in the cookie cutter box.
Isla’s Kitchen Confidential: A Few Final Thoughts
This recipe has been a labor of love, and it’s evolved so much since that first vanilla-heavy batch in my grandma’s kitchen. The addition of the almond extract was a happy accident one day when I was out of vanilla (we’ve all been there!), and the marbled coloring technique came from my kiddo, who wanted “polka-dot” cookies. I love that it’s now a mix of tradition and our own family’s fun.
One of my favorite kitchen stories with these cookies involves my dog, Buster. He’s a golden retriever with a nose for butter. I turned my back for one second, and he managed to snatch a whole log of unbaked dough off the counter! Don’t worry, he was fine (and very pleased with himself), but now I’m militant about keeping dough out of reach of furry, four-legged foodies. Consider that your official public service announcement!
Your Questions, Answered: Sugar Cookie FAQs
Q: My dough is too sticky to roll! What did I do wrong?
A: Don’t panic! This is super common, especially on a warm day. You likely did nothing wrong. Just gently gather the sticky dough, wrap it in plastic wrap, and chill it in the fridge for 30-60 minutes. The butter will firm up, making it a dream to roll out.
Q: Why did my cookies spread and lose their shape?
A: This usually points to two things: 1) Your butter was too warm when you creamed it, or 2) Your baking powder might be old. Baking powder loses its potency over time. To test it, stir half a teaspoon into a cup of hot water. If it doesn’t bubble vigorously, it’s time for a new can.
Q: Can I make the dough ahead of time?
A: Absolutely! This dough is perfect for making ahead. Wrap it tightly in plastic wrap and it will keep in the fridge for up to 3 days. You can also freeze it for up to 3 months. Just let it thaw in the fridge overnight before rolling.
Q: My food coloring turned the dough a weird color or made it wet. Help!
A: This is why I’m a gel food coloring evangelist! Liquid food coloring has a lot of water, which can throw off your dough’s consistency and result in a pastel, not vibrant, color. If you’re stuck with liquid, use it sparingly. But for the best results, invest in a small set of gel colors—they last forever.
Just the Facts: Nutritional Info
Please note: This is an estimate per cookie, without decorations.
Calories: ~110 kcal | Fat: 5g | Carbs: 14g | Sugar: 6g | Protein: 1g