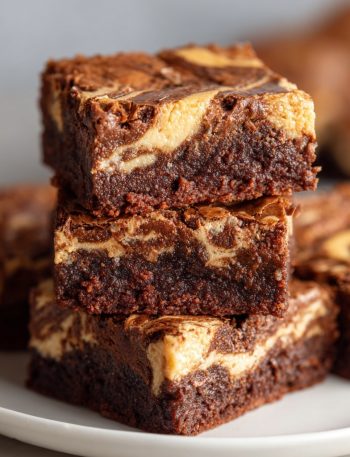
The Only Brownie Recipe You’ll Ever Need: A One-Bowl Wonder
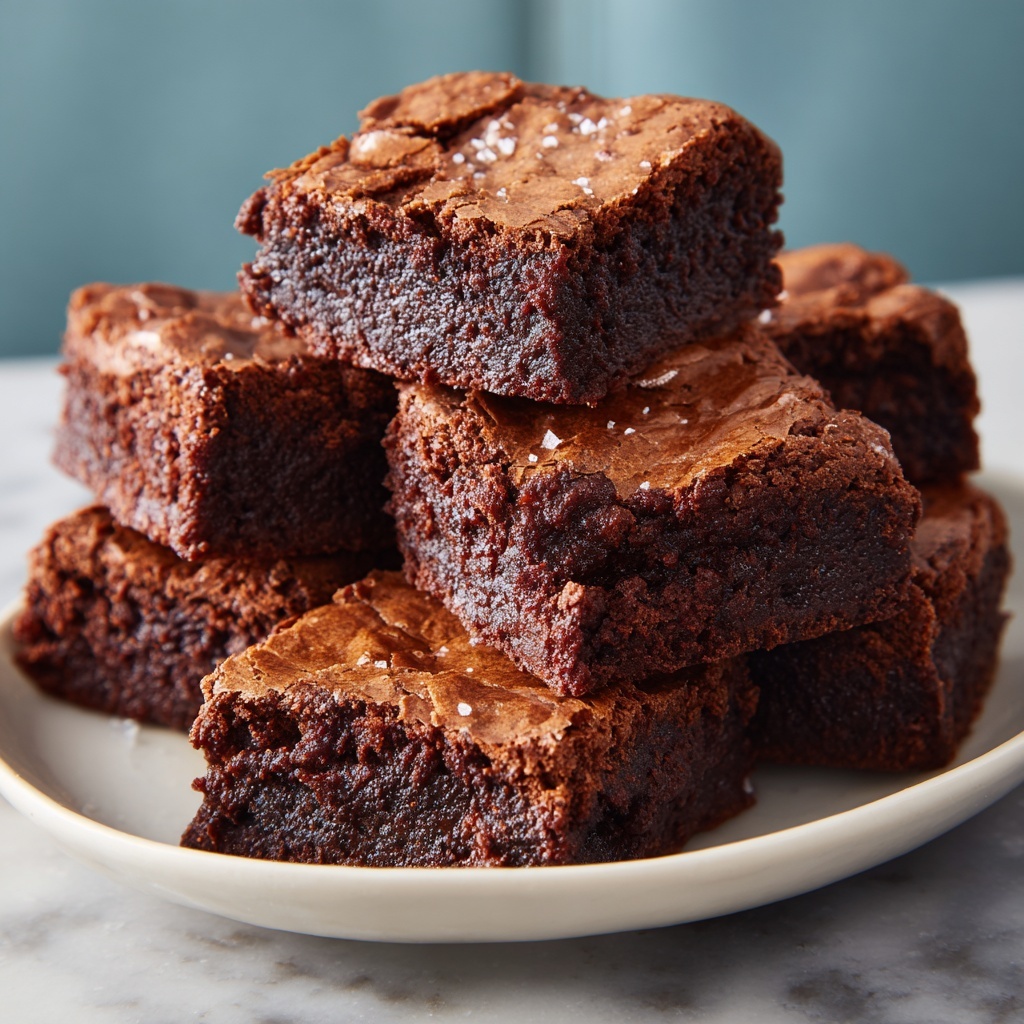
Hey there, friend! Isla here, from my cozy kitchen to yours. Let’s talk about something near and dear to my heart—and my stomach: the perfect, fudgy, soul-warming homemade brownie. You know the kind I’m talking about. The ones with that crackly, paper-thin crust on top, a dense, intensely chocolatey interior, and that perfect chewy edge that makes you feel like you’ve won the dessert lottery.
I see you, eyeing that box mix in the pantry. It’s tempting, I know. But what if I told you that the brownie of your dreams is just one bowl and about 10 minutes of effort away? No mysterious ingredients, no preservatives—just pure, unadulterated chocolate joy. This isn’t just a recipe; it’s a kitchen hug. It’s the treat you whip up for last-minute guests, the reward for surviving a tough day, or the secret weapon you bring to a potluck that has everyone asking, “What’s your secret?” Spoiler alert: the secret is simplicity and a whole lot of love.
So, tie on your favorite apron, grab that one trusty mixing bowl, and let’s make some magic. We’re about to create brownies so good, they’ll make you forget the box mix ever existed. Get ready for your kitchen to smell like a bakery and for your friends and family to crown you the Brownie Queen (or King!). Let’s dive in!
Print
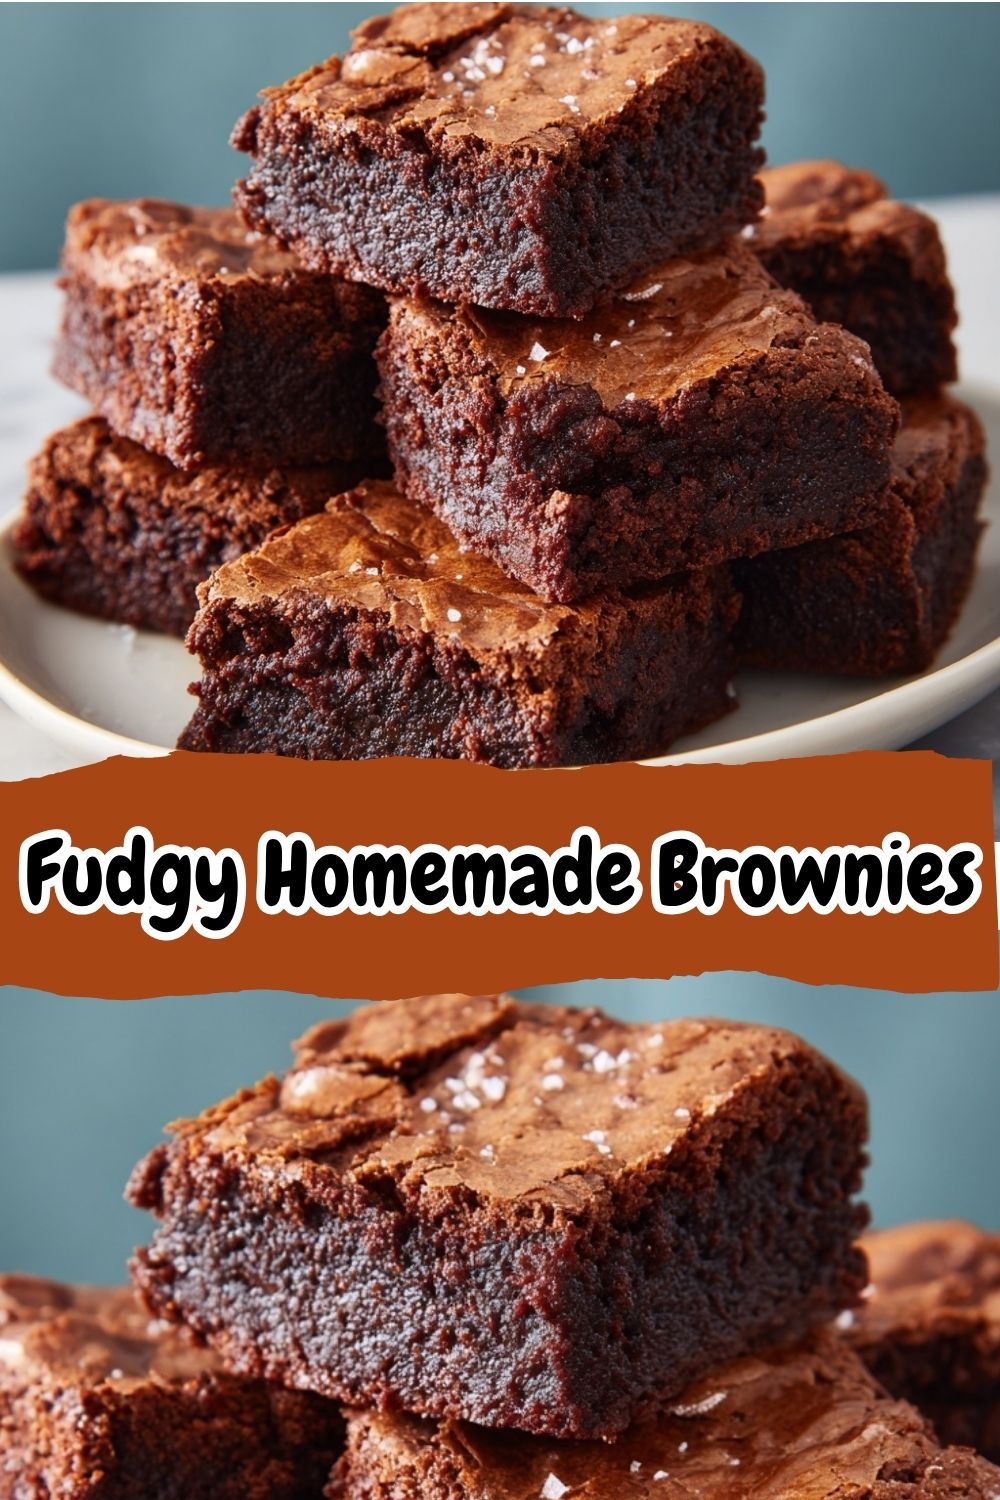
Fudgy Homemade Brownies : The Best One-Bowl Recipe
- Total Time: 40 minutes
- Yield: 9 squares 1x
Description
Say goodbye to box mixes—these rich, chewy brownies come together in one bowl with simple pantry staples and deliver big chocolate flavor. Whether you’re baking for guests or sneaking a midnight treat, these brownies are the kind that disappear fast. Bonus: they’re foolproof and irresistibly good.
Ingredients
½ cup butter (melted)
1 cup white sugar
2 eggs
1 tsp vanilla extract
⅓ cup unsweetened cocoa powder
½ cup all-purpose flour
¼ tsp salt
¼ tsp baking powder
Instructions
Preheat oven to 350°F (175°C). Grease or line an 8×8-inch baking pan.
In a bowl, combine melted butter and sugar. Stir in eggs and vanilla.
Mix in cocoa powder, flour, salt, and baking powder until smooth.
Pour batter into prepared pan and spread evenly.
Bake for 25–30 minutes, or until a toothpick inserted near the center comes out with a few moist crumbs.
Cool before slicing (if you can wait!).
- Prep Time: 10 mins
- Cook Time: 25 mins
- Category: Dessert
Nutrition
- Calories: 180
- Fat: 9g
- Carbohydrates: 24g
- Protein: 2g
A Chocolatey Flashback: My First Brownie Fiasco
This recipe takes me right back to my grandma’s sun-drenched kitchen, the one with the checkered curtains and the ever-present smell of something baking. I was about ten, and I’d decided I was going to make brownies for my dad all by myself. I felt so grown-up, standing on a stool, wielding a whisk like a sword. I found a recipe in her splattered, handwritten cookbook and got to work.
Well, my youthful confidence far outweighed my reading comprehension. In my haste, I misread “baking soda” as “baking powder” and used a heaping tablespoon instead of a teaspoon. You can probably imagine what happened. What emerged from the oven wasn’t so much a pan of brownies as it was a chocolate-flavored volcanic rock. They were dry, crumbly, and had a faintly metallic aftertaste. My dad, being the absolute champion he is, ate an entire square with a glass of milk, proclaiming it “the most ambitious brownie he’d ever had.” We laughed until we cried. That kitchen fail taught me a valuable lesson: baking is a science, but it should never be intimidating. It’s all about learning, laughing, and trying again. This recipe right here? It’s the foolproof, no-fail result of all those lessons learned. No volcanic rocks, I promise.
Gather Your Ingredients: The Dream Team
Here’s the beautiful part: you likely have everything you need in your pantry right now. This is the A-team of baking, and each one plays a crucial role in creating brownie nirvana.
- ½ cup (1 stick) Unsalted Butter, melted: This is the liquid gold that gives our brownies their rich, moist texture and that gorgeous, shiny top crust. Chef’s Insight: I use unsalted so I can control the salt level, but if salted is all you have, just reduce the added salt in the recipe by a pinch.
- 1 cup White Granulated Sugar: Sweetness is a given, but sugar also helps create that delicate, crackly surface we all love. It’s non-negotiable for classic brownie texture.
- 2 large Eggs: Our binding agents and structure-builders! They make the brownies set up and give them that wonderful chew. Make sure they’re at room temperature for a smoother, easier-to-mix batter.
- 1 tsp Pure Vanilla Extract: The flavor enhancer. It deepens the chocolate flavor and adds a warm, aromatic note. Don’t skip it!
- ⅓ cup Unsweetened Cocoa Powder: This is where the deep, dark chocolate magic happens. Pro-Tip: Use a good-quality natural cocoa powder for the best flavor. This isn’t the time for hot chocolate mix!
- ½ cup All-Purpose Flour: The foundation. We don’t need much, which is key to a fudgy, not cakey, texture. Too much flour is the enemy of a dense brownie!
- ¼ tsp Salt: The flavor superhero. Salt makes the chocolate taste more chocolatey and balances the sweetness perfectly. Trust me on this.
- ¼ tsp Baking Powder: Our little lift agent. We use just a touch to give the brownies a slight rise and a less-dense crumb, making them chewy rather than brick-like.
Let’s Get Baking: Your Foolproof Blueprint
Ready? This is where the fun begins. I’m walking you through every step, with all my favorite chef hacks, so you end up with absolute perfection.
- Preheat and Prep: First things first, get that oven preheating to a toasty 350°F (175°C). This is crucial for an even bake. While it’s warming up, grab your 8×8-inch baking pan. Grease it lightly with butter or baking spray, or for the ultimate easy cleanup, line it with parchment paper, leaving a little overhang on two sides. Chef’s Hack: This “sling” will let you lift the entire block of brownies out of the pan once they’re cool, making for the cleanest, most professional cuts ever.
- The Magic Bowl: In your one—yes, ONE!—mixing bowl, combine the melted butter and sugar. Give it a really good whisk for about a minute. You’re not just mixing; you’re working a little science magic. This step helps dissolve the sugar into the butter, which is part of what gives you that shiny, crackly top. You’ll see the mixture go from grainy to a little bit glossier.
- Egg-cellent Addition: Now, crack in those two room-temperature eggs and add the vanilla extract. Whisk it all together with gusto until it’s completely combined and the mixture is smooth and looks a little thickened. This is where you’re building the structure. Little Kitchen Story: My grandma always said, “Whisk with your wrist, not your elbow, and put some love into it!” She wasn’t wrong.
- Dry Ingredient Party: Here comes the chocolate rain! Sprinkle the cocoa powder, flour, salt, and baking powder directly over your wet ingredients. Chef’s Pro-Move: I like to give the dry ingredients a quick whisk in a separate small bowl before adding them, just to make sure the baking powder and salt are evenly distributed. But if you’re committed to the one-bowl life, just sprinkle them evenly over the top. Use a spatula to gently fold everything together. Stop as soon as you no longer see streaks of flour. Do NOT overmix! A few tiny lumps are totally fine—overmixing is what leads to tough brownies.
- Into the Pan: Scrape every last bit of that glorious, thick, chocolatey batter into your prepared pan. Use your spatula to spread it into an even layer, and if you’re feeling fancy, you can even give the pan a little tap on the counter to release any air bubbles.
- Bake to Perfection: Slide the pan into your preheated oven and set your timer for 25 minutes. This is the hardest part: the waiting! When the timer goes off, perform the toothpick test. Stick a toothpick (or a clean wooden skewer) into the center of the brownies. You do NOT want it to come out clean. You want it to come out with a few moist crumbs clinging to it. That is the secret signal for a fudgy, not dry, brownie. If it looks wet, give it another 3-5 minutes and test again. All ovens are different, so trust the crumb, not just the clock!
- The Ultimate Test: Patience: I know, I know. The smell is intoxicating, and you want to dive in face-first. But you must, must, MUST let the brownies cool completely in the pan on a wire rack. This is non-negotiable for clean slicing. As they cool, they finish setting up. Cutting into warm brownies is a recipe for a gooey, albeit delicious, mess. I believe in you. You can wait!
How to Serve These Beauties
Once they’re completely cool and you’ve used the parchment sling to lift them onto a cutting board, it’s showtime! Use a sharp knife to slice them into 9 generous squares (or 16 smaller ones for a crowd). For the cleanest cuts, wipe the knife clean between each slice. These brownies are a masterpiece all on their own, but a little scoop of vanilla bean ice cream and a drizzle of warm caramel sauce never hurt anybody. For a truly decadent experience, dust them with a little powdered sugar or a sprinkle of flaky sea salt right before serving. Pure bliss.
Ride the Flavor Wave: 5 Fun Twists
Once you’ve mastered the classic, the world is your brownie oyster! Here are a few of my favorite ways to mix it up:
- Sea Salt Caramel Swirl: Drop dollops of good-quality thick caramel sauce over the batter before baking, then use a knife to swirl it in. Finish with a sprinkle of flaky sea salt.
- Espresso Infusion: Add 1-2 teaspoons of instant espresso powder to the dry ingredients. It won’t make them taste like coffee, just like a deeper, more intense chocolate.
- Peanut Butter Pocket: Warm ½ cup of creamy peanut butter with a tablespoon of sugar to make it drizzle-able. Drop it over the batter and swirl for a marbled effect.
- Mint Chocolate Chip: Add ½ teaspoon of peppermint extract with the vanilla and fold in ½ cup of dark or semi-sweet chocolate chips.
- Gluten-Free & Dairy-Free: Use a 1:1 gluten-free flour blend and replace the butter with an equal amount of melted coconut oil. They turn out amazingly fudgy!
Isla’s Chef’s Notes: A Few Parting Thoughts
This recipe has been my ride-or-die for years. It’s traveled with me from that small coastal town kitchen to my first tiny apartment with a temperamental oven, to the kitchen I cook in today. It’s been scribbled on notecards, texted to friends in desperation, and doubled for countless parties. It’s evolved only in the fun additions, but the core has remained the same: simple, reliable, and deeply satisfying.
I once made a triple batch for a beach bonfire, and a seagull actually swooped down and tried to steal an entire square right out of a friend’s hand. We still laugh about it. That’s the power of a great brownie—it even tempts the local wildlife! The point is, this recipe is more than ingredients and steps. It’s a vehicle for joy, for connection, for making memories. Don’t stress about making it perfect. Just make it with love, and I promise, it will be perfect for you.
FAQs & Troubleshooting: Your Questions, Answered!
Q: My brownies are cakey, not fudgy. What happened?
A: The most common culprit is overmixing the batter once the flour is added, or using too much flour. When you measure your flour, fluff it up in the bag, then spoon it lightly into your measuring cup and level it off with a knife. Don’t scoop directly with the cup—that packs in too much! Also, check your baking time. Overbaking is a surefire way to dry them out.
Q: Why didn’t I get that shiny, crackly top?
A: That signature top comes from properly dissolving the sugar into the warm butter and eggs. Make sure you whisk the butter and sugar together really well for a full minute before adding the eggs, and then whisk the eggs in vigorously. This helps create a thin layer of sugar on the surface that cracks as it bakes.
Q: Can I double this recipe?
A: Absolutely! Double all the ingredients and bake it in a 9×13-inch pan. You’ll likely need to add 5-10 minutes to the baking time, but always rely on the toothpick test for the final say.
Q: How should I store these brownies?
A: Keep them in an airtight container at room temperature for up to 4 days. They also freeze beautifully! Just wrap individual squares in plastic wrap and pop them in a freezer bag for up to 3 months. A 10-second zap in the microwave from frozen is a game-changer.
Nutritional Info (Approximate)
Per serving (based on 9 squares): Calories: 180 | Fat: 9g | Carbs: 24g | Sugar: 17g | Protein: 2g | Fiber: 1g