Your New Go-To Party Hit: Loaded Tater Tot Appetizer Cups
Hey there, friend! Isla here from BiteTide, and I am practically buzzing with excitement to share this recipe with you. If you’ve ever been put on appetizer duty for a game day bash, a holiday potluck, or just a casual get-together with your favorite people, you know the pressure is on. You need something that’s a guaranteed crowd-pleaser, something that disappears from the platter in minutes, and something that doesn’t chain you to the stove all day while your guests are having fun. Sound familiar?
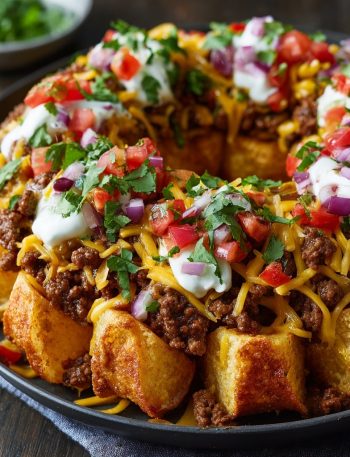
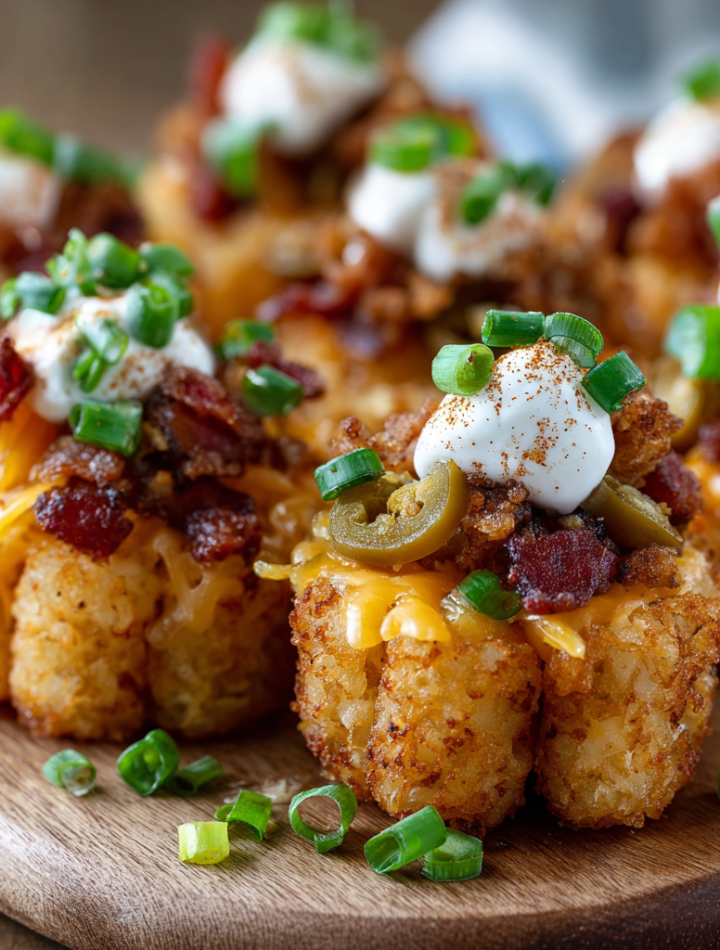
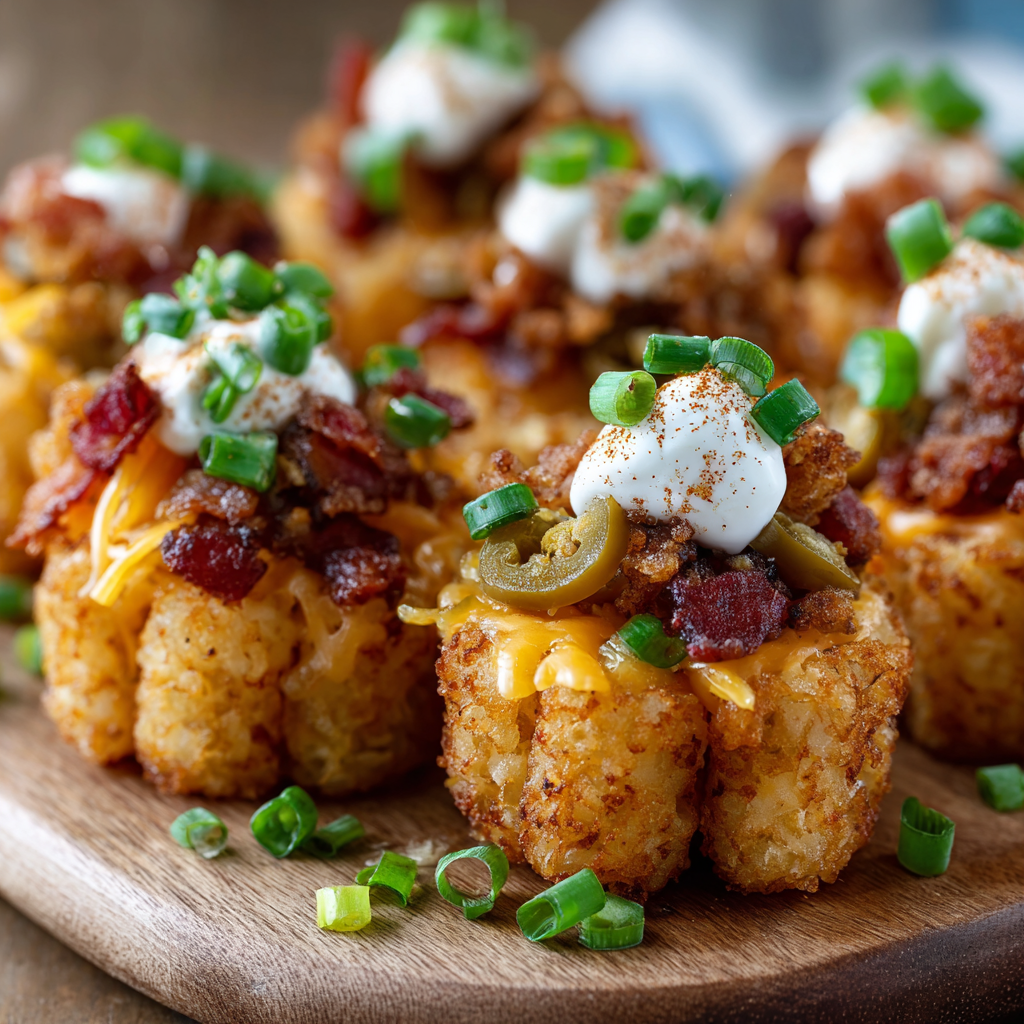
Well, consider your party problems solved. These Loaded Tater Tot Appetizer Cups are nothing short of magical. Imagine all the best parts of a fully-loaded baked potato—crispy potato, melty sharp cheddar, smoky bacon, cool sour cream, and a fresh green onion kick—but transformed into adorable, single-serve, handheld cups. They’re crispy, cheesy, and totally crave-worthy. The best part? They are ridiculously easy to make. We’re using a simple freezer staple and a muffin tin to create pure appetizer gold. So, preheat that oven, grab your favorite mixing bowls, and let’s make a party snack that will have everyone asking you for the recipe!
The Tot That Started It All
This recipe actually has its roots in a slightly chaotic, utterly wonderful memory from my childhood. Growing up in my small coastal town, our big family gatherings were legendary, and the appetizer spread was a serious point of pride. One particularly rowky Thanksgiving, my dad was put in charge of the “kid food” while the adults finished the main feast. He looked at a bag of frozen tater tots, a block of cheese, and some leftover bacon from breakfast and had a lightbulb moment.
He pressed the tots into a baking dish, loaded them up with all the fixings, and baked it into one giant, glorious, messy casserole. Us kids descended on it like a pack of hungry seagulls. It was pure, unadulterated joy. There were no fancy plates, just a bunch of cousins gathered around a pan, scraping up every last cheesy, crispy bit with our fingers. That dish became a family legend, “Dad’s Famous Tot-Tastic Mess.” My version today is a slightly more elegant, party-friendly twist on his brilliant, chaotic creation. It’s a nod to that feeling of unpretentious, shared joy—because the best food memories usually are a little messy, right?
Print
Loaded Tater Tot Appetizer Cups
- Total Time: 45 minutes
- Yield: 24 1x
Description
Crispy, cheesy, and totally crave-worthy—these Loaded Tater Tot Appetizer Cups are the ultimate crowd-pleaser. Perfect for game day, parties, or holiday spreads, they’re like mini loaded baked potatoes in bite-sized form. With a few tasty twists added in, these are next-level tots you’ll make on repeat.
Ingredients
96–120 frozen tater tots (two 16-oz bags)
1½ cups sharp cheddar cheese, shredded
1 cup sour cream
8 slices bacon, cooked and crumbled
4 green onions, sliced (green parts only)
¼ cup pickled jalapeños, finely chopped (optional kick)
½ tsp smoked paprika (for depth)
2 tbsp chives or parsley (for garnish)
Equipment
2 standard 12-cup muffin pans
Non-stick cooking spray
Shot glass or small juice glass (for pressing tots)
Instructions
Preheat oven to 425°F (220°C). Lightly spray muffin pans with non-stick spray.
Place 4–5 frozen tater tots into each muffin cup.
Bake for 10 minutes, then remove and use a shot glass to press tots into cup shapes.
Return to oven and bake an additional 15 minutes until golden and crispy.
Remove from oven, sprinkle each cup with cheddar cheese and bacon. Bake another 5 minutes until cheese is melted.
Let cool slightly, then top with a dollop of sour cream, green onions, jalapeños (if using), and a pinch of smoked paprika.
Garnish with fresh chives or parsley before serving.
- Prep Time: 15 mins
- Cook Time: 30 mins
Nutrition
- Calories: 120
- Sodium: 190mg
- Fat: 8g
- Carbohydrates: 9g
- Fiber: 1g
Gathering Your Flavor Crew
Here’s everything you’ll need to make these irresistible bites. Don’t stress about exact brands—this is all about using what you love and what you have!
- 96–120 frozen tater tots (two 16-oz bags): The star of the show! Don’t thaw them; the frozen state helps them hold their shape as they bake into perfect cups. Any brand works, but I find the crispier, name-brand ones get a fantastic golden texture.
- 1½ cups sharp cheddar cheese, shredded: I highly recommend shredding your own cheese from a block. Pre-shredded cheese is coated in anti-caking agents that can make it melt less smoothly. The sharpness cuts through the richness of the other ingredients beautifully.
- 1 cup sour cream: The cool, creamy element that brings it all together. For a tangier twist, you can swap in plain Greek yogurt—it adds a lovely protein boost, too!
- 8 slices bacon, cooked and crumbled: The salty, smoky crunch we all crave. For a shortcut, use real bacon bits from the store, but for maximum flavor, cooking your own is the way to go. Save that bacon fat for cooking eggs later!
- 4 green onions, sliced (green parts only): This adds a necessary fresh, sharp bite. If you’re not a green onion fan, a tablespoon of very finely chopped red onion works in a pinch.
- ¼ cup pickled jalapeños, finely chopped (optional kick): My little chef’s secret for a flavor boost! The vinegar from the pickling liquid brightens the whole dish. Leave them out if you’re sensitive to spice, or add fresh jalapeños for more heat.
- ½ tsp smoked paprika: This isn’t just for color! A tiny pinch adds a deep, smoky depth that makes the bacon flavor pop even more. Regular paprika works, but smoked is a game-changer.
- 2 tbsp chives or parsley, fresh (for garnish): A final sprinkle of green makes everything look professionally pretty and tastes great!
Equipment You’ll Need: 2 standard 12-cup muffin pans, Non-stick cooking spray, A shot glass or small juice glass (our secret weapon for shaping!)
Let’s Build Those Flavor Cups! (Step-by-Step)
Okay, team! Let’s get these party starters into the oven. Follow these steps, and you’ll have perfect little cups every single time.
- Preheat and Prep: First things first, get that oven roaring hot to 425°F (220°C). This high heat is crucial for getting our tots super crispy, not soggy. While it’s heating, generously spray your two muffin pans with non-stick spray. I mean it—get in every nook and cranny! This ensures our crispy potato cups will pop right out after baking.
- Fill the Cups: Now, grab your frozen tater tots. For each muffin cup, place 4-5 tots inside. It might feel like they won’t fit, but they will! I like to stand a couple on their ends to really fill the space. This isn’t a perfect science, so don’t worry if each cup looks a little different.
- First Bake (The Foundation): Slide those pans into your preheated oven and let them bake for 10 minutes. This initial bake is just to start thawing and softening the tots so they become malleable. Your kitchen will already start smelling amazing.
- The Press (Chef’s Hack!): Carefully remove the pans from the oven. They’ll be hot, so use those oven mitts! Now, grab your secret weapon: the shot glass. Lightly spray the bottom of the glass with non-stick spray and gently press down into the center of each tot-filled muffin cup. Press firmly but gently to compact the tots and push them up the sides, forming a beautiful little cup shape. This is the most satisfying step! If any tots break or pop out, just tuck them back in.
- Second Bake (Crispy Time): Once all your cups are formed, return the pans to the oven for another 15 minutes. Now, we’re baking them until they’re deeply golden brown, crispy, and holding their shape beautifully. This is what gives them that fantastic potato-y crunch.
- Load ‘Em Up!: Take the pans out again—the cups should look perfect! Now, evenly divide your shredded cheddar cheese and crumbled bacon among all the cups. The residual heat will start melting everything immediately. Pop them back into the oven for a final 3-5 minutes, just until the cheese is fully melted, bubbly, and irresistible.
- The Cool Down (Be Patient!): I know, it’s SO hard to wait. But trust me on this: let the pans sit on a wire rack for 5-7 minutes before trying to remove the cups. This allows the potato to set and firm up, making them much easier to remove without breaking. Use a small offset spatula or a butter knife to gently loosen and lift them out.
- The Grand Finale (Toppings): Arrange your beautiful tot cups on a serving platter. Now, get artistic! Dollop each one with a little cool sour cream, then sprinkle generously with green onions, a few pieces of pickled jalapeño (if you’re using them), a dusting of smoked paprika, and a final flourish of fresh chives. Serve immediately and watch them vanish!
How to Serve These Little Bites of Joy
Presentation is part of the fun! I love using a large, rustic wooden board or a vibrant platter to make all those golden-brown cups really stand out. Arrange them in a tight circle or rows, and place a small bowl of extra sour cream and some extra jalapeños in the center for your guests who want to go the extra mile. Since they are a handheld appetizer, have plenty of small napkins available—these are happily messy! They pair perfectly with a cold beer, a crisp glass of rosé, or a zesty margarita for those who opted for the spicy kick.
Ride Your Own Flavor Wave: Fun Variations!
The beauty of this recipe is its versatility. Once you master the base, the flavor world is your oyster! Here are a few of my favorite twists:
- Buffalo Chicken: Mix 1 cup of shredded cooked chicken with ¼ cup of buffalo sauce. After the second bake, fill the cups with the chicken mixture, top with blue cheese crumbles instead of cheddar, and bake until melted. Top with a drizzle of ranch and celery sticks.
- Philly Cheesesteak: Sauté thin slices of bell pepper and onion until soft. After the second bake, fill the cups with the veggie mix and thin slices of roast beef or steak, top with provolone cheese, and bake until bubbly.
- Everything Bagel: Skip the bacon and cheese. After the final bake, top with a dollop of whipped cream cheese and a generous sprinkle of everything bagel seasoning. So good for brunch!
- Tex-Mex: Swap the cheddar for pepper jack cheese. After baking, top with seasoned ground beef or black beans, pico de gallo, a dollop of guacamole, and a cilantro garnish.
- Veggie Lover: Omit the bacon. After the second bake, fill with a mix of sautéed mushrooms, spinach, and onions, top with cheese and bake. The possibilities are truly endless!
Isla’s Chef Notes & Kitchen Stories
This recipe has become such a staple in my entertaining arsenal that I’ve lost count of how many times I’ve made it. It’s evolved from my dad’s original “mess” into this foolproof party trick. One of my favorite kitchen fails-turned-win was when I was rushing for a party and tried to press the cups with a glass that wasn’t sprayed… let’s just say I had to perform a little tot-cup surgery with a spoon! Now I never forget that quick spritz of oil.
Another pro-tip: you can totally prep these ahead! Assemble the raw tot cups in the muffin tin, cover tightly with plastic wrap, and refrigerate for up to 4 hours before baking. You might just need to add a minute or two to the baking time since they’ll be cold from the fridge. This recipe is a testament to my core belief: food should be fun, flavorful, and never fussy. These tot cups are all three. I hope they bring as much joy to your table as they have to mine!
FAQs: Your Questions, Answered!
Q: My tater tot cups are sticking to the pan! How can I prevent this?
A: The number one cause is not enough non-stick spray! Be incredibly generous. The second cause is not letting them cool slightly before removal. Those 5 minutes of patience are non-negotiable for clean removal. If a piece does stick, just gently pry it out with a knife and pile the toppings on—it will still taste incredible!
Q: Can I make these in advance and reheat them?
A: You can, but with a caveat. They are absolutely best fresh from the oven. If you must, bake the cups (through step 5) and let them cool completely. Store in an airtight container in the fridge. To reheat, place them on a baking sheet in a 375°F oven for 5-10 minutes until hot and crispy again, THEN add your cheese and bacon and bake until melted. The toppings (sour cream, green onion) should always be added fresh after reheating.
Q: Are there any gluten-free or dairy-free options?
A> Absolutely! First, check that your brand of tater tots is certified gluten-free (many are!). For dairy-free, use your favorite plant-based shredded cheese and a vegan sour cream alternative. Just know that vegan cheeses melt differently, so keep a close eye on them. The bacon can be omitted or replaced with a smoky, crispy coconut bacon or your favorite vegan bacon bits.
Q: My cups fell apart when I pressed them. What did I do wrong?
A> This usually means you didn’t bake them long enough during the initial 10-minute bake. They need to be soft and pliable. If they’re still frozen solid and breaking, pop them back in for another 2-3 minutes and try again. It’s an easy fix!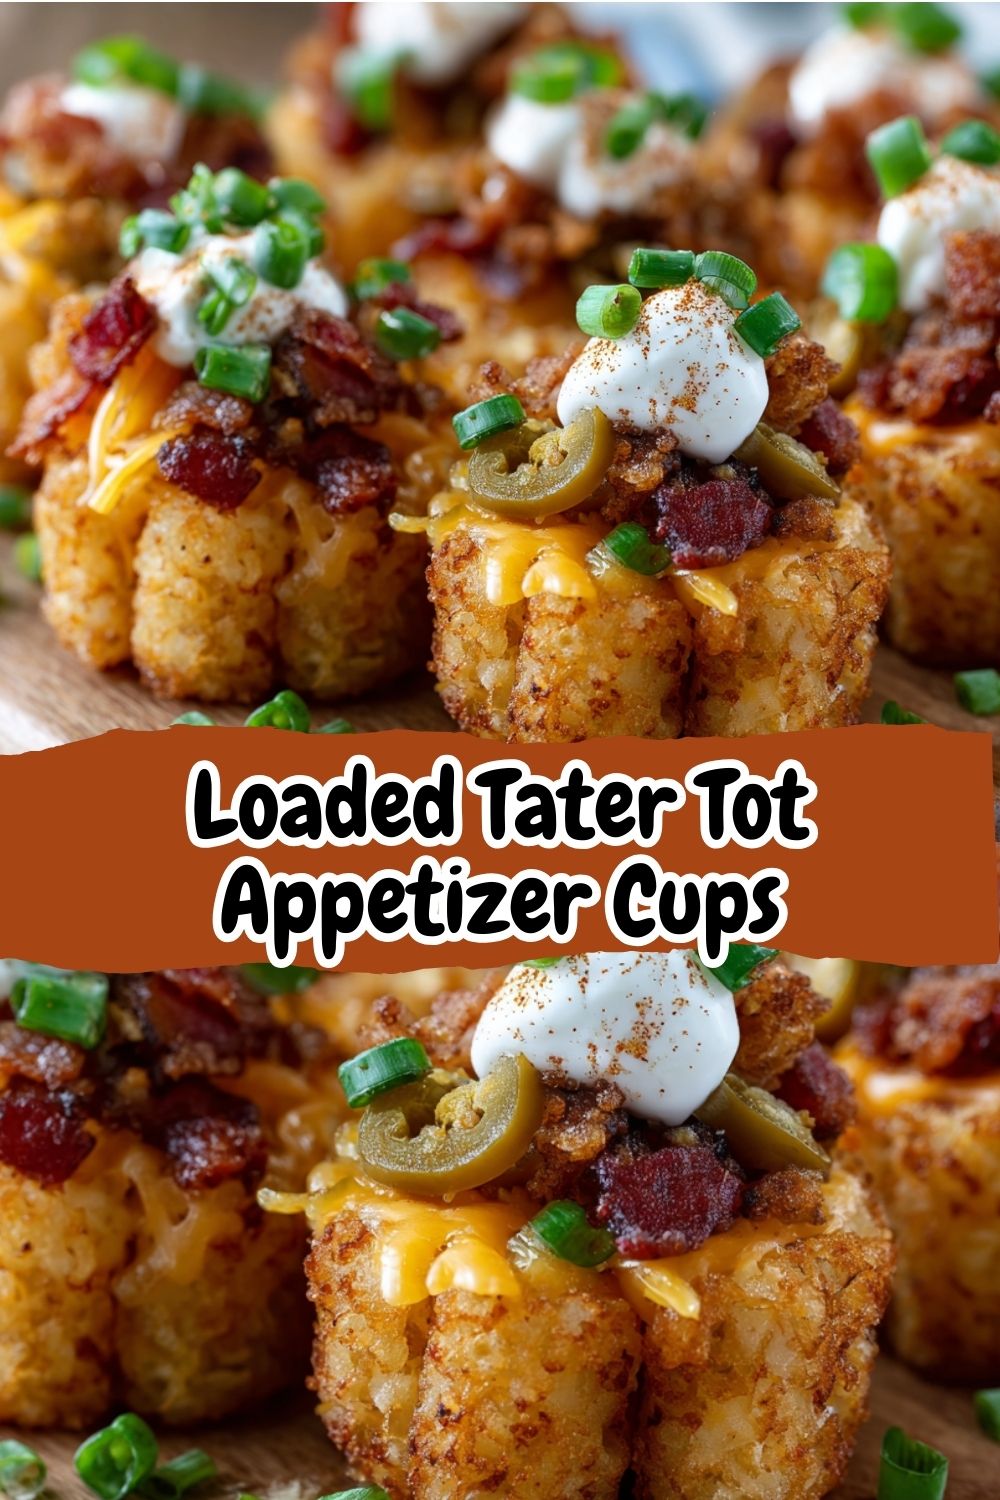
Nutritional Information (Per Serving)
Please note: This is an estimate provided for informational purposes only. Calculations will vary based on your specific ingredients and brands.
- Calories: 120 kcal
- Protein: 4g
- Fat: 8g
- Carbohydrates: 9g
- Fiber: 1g
- Sugar: <1g
- Sodium: 190mg