 Let’s Make Some Sunshine: The Easiest, Dreamiest Homemade Strawberry Ice Cream
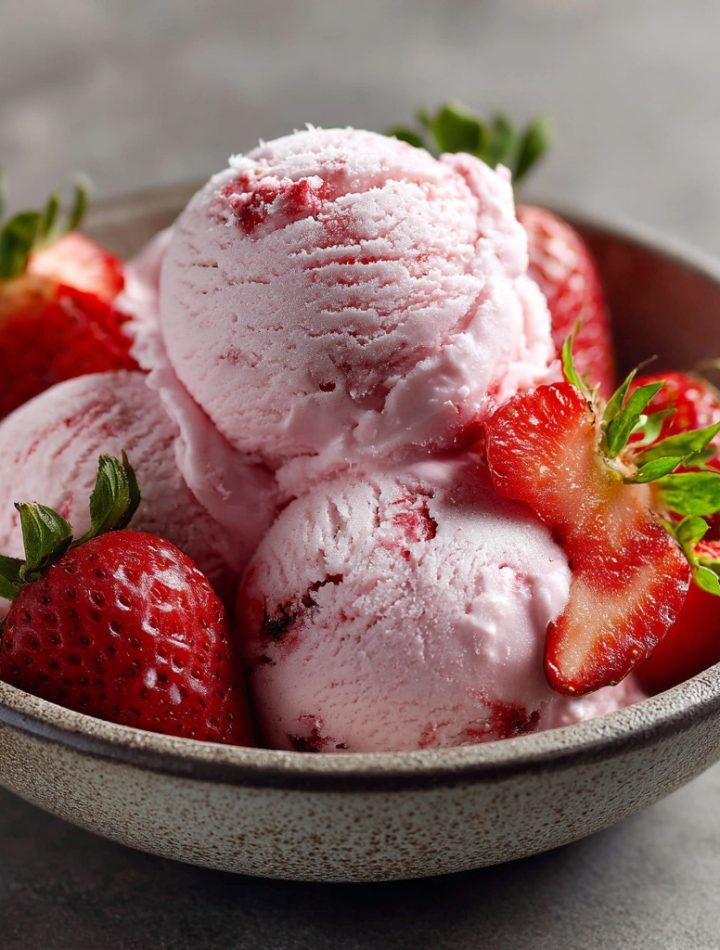
Hey there, friend! Isla here, waving a wooden spoon from my cozy kitchen. Can we talk about one of life’s simple, perfect pleasures for a second? I’m talking about a scoop of homemade strawberry ice cream. Not the pale pink, vaguely berry-flavored kind. I mean the real deal—creamy, speckled with ruby-red fruit, and tasting like a sweet, sun-ripened strawberry straight from the patch. The kind that makes you close your eyes and just savor.
I know what you might be thinking: “Isla, that sounds amazing, but I don’t have an ice cream maker!” Friend, I have the best news. We are leaving that machine in the dust today. This recipe is all about simplicity, real ingredients, and that magical, creamy texture you crave—achieved with just a bowl, a whisk, and your freezer. It’s a game-changer. Whether you’re whipping up a treat for a sweltering summer afternoon, surprising your family on a random Tuesday, or just satisfying that specific fruity-creamy craving (we’ve all been there), this is your new go-to. So, tie on your favorite apron, grab those gorgeous berries, and let’s make a little frozen magic together. No fancy equipment required, just good vibes and even better flavor.
Print
Homemade Strawberry Ice Cream : Creamy, Fruity & No Ice Cream Maker Needed
- Total Time: ~4–6 hours
- Yield: 6 servings 1x
Description
There’s nothing like a scoop of fresh strawberry ice cream—cool, creamy, and bursting with real fruit flavor. This homemade version is made with simple ingredients and packs in the sweetness of ripe strawberries in every bite. Whether it’s for a summer treat or a year-round favorite, this recipe is easy enough for beginners and delicious enough to impress!
Ingredients
2 cups fresh strawberries, hulled and chopped
½ cup granulated sugar (divided)
1 tsp lemon juice
2 cups heavy cream
1 cup whole milk
1 tsp vanilla extract
Pinch of salt
Instructions
Prep strawberries: In a bowl, toss strawberries with ¼ cup sugar and lemon juice. Let sit for 15–20 minutes, then mash or blend until slightly chunky.
Mix base: In a large bowl, whisk cream, milk, remaining sugar, vanilla, and salt until sugar dissolves. Stir in strawberry puree.
Chill: Cover and refrigerate mixture for at least 2 hours or overnight.
Freeze:
With an ice cream maker: Churn according to your machine’s instructions.
No machine: Pour into a freezer-safe container, freeze for 1 hour, stir well, then repeat every 30 minutes for 2–3 hours until creamy.
Serve: Scoop and enjoy on its own or with fresh berries and whipped cream.
- Prep Time: 20 minutes
- Category: Dessert
A Berry Sweet Memory: Strawberry Stains & Grandma’s Apron
This recipe always takes me right back to my grandma’s kitchen. Every June, we’d drive out to the “U-Pick” farms, coming home with buckets of strawberries that stained our fingers and shirts a happy pink. My job, perched on her step-stool, was to hull the berries. She’d hand me her special little tool, and I’d feel so important, carefully popping the green tops while she hummed old tunes by the sink.
The best part was what came next. She’d slice a giant bowl of berries, sprinkle them with sugar, and let them sit. “We’re letting the berries weep their sweet tears, Isla,” she’d say with a wink. That macerated juice, that intense strawberry syrup, was the secret heart of her ice cream. She didn’t use a machine either—just a big metal loaf pan in the freezer that she’d “forget” to stir sometimes, resulting in what she’d call “rustic, crystalline scoops.” We’d eat it straight from the pan, the cold sweetness making our teeth ache in the best way. This recipe is my homage to her—to that patience, that love, and the belief that the best things are often the simplest. It’s a taste of sunshine and memory in every bite.
Gathering Your Flavor Crew: Simple Ingredients, Big Impact
Here’s the beautiful part: this ice cream is made from pantry and fridge staples that come together to create something extraordinary. Let’s break down the dream team:
- 2 cups fresh strawberries, hulled and chopped – This is our STAR. Please, for the love of all that is delicious, use the ripest, reddest, most fragrant berries you can find. They should smell like candy. Frozen berries work in a pinch (thaw and drain them well), but fresh is best for that bright, true flavor.
- ½ cup granulated sugar (divided) – We split this. A quarter cup coaxes out the strawberries’ natural juices, and the other quarter cup sweetens the creamy base perfectly. It’s the ideal balance.
- 1 tsp lemon juice – Our flavor brightener! A tiny squeeze doesn’t make it taste lemony; it just makes the strawberry flavor POP and prevents it from tasting flat. It’s my little chef’s secret weapon.
- 2 cups heavy cream – This is what gives us that luxurious, rich, scoopable texture. For a lighter option, you can swap one cup for half-and-half, but know the final product will be less decadent (still tasty!).
- 1 cup whole milk – The whole milk adds necessary fat and body. Skim or low-fat milk will result in an icy texture, so I don’t recommend it. For a dairy-free twist, try full-fat canned coconut milk—it’s delicious!
- 1 tsp vanilla extract – The warm, floral notes of vanilla are the perfect backdrop for the berries. It’s like a cozy blanket for the fruit flavor.
- Pinch of salt – Never, ever skip the salt in sweets! It’s not for making it salty; it’s for amplifying every other flavor in the bowl. It makes the sweet sweeter and the berry flavor more vibrant.
Let’s Churn (Well, Stir!) It Out: Your Step-by-Step Guide to Creamy Perfection
Ready? Let’s do this. I promise, it’s more waiting than working, and the payoff is SO worth it.
- Befriend Your Berries. In a medium bowl, toss your chopped strawberries with that ¼ cup of sugar and the lemon juice. Give it a gentle stir, then walk away for 15-20 minutes. This is the magic “weeping” step. You’ll come back to a bowl of softened berries swimming in their own gorgeous, ruby-red syrup. Now, grab a potato masher or a fork and mash them to your desired chunkiness. I like a mix of puree and small bits for maximum texture! (Chef’s Hack: If you want a completely smooth ice cream, you can blend this mixture now. I’m Team Texture, so I mash.)
- Create the Creamy Canvas. In a large mixing bowl, pour in your heavy cream, whole milk, the remaining ¼ cup of sugar, vanilla, and that all-important pinch of salt. Now, whisk it! You’re not trying to whip it, just to dissolve the sugar completely and bring everyone together. It should take about a minute of enthusiastic whisking. You should feel no sugar granules at the bottom.
- Marry the Flavors. Pour your beautiful, juicy strawberry mash right into the creamy base. Fold it in gently with a spatula until it’s swirled and combined into the most lovely pale pink hue with red specks throughout. Taste it (the best part!). Does it make you do a little happy dance? Perfect.
- The Patience Play (Chill Time). Cover the bowl tightly with plastic wrap or pop a lid on it. This mix needs a serious nap in the fridge—at least 2 hours, but overnight is IDEAL. This crucial step ensures everything is ice-cold before freezing, which leads to a smoother final texture. Use this time to clean up and dream of your future scoops.
- The No-Machine Freeze. Here’s where we get clever. Pour your chilled mixture into a shallow, freezer-safe container. A metal loaf pan or an 8×8 baking dish works brilliantly. Cover it tightly. Freeze for 1 hour. After an hour, take it out. It will have started to freeze around the edges. Grab a fork or a small whisk and stir it vigorously, scraping the frozen edges into the softer center. This breaks up ice crystals! Return to the freezer. Repeat this stirring process every 30 minutes for the next 2-3 hours. Yes, it requires a few trips to the freezer, but each stir takes 60 seconds and guarantees a creamy, not icy, result. After about 4 hours total, it will be perfect scoopable ice cream!
Serving Up the Joy: How to Make Your Scoop Shine
Okay, the moment of truth! To get perfect scoops, let the ice cream sit on the counter for 5-10 minutes to soften slightly. Then, dive in with your scoop. Serve it in a chilled bowl for extra points. I love it simply in a waffle cone, but for a real showstopper, top it with fresh sliced strawberries, a drizzle of reduced balsamic glaze (trust me!), or a shower of crunchy homemade granola. A dollop of fresh whipped cream never hurt anybody, either. Gather your people and enjoy the fruits (literally!) of your labor.
Ride Your Own Flavor Wave: Fun Twists & Swaps
- Strawberry-Basil Bliss: Add 2 tablespoons of finely chopped fresh basil to the strawberries when you macerate them. The herbaceous note is incredible.
- Dairy-Free Dream: Swap the heavy cream and whole milk for two 13.5 oz cans of full-fat coconut milk (chilled). The result is a luscious, tropical-tinged strawberry ice cream.
- Cheesecake Swirl: Before your final freeze, fold in chunks of graham cracker and thick ribbons of room-temperature cheesecake filling (cream cheese, sugar, a touch of vanilla).
- Chocolate-Covered Strawberry: During the last stir, fold in ½ cup of finely chopped dark chocolate or mini chocolate chips.
- Boozy Berry: For an adults-only version, add 1-2 tablespoons of vodka or strawberry liqueur to the base before freezing. The alcohol prevents it from freezing too hard!
From My Kitchen to Yours: A Few Final Whispered Secrets
This recipe has been my summer staple for years, and it’s evolved from my grandma’s “rustic” version to this foolproof method. The biggest lesson? Don’t rush the chill time. I’ve tried, and you just get icy results. Patience is the secret ingredient! Also, the type of container matters—wider and shallower freezes (and stirs) more evenly than a deep tub.
A funny story: I once was so eager to test a batch that I started the freezing process in a glass jar with a narrow mouth. Let’s just say chiseling rock-hard ice cream out of a jar with a butter knife is not a recommended kitchen activity. We laughed, we cried, we ate very chunky ice cream. Learn from my mistakes! Use a shallow pan. Most of all, have fun with it. Cooking is about joy, not perfection. If your ice cream is a little softer or a little harder, it will still taste like love and strawberries. And that’s always a win.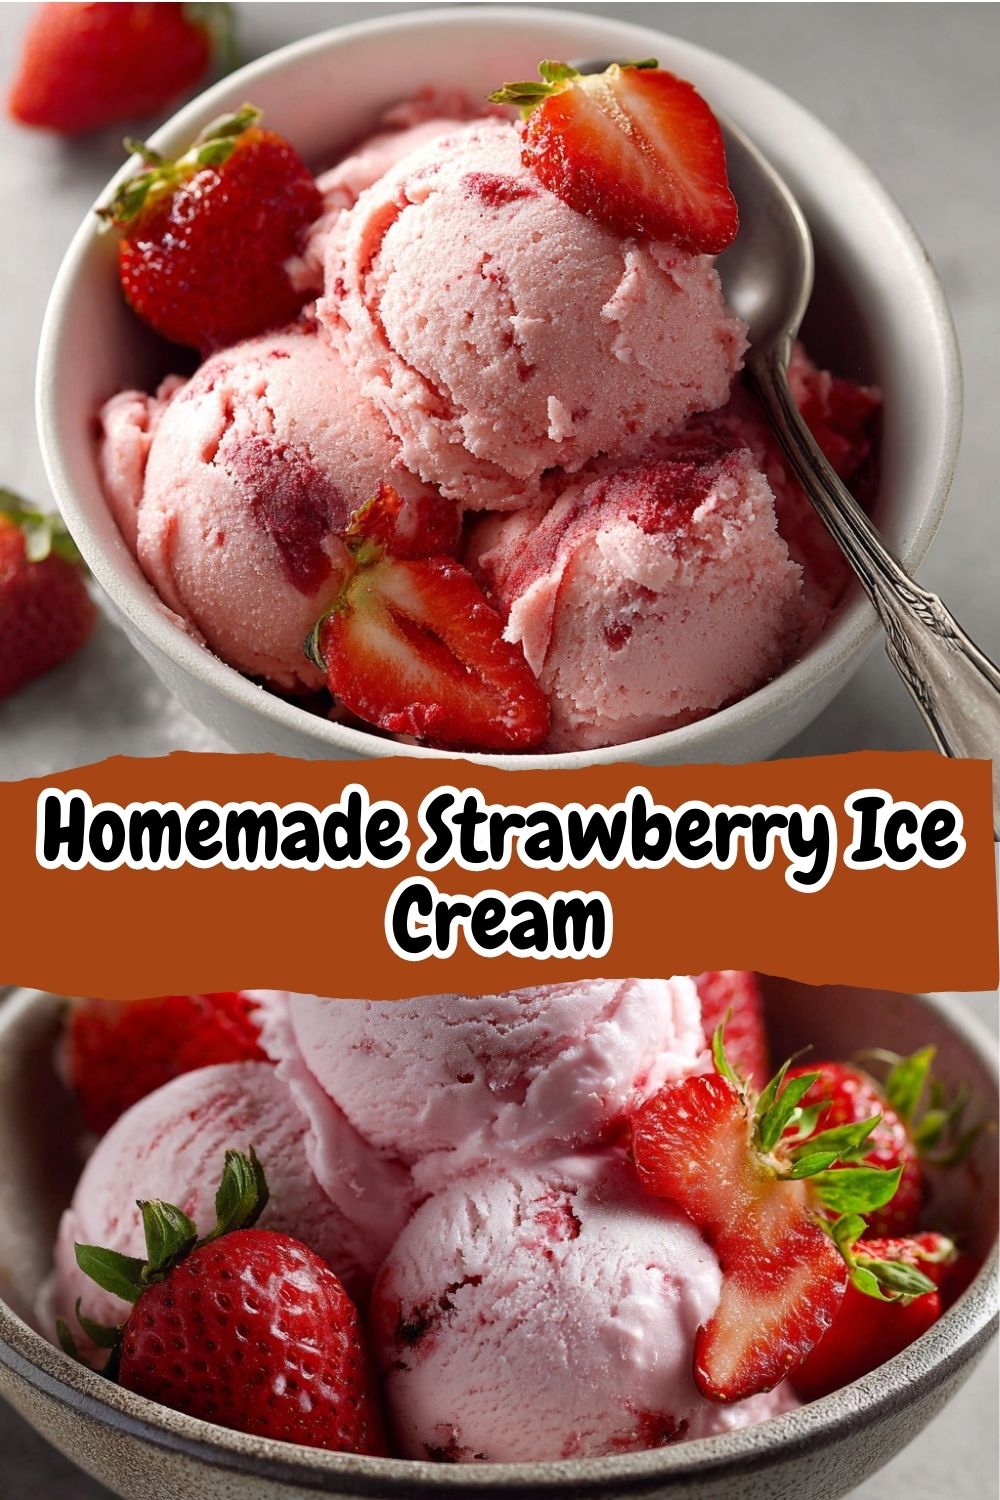
Your Questions, Answered: Let’s Troubleshoot Together!
Q: My ice cream is too hard! Did I do something wrong?
A: Probably not! Homemade ice cream without stabilizers will freeze very firm. The simple fix is the “counter thaw.” Just let it sit out for 5-10 minutes before scooping. If it’s consistently icy, not creamy-hard, you may have needed to stir more frequently during the freezing process to break up those ice crystals.
Q: Can I use frozen strawberries?
A: Absolutely. Thaw them completely in a strainer over a bowl to catch all the excess liquid. Use that liquid! You can reduce it in a saucepan to a syrup and add it back for intense flavor. Just be aware frozen berries can be a bit more watery, so draining is key.
Q: Why is my ice cream not very pink? It looks pale.
A> This is actually a sign you’re using real berries! Commercial ice creams often use food coloring. The color depends entirely on your berries. Super ripe, dark red berries will give you a deeper pink. Pale or less ripe berries make a lighter ice cream. The flavor will still be fantastic.
Q: How long will it keep in the freezer?
A> For best texture and flavor, enjoy it within 1 week. After that, it can start to develop freezer burn or become excessively hard. But let’s be real—it rarely lasts that long in my house!
Nutritional Info (Per ½ Cup Serving)
Calories: 210 | Fat: 14g | Carbs: 20g | Sugar: 17g | Protein: 2g | Fiber: 1g | Sodium: 35mg
Prep Time: 20 mins | Chill Time: 2 hrs+ | Freeze Time: 2-4 hrs | Total Time: 4-6 hrs | Servings: 8
This creamy homemade strawberry ice cream proves that you don’t need fancy equipment to make an unforgettable frozen treat. Packed with real strawberry flavor and an ultra-smooth texture, it’s the kind of dessert that feels nostalgic, refreshing, and totally indulgent—without the hassle. Whether you keep it classic or try one of the fun flavor twists, this no-churn ice cream is perfect for hot summer days, family gatherings, or anytime you’re craving a scoop of homemade happiness. Save it now—you’ll want to make it again and again. 🍓✨