 Your New Favorite Crispy Baked Chicken Parmesan Awaits!
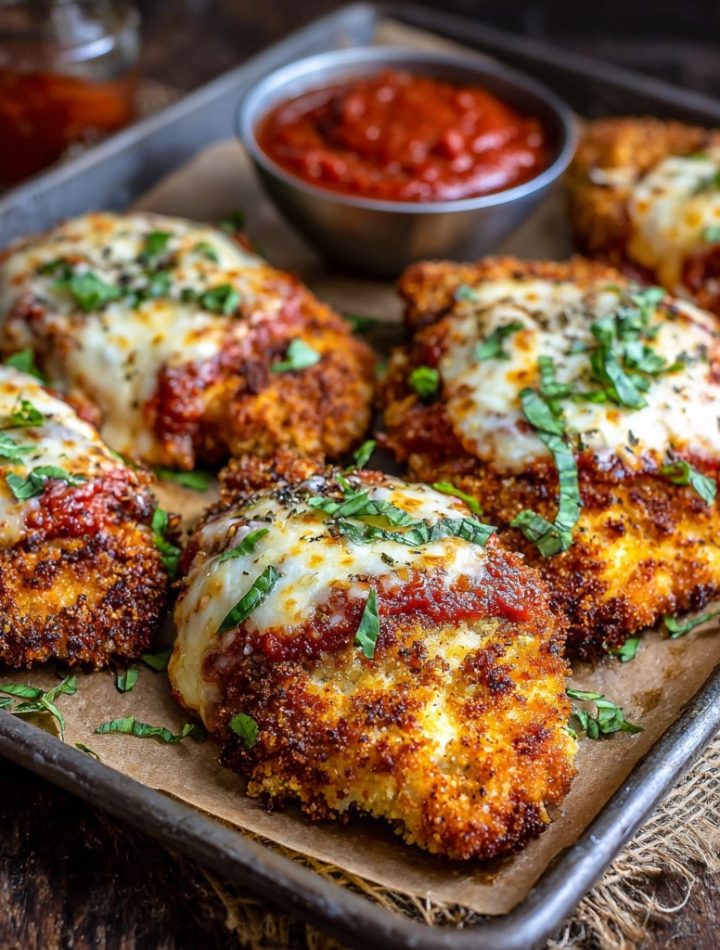
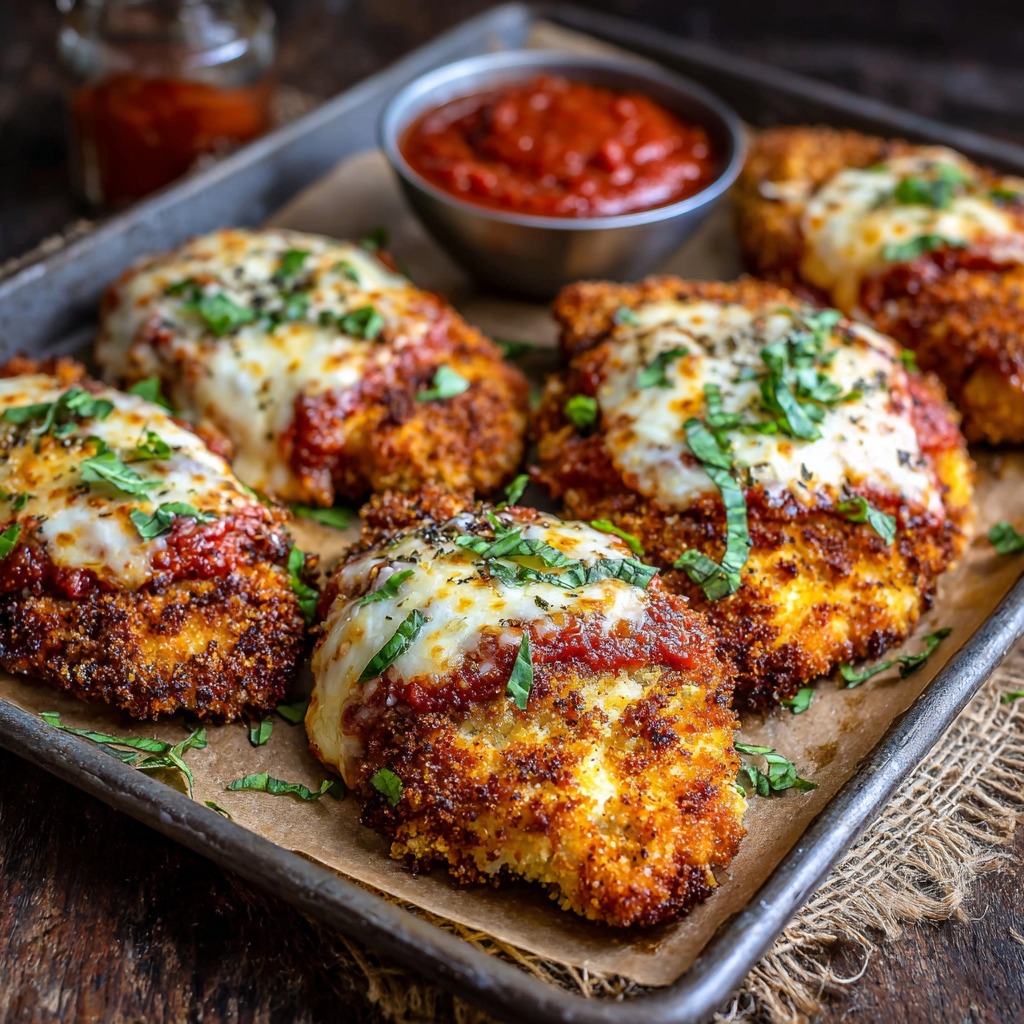
Hey there, friend! Isla here from BiteTide, coming at you with a recipe that’s about to become the hero of your weeknight dinner rotation. Picture this: golden, crispy baked chicken, no messy frying required, smothered in a rich, tangy marinara sauce and topped with a blanket of bubbly, perfectly melted mozzarella cheese. This is my foolproof, family-favorite, lighter-than-takeout Baked Chicken Parmesan.
We all have those days when only a big, comforting, classic dish will do. But who has the time or energy for fussy, grease-splattered frying? Not us! That’s why I’ve perfected this easy baked version that delivers all the crispy, cheesy, soul-satisfying goodness of the restaurant classic, right from your own oven. It’s the ultimate crowd-pleaser that feels fancy but is secretly simple. Whether you’re cooking for a hungry family, meal-prepping for the week, or just treating yourself to a seriously delicious dinner, this recipe is your ticket to flavor town. So, preheat that oven, grab your favorite baking sheet, and let’s make some magic happen together!
A Tale of Two Chickens: My Love Affair with Parm
My earliest memory of Chicken Parmesan isn’t from a fancy Italian restaurant, but from my Nonna’s tiny, always-warm kitchen in our coastal town. She called it “Cotoletta alla Parmigiana,” and the ritual was everything. She’d pound the chicken thin with the bottom of a heavy jar, her hands moving with a rhythm born of decades. The air would thicken with the scent of garlic and tomatoes simmering for hours. But here’s the secret: she always baked it. “Frying makes a mess and hides the flavor of good breadcrumbs,” she’d say, waving her wooden spoon.
Years later, as a broke college student trying to impress my roommates, I attempted the fried version. It resulted in a smoke-alarm symphony, oily chicken, and a distinct lack of crispiness. I called Nonna, defeated. She laughed her warm, crackly laugh and walked me through her baked method over the phone. That night, surrounded by friends and the incredible aroma of success, I realized the genius of her ways. This recipe is that phone call, passed on to you—a legacy of maximum flavor with minimum fuss, straight from my family’s kitchen to yours.
Print
Crispy Baked Chicken Parmesan : Easy, Classic & Family-Favorite!
- Total Time: 40 minutes
- Yield: 4 servings 1x
Description
Chicken Parmesan is one of those timeless comfort meals that never fails to impress. With crispy golden chicken, rich marinara, and melty mozzarella, it’s a restaurant-style dish you can make easily at home. This baked version skips the frying—making it lighter but just as satisfying. Serve it over pasta or zoodles for a winning dinner everyone loves!
Ingredients
2 large boneless, skinless chicken breasts (sliced into cutlets)
1 cup breadcrumbs (Italian-style or panko)
½ cup grated Parmesan cheese
1 tsp garlic powder
1 tsp dried Italian herbs
Salt & pepper to taste
2 eggs, beaten
1½ cups marinara sauce
1 cup shredded mozzarella cheese
2 tbsp olive oil or cooking spray
Fresh basil (optional for garnish)
Instructions
Preheat oven to 425°F (220°C). Line a baking sheet with foil and place a wire rack on top.
Prepare the breading: In one bowl, beat the eggs. In another, combine breadcrumbs, Parmesan, garlic powder, herbs, salt, and pepper.
Coat the chicken: Dip each piece in the egg, then press into the breadcrumb mixture to coat well.
Bake the chicken: Place chicken on the rack, spray lightly with oil, and bake for 20–25 minutes until golden and cooked through (165°F internal temp).
Top and bake again: Spoon marinara over each cutlet, sprinkle with mozzarella, and return to oven for 5–7 minutes until cheese is melted and bubbly.
Serve hot, garnished with fresh basil over pasta, zoodles, or a crisp salad.
- Prep Time: 15 minutes
- Cook Time: 30 minutes
- Category: Dinner, Main Course
Gathering Your Flavor Arsenal
Here’s everything you need to create this masterpiece. I’ve included my favorite chef insights and swaps so you can rock this recipe no matter what’s in your pantry!
- 2 large boneless, skinless chicken breasts: The canvas for our creation! I slice them horizontally into cutlets to ensure even cooking and maximum crispy surface area. Chef’s Tip: If you’re short on time, ask your butcher to butterfly them for you, or use thin-cut chicken cutlets directly.
- 1 cup breadcrumbs: The crunch factor! I love using panko for an extra shatteringly crisp texture, but Italian-seasoned breadcrumbs work beautifully for a flavor boost. Substitution: For a gluten-free version, gluten-free panko or even crushed pork rinds work amazingly.
- ½ cup grated Parmesan cheese: Get the good stuff from the refrigerated section, not the shaker can! It melts into the breading and adds a deep, savory, umami punch.
- 1 tsp each garlic powder & dried Italian herbs: Our flavor enhancers. The garlic powder distributes evenly, and the Italian herb blend (usually oregano, basil, thyme) brings that classic aroma. Chef’s Insight: Rubbing the dried herbs between your palms before adding them wakes up their oils and intensifies the flavor!
- Salt & pepper to taste: Never underestimate these two. Seasoning every layer is the #1 rule for delicious food.
- 2 eggs, beaten: The glue that holds our crispy coating on. A quick beat with a fork is all you need.
- 1½ cups marinara sauce: The saucy hug. Use your favorite jarred brand for ease, or your own homemade if you’re feeling extra. My Go-To: I often jazz up a simple jar sauce with a pinch of red pepper flakes and a fresh basil sprig simmered in for 5 minutes.
- 1 cup shredded mozzarella cheese: The melty, gooey crown. I prefer low-moisture, part-skim mozzarella for the best melt and golden-brown finish. Fresh mozzarella can be used, but pat it dry first to avoid sogginess.
- 2 tbsp olive oil or cooking spray: The crispy catalyst! A light spritz of oil is the secret to getting that deep golden color in the oven without frying.
- Fresh basil (optional for garnish): The confetti! A few torn leaves add a pop of color and a fresh, peppery finish that cuts through the richness perfectly.
Let’s Build That Crispy, Cheesy Dream!
Follow these steps, and you’re guaranteed a perfect Chicken Parm every single time. I’ve tucked my best kitchen hacks right into the instructions.
- Preheat & Prep Your Stage. Crank your oven to 425°F (220°C). This high heat is key for instant crispiness. Line a baking sheet with foil (hello, easy cleanup!), and place a wire rack on top. Why the rack? It allows hot air to circulate all around the chicken, so the bottom gets just as crispy as the top. No more soggy bottoms! Give the rack a quick spritz with cooking spray.
- Create Your Breading Station. Set up two shallow bowls or plates. In one, beat your two eggs until uniform. In the other, combine the breadcrumbs, grated Parmesan, garlic powder, Italian herbs, salt, and pepper. Mix it with your fingers to break up any clumps and distribute the flavors evenly. Little Chef Hack: I sometimes add a tablespoon of the grated Parmesan to the egg wash—it adds an extra layer of cheesy flavor to the chicken itself!
- The Art of the Perfect Coat. Pat your chicken cutlets completely dry with a paper towel. This is non-negotiable—moisture is the enemy of crispiness. Working with one piece at a time, dredge it thoroughly in the egg, letting the excess drip off. Then, press it firmly into the breadcrumb mixture, coating both sides. Don’t just lay it in there—really press to make sure those crumbs adhere. Place it on your prepared wire rack. Repeat!
- Bake to Golden Perfection. Once all chicken is on the rack, lightly spray or drizzle the tops with olive oil. This mimics the effect of frying. Bake for 20-25 minutes. You’ll know it’s ready when the coating is a deep, glorious golden brown and the internal temperature reads 165°F on a meat thermometer. Trust the thermometer, not just the clock! It’s the best tool in your kitchen for perfect protein.
- The Grand Finale: Sauce & Cheese. Pull the tray out of the oven (carefully, it’s hot!). Spoon a generous amount of marinara sauce over each crispy cutlet. Then, pile on that shredded mozzarella. Return the tray to the oven for just 5-7 more minutes, until the sauce is bubbly and the cheese is utterly melted and starting to get those irresistible golden spots.
- The Most Important Step. Once out of the oven, let the chicken rest for 3-5 minutes. I know, it’s hard! But this allows the juices to redistribute, ensuring every bite is juicy, and it lets the cheese set just enough so it doesn’t slide right off when you serve it.
How to Plate Your Masterpiece
Presentation is part of the fun! For a classic dinner, serve your Chicken Parm over a bed of hot, twirled spaghetti or fettuccine, with extra warm marinara on the side. For a lighter take, it’s incredible on a nest of zucchini noodles (zoodles) or with a big, garlicky kale Caesar salad. Don’t forget that final flourish of torn fresh basil and maybe an extra sprinkle of Parmesan. Serve it right on the baking sheet for a fun, family-style vibe, or plate it individually for a restaurant-worthy look. No matter how you do it, get ready for the compliments to roll in!
Ride Your Own Flavor Wave: 5 Tasty Twists
Love the base recipe? Try these fun variations to keep things exciting!
- Spicy ‘Nduja Parm: Stir 1-2 tablespoons of ‘nduja (spicy, spreadable Calabrian sausage) into your marinara sauce before topping for a delicious, warming kick.
- Pesto & Fresh Mozzarella: Swap the marinara for a layer of basil pesto, and top with slices of fresh mozzarella and a halved cherry tomato per cutlet before the final bake.
- Eggplant-Style: Make it veggie-forward! Use thick slices of peeled eggplant instead of chicken. Salt the slices and let them sweat for 30 minutes, pat dry, then bread and bake as directed.
- Chicken Parm Sliders: Use smaller, slider-sized chicken pieces or cut the cooked cutlets into strips. Pile them onto toasted slider buns with extra sauce and cheese for the ultimate game-day food.
- Dairy-Free Delight: Use nutritional yeast or a vegan Parmesan in the breading, and top with your favorite dairy-free mozzarella shreds. The crispy chicken itself is already dairy-free!
Isla’s Kitchen Confidential
This recipe has been through so many iterations in my kitchen! I’ve made it for first dates (success!), for potlucks where I needed a guaranteed win, and on those “I-need-comfort-now” Tuesday nights. The biggest evolution was committing to the wire rack method—it was a total game-changer for texture. One time, I ran out of mozzarella and used a mix of provolone and fontina… and accidentally created my new favorite cheese blend! That’s the beauty of cooking: the “mistakes” often lead to the best discoveries.
My pro tip? Double the breading mixture and bake an extra batch of chicken. Let the extra cutlets cool completely, then freeze them in a single layer before bagging. You’ve now got ready-to-top homemade “chicken nuggets” or the base for a 15-minute Chicken Parm any night of the week. You’re welcome!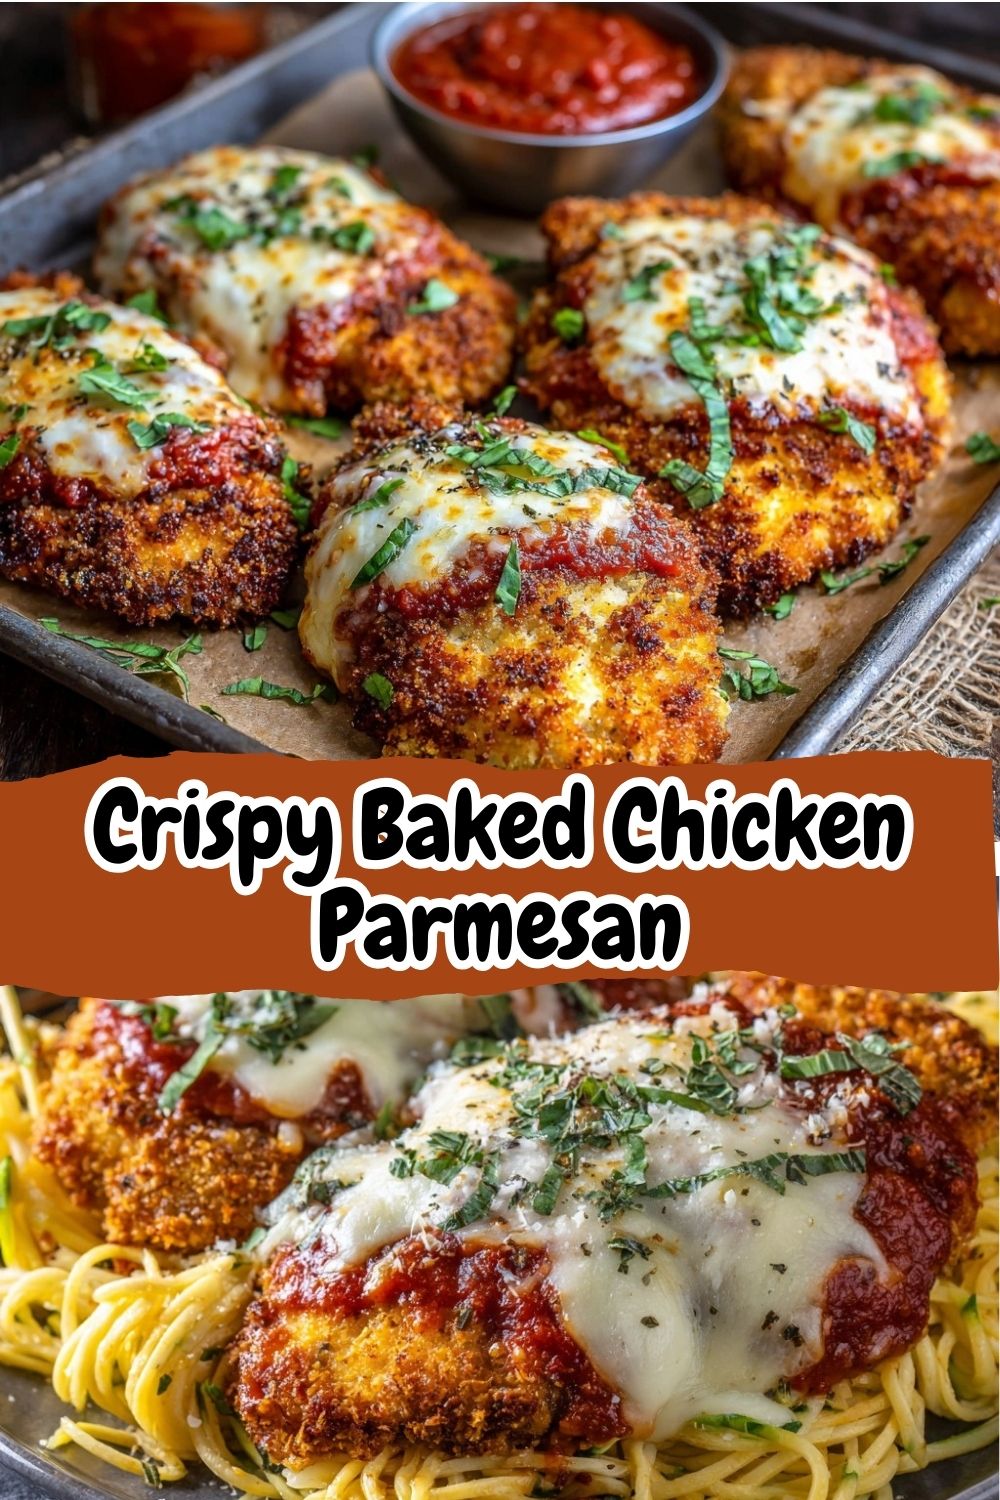
Your Questions, Answered!
Q: My breading always falls off. What am I doing wrong?
A: The most common culprits are not patting the chicken dry (wet surface = no adhesion) and not pressing firmly enough when coating. Really get in there and press those crumbs on! Also, make sure your egg is fully beaten—it should be a smooth, even glue.
Q: Can I make this ahead of time?
A: Absolutely! You can bread the chicken cutlets, place them on the wire-racked baking sheet, cover tightly, and refrigerate for up to 8 hours before baking. You can also fully bake and sauce/cheese them, then refrigerate. Reheat in a 350°F oven until warmed through.
Q: Why is my chicken coming out dry?
A: Overcooking is the likely villain. The 165°F internal temp is your best friend. Also, slicing large breasts into cutlets ensures they cook quickly and evenly. If you’re using very thick pieces, they’ll need longer in the oven, increasing the risk of drying out.
Q: Can I use chicken thighs?
A: You can! Use boneless, skinless thighs. They’ll be extra juicy and flavorful. Just note they may need an extra 3-5 minutes of initial baking time due to their higher fat content.
Nutritional Snapshot (Per Serving)
Disclaimer: This is an estimate for informational purposes, based on the specific ingredients listed. Values may vary with substitutions.
- Calories: ~400
- Protein: 35g (Hello, muscle fuel!)
- Carbohydrates: 20g
- Fat: 18g
- Prep Time: 15 mins
- Cook Time: 30 mins
- Total Time: 45 mins
- Servings: 4
There you have it, friend! My heart-on-a-plate, Crispy Baked Chicken Parmesan. I hope it brings as much joy and deliciousness to your table as it has to mine over the years. Remember, cooking is about the journey, the stories, and the happy dances when it all comes together. If you make it, I’d love to hear about it! Tag me on social @BiteTide or drop a comment below. Now, go forth and bake something awesome!
With love and a full plate,
Isla 💛