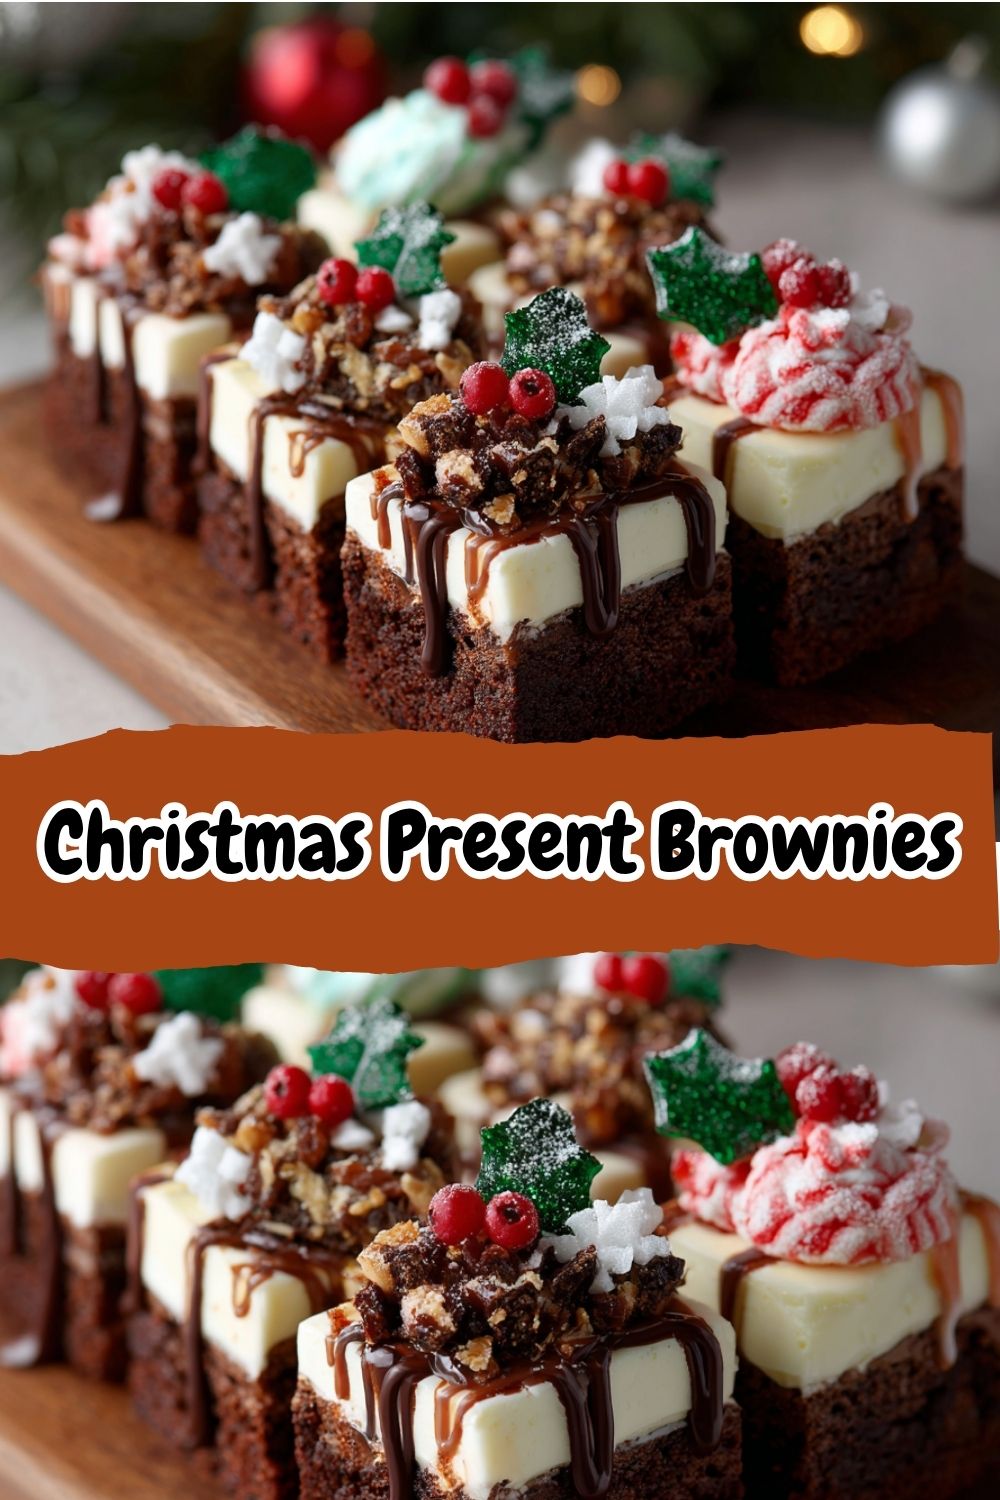
Unwrap a Little Holiday Magic: Christmas Present Brownies
Hey, friend! Isla here from BiteTide, your partner-in-crime for all things delicious and delightfully unfussy. Can you feel it? That buzz in the air? The twinkle of fairy lights, the scent of pine and cinnamon… it’s baking season, and my kitchen has officially become Santa’s workshop (the messy, flour-dusted version, of course).
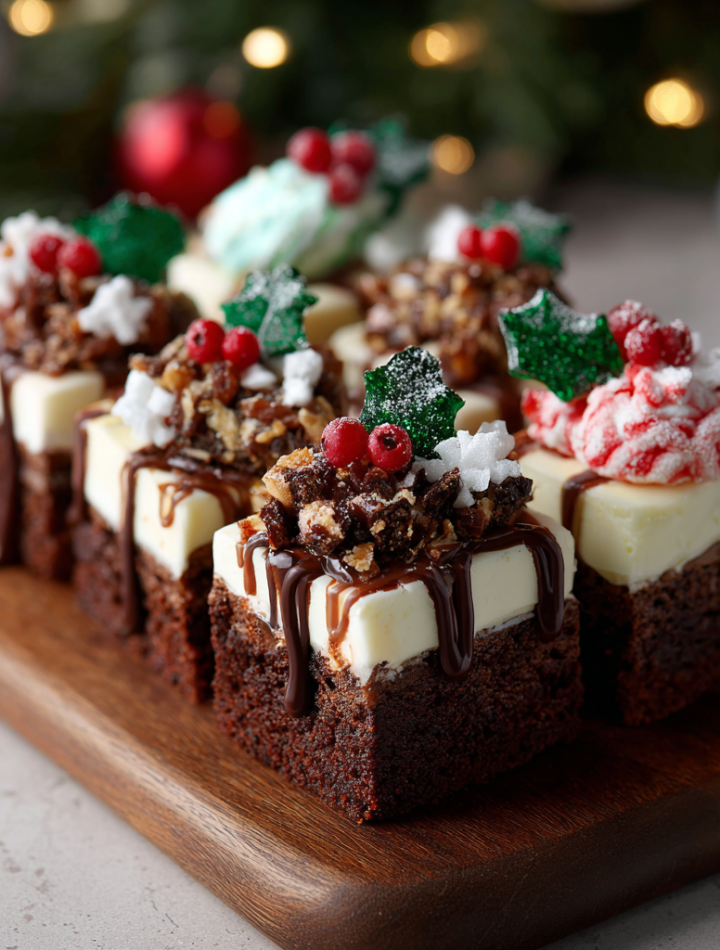
Today, we’re throwing practicality out the frosty window and diving headfirst into pure, unadulterated holiday fun. We’re making Christmas Present Brownies. Just the name makes me smile! Imagine this: the fudgiest, richest brownie you’ve ever sunk your teeth into, transformed into a adorable, edible gift with a swipe of colorful frosting and a cute little icing bow. These aren’t just a dessert; they’re a moment. They’re the star of the cookie exchange, the showstopper on your holiday dessert table, and the secret weapon for making your kids’ (or your own!) eyes light up.
And before you even think it—no, this is not a fussy, all-day project. I built BiteTide on the promise of “never fussy,” and I stand by that! We’re using a brilliant little shortcut—a trusty boxed brownie mix—to get a perfect, fudgy base every single time. Because let’s be real, during the holidays, our time and sanity are precious. The real magic happens in the decorating, which is so easy and joyful it practically counts as therapy. So, tie on your favorite apron, put on some Mariah Carey, and let’s make your kitchen the merriest, most flavorful place on the block.
Print
Christmas Present Brownies
- Total Time: ~1 hour
- Yield: 12–16 brownies 1x
Description
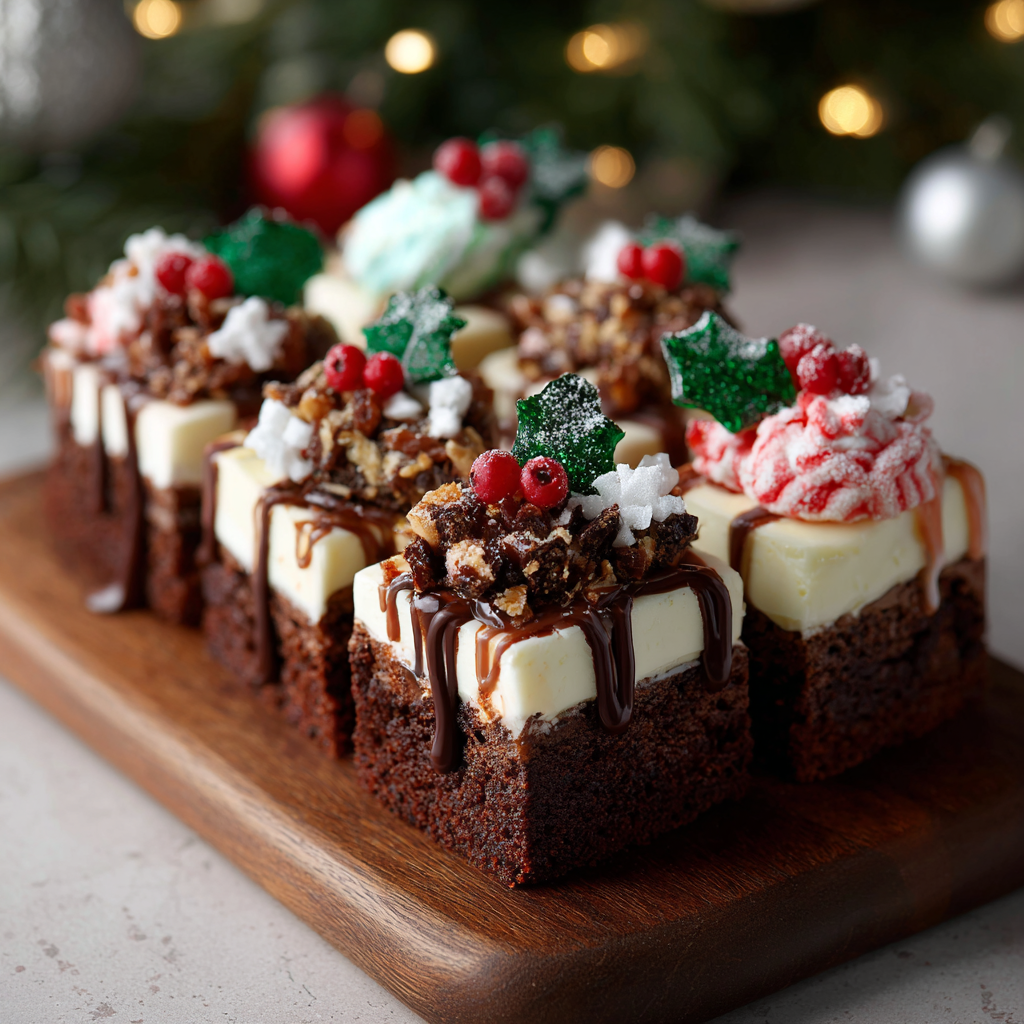
These Christmas Present Brownies are a festive, fudgy treat wrapped in holiday cheer—literally. Rich chocolate brownies get dressed up with a layer of colorful frosting and a ribbon of icing to mimic little wrapped gifts. Whether you’re baking for a party, cookie exchange, or just spreading some cheer at home, these brownies are as fun to decorate as they are to eat.
Ingredients
1 box brownie mix (plus eggs, oil, and water as directed)
1/2 cup chocolate chips (optional, for extra fudginess)
Store-bought or homemade buttercream frosting
Food coloring (red, green, white)
Piping bags or zip-top bags for decorating
Sprinkles, mini candy canes, or edible glitter (optional, for garnish)
Instructions
Preheat oven according to brownie package instructions. Prepare and bake brownies in a parchment-lined 9×13″ pan. Let cool completely.
Once cooled, lift brownies from the pan and cut into squares or rectangles.
Divide frosting into bowls and tint with food coloring. Spread a layer of colored frosting on each brownie to create the “gift wrap.”
Use white (or contrasting color) frosting in a piping bag to draw ribbons and bows on each “present.”
Decorate with sprinkles or festive candies for extra charm.
- Prep Time: 20 minutes
- Cook Time: 25 mins
- Category: dessert
Nutrition
- Calories: 180
- Sugar: 15g
- Carbohydrates: 24g
A Kitchen Full of Wrapping Paper and Chocolate
This recipe takes me right back to being eight years old, sitting cross-legged on my grandma’s linoleum floor, surrounded by a sea of crumpled wrapping paper, Scotch tape stuck to my elbow, and the unmistakable, warm scent of her famous double-chocolate brownies wafting from the kitchen. She was a wizard who believed the best gifts came from the oven. While the adults were meticulously wrapping, she’d let me be her “head decorator.”
We’d take those still-warm brownies, cut them into wonky rectangles, and she’d give me free rein with tubes of colored icing and every sprinkle in her vast collection. My “ribbons” were more like squiggly abstract art, and my “bows” were often just big blobs of frosting with a sprinkle dumped on top. But to her, they were masterpieces. She’d arrange them on her best platter, telling everyone who came over, “My Isla made these! Aren’t they just the most beautiful things you’ve ever seen?” That feeling—of creating something with love and having it celebrated, imperfections and all—is the heart of this recipe for me. It’s not about perfection; it’s about the joy in the making.
Gathering Your Merry Little Ingredients
Here’s your shopping list for this festive adventure. I’ve included all my favorite chef-y insights and substitution hacks so you can bake with confidence and use what you have!
- 1 Box of Your Favorite Brownie Mix – This is our fantastic foundation! I’m not above a good shortcut, especially when it delivers on flavor and fudginess. Chef’s Tip: Look for a mix labeled “dark chocolate” or “fudge” for the richest base. And don’t forget the ingredients listed on the box—usually eggs, oil, and water!
- ½ Cup Chocolate Chips (Optional, but Highly Recommended) – I always, always stir in an extra handful of chocolate chips. Why? Because pockets of melted chocolate take the texture from great to absolutely legendary. Substitution Tip: Use white chocolate chips, peanut butter chips, or even chopped-up peppermint bark for a festive twist!
- Store-Bought or Homemade Buttercream Frosting – You’ll need about 2 cups. The store-bought vanilla kind works like a dream and saves you a step. But if you’re feeling fancy, my go-to buttercream is just 3 ingredients! Chef’s Insight: If using store-bought, give it a quick whip with your hand mixer for a minute to make it fluffier and easier to spread.
- Gel Food Coloring (Red, Green, White) – Gel coloring is my best friend here. It gives you those vibrant, holiday-red and forest-green colors without watering down your frosting. Substitution Tip: In a pinch, liquid food coloring works too! Just add it drop by drop until you get the color you want.
- Piping Bags or Zip-Top Bags – This is our tool for creating those adorable ribbon details. If you don’t have piping bags, a simple quart-sized zip-top bag with a tiny corner snipped off is a perfect, no-fuss substitute.
- Sprinkles, Mini Candy Canes, or Edible Glitter (Optional) – This is where you can really let your personality shine! Holiday sprinkles are a must for me, but a tiny piece of a mini candy cane on top makes a gorgeous (and delicious) bow.
Let’s Build These Edible Gifts! (Step-by-Step)
Ready for the fun part? Let’s do this! I’ll walk you through every step with my favorite kitchen hacks to ensure your brownie presents are the talk of the town.
- Preheat and Prep: Start by preheating your oven according to your brownie mix’s package directions. Now, here’s a game-changing tip: line your 9×13-inch baking pan with parchment paper, leaving some overhang on the two long sides. Why? This creates a “sling” that will let you lift the entire slab of cooled brownies out of the pan in one beautiful piece. No more awkward flipping or trying to dig out the first broken brownie. You’ll thank me later! Give the parchment a quick spritz with baking spray.
- Mix and Magnify: In a large bowl, prepare your brownie batter exactly as the box directs. Now, fold in that half-cup of chocolate chips. This is our secret weapon for extra fudginess and little bursts of chocolatey joy. Chef’s Hack: To prevent your add-ins from sinking to the bottom, toss them in a teaspoon of the dry brownie mix powder before folding them in. It gives them a little “grip” on the batter!
- Bake to Perfection: Pour your glorious batter into your prepared pan and spread it evenly. Pop it in the oven and bake for the time recommended on the box. My golden rule? Start checking a few minutes early. Ovens can be sneaky. You’ll know they’re done when a toothpick inserted into the center comes out with a few moist crumbs clinging to it, not wet batter. Remember, we want fudgy, not cakey!
- The Crucial Cool-Down: This might be the hardest step: patience. Take the brownies out and let them cool completely in the pan on a wire rack. I mean it—completely! If you try to frost warm brownies, you’ll end up with a melty, messy puddle. (Trust me, I’ve been there. It’s a delicious tragedy). To speed things up, you can even pop the pan into the fridge for 30 minutes once they’re no longer hot to the touch.
- Slice and Dice: Once your brownies are totally cool, use the parchment paper sling to gently lift the whole slab out onto a cutting board. Now, grab a large, sharp knife. For clean cuts that won’t tear your brownies, wipe the knife clean with a hot, damp cloth between each slice. Cut them into even squares or rectangles—these will be your “presents.”
- Create Your “Wrapping Paper”: Divide your frosting into separate bowls. Tint one batch with red gel coloring and another with green. Keep one bowl white for your ribbons. Now, take an offset spatula or a butter knife and spread a smooth, even layer of your colored frosting onto the top of each brownie square. This is your gift wrap! Get creative—maybe do some red, some green, and even leave a few white for a “winter wonderland” look.
- Tie the Ribbon ‘Round It: Scoop your white frosting (or a contrasting color) into a piping bag or zip-top bag fitted with a small round tip (or just snip a tiny corner off the bag). Now, channel your inner artist! Pipe two parallel lines across the frosted brownie to look like a ribbon. Then, pipe a little bow in the center. It doesn’t have to be perfect—charming and handmade is the goal!
- The Grand Finale: Decorating! Before the frosting sets, it’s sprinkle time! Gently press your favorite holiday sprinkles onto the “bow” or around the edges. If you’re using mini candy canes, you can break off a small piece to look like a bow. This is your chance to make them uniquely yours.
How to Serve These Festive Little Packages
Presentation is half the fun! I love arranging these brownie presents on a simple white platter or a rustic wooden board to really make the colors pop. Stack a few on a cake stand for a gorgeous centerpiece, or individually wrap them in clear cellophane bags tied with a real ribbon for the most adorable (and delicious) homemade gifts for teachers, neighbors, or friends. They’re perfect with a cold glass of milk, a mug of hot cocoa, or a festive espresso martini for the grown-ups!
Mix It Up! Fun Flavor Twists
Feel like riding a different flavor wave? Here are some easy ways to customize your Christmas Present Brownies:
- Peppermint Patty: Add ½ tsp of peppermint extract to your brownie batter and use crushed candy canes for decoration.
- Cookies & Cream: Stir in 1 cup of crushed Oreos into the batter and use white frosting with black sanding sugar for a chic look.
- Salted Caramel Swirl: Before baking, drizzle the top of the batter with ¼ cup of salted caramel sauce and swirl it with a knife.
- Gluten-Free Friendly: Simply use a gluten-free brownie mix and ensure your other ingredients are certified GF.
- Orange Chocolate: Add the zest of one orange to the brownie batter for a bright, citrusy kick that pairs beautifully with chocolate.
Isla’s Chef Notes & Kitchen Confessions
This recipe has evolved so much since those first wonky brownies with my grandma. I’ve learned that a little extra vanilla in the frosting makes it taste more homemade, and that letting the kids decorate their own is a surefire way to create happy chaos and core memories.
One of my favorite kitchen fails-turned-wins happened with this recipe. I once ran out of red food coloring and had to use a mix of pink and a drop of purple to get a sort of mauve-red. I was so stressed, but you know what? Everyone at the party loved the “unique berry-colored” presents! It was a sweet reminder that in the kitchen, as in life, it’s the love and the fun you pour in that truly matters. So don’t sweat the small stuff. If your bow looks more like a squiggle, just call it modern art and eat the evidence. I won’t tell!
Your Brownie Questions, Answered!
I’ve gotten a lot of questions about these over the years, so here are the answers to the most common ones!
Q: My frosting is tearing up the brownie crumbs when I spread it. Help!
A: Ah, the crumb coat crisis! This usually means your brownies weren’t 100% cool, or your frosting is a bit too stiff. To fix it, pop your frosting in the microwave for 5-10 seconds to soften it slightly. You can also do a super thin “crumb coat” layer first—just a very light scrape of frosting—chill the brownies for 15 minutes to set it, and then go back with your final, thicker layer of frosting.
Q: Can I make these ahead of time?
A: Absolutely! You’re a holiday genius for thinking ahead. Bake and cool the brownies completely, then store them unfrosted in an airtight container at room temp for up to 2 days, or freeze them for up to a month. Frost and decorate the day you plan to serve them for the freshest look.
Q: My brownies are too cakey, not fudgy! What did I do wrong?
A> The number one culprit for cakey brownies is overmixing or overbaking. When you mix the batter, stir just until the ingredients are combined—a few lumps are totally fine! And always, always err on the side of underbaking. Remember the moist crumb test!
Q: What’s the best way to store decorated brownies?
A: Store them in a single layer in an airtight container at room temperature for up to 3 days. If you stack them, place a sheet of parchment paper between the layers to protect your beautiful decorations.
Quick Nutrition & Prep Details
Prep Time: 20 minutes | Bake Time: 25–30 minutes | Decorating Time: 20 minutes | Total Time: ~1 hour 10 minutes | Makes: 12–16 brownies
Approximate Nutrition per Brownie (based on 16 servings): Calories: 180 | Sugar: 15g | Carbs: 24g | Fat: 8g | Protein: 2g