 BiteTide
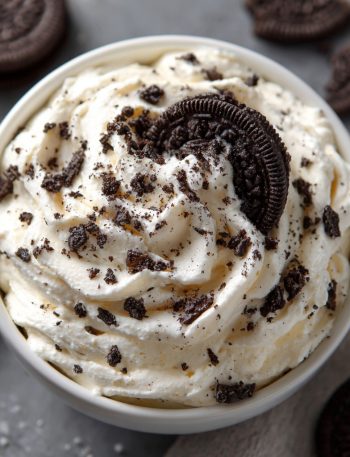
Your New Favorite No-Bake Dessert Is Here Hey there, flavor friend! Have you ever had one of those intense cravings …
Bite Tide
Bite Tide
Your New Favorite No-Bake Dessert Is Here Hey there, flavor friend! Have you ever had one of those intense cravings …
Easter Magic Cookie Bars – Your New Holiday Tradition Hey there, friend! Isla here from BiteTide, waving a buttery, crumb-covered …
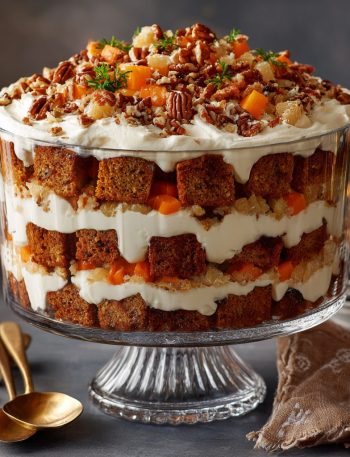
Carrot Cake Trifle: The Ultimate No-Stress, All-Wow Celebration Dessert Hey there, friend! Isla here from BiteTide. Have you ever stared …
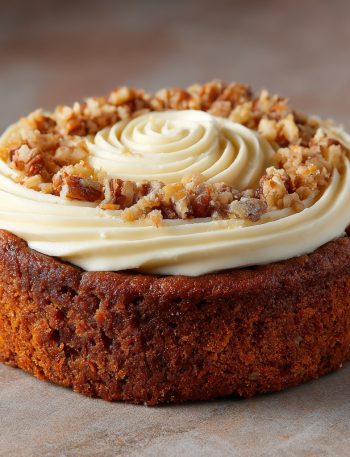
Carrot Cake Crumbl-Style Giant Cookie: Your New Favorite Dessert Obsession Hey friend! Isla here, from BiteTide. Let’s talk about that …
Carrot Cake Tres Leches: The Cozy, Creamy Dessert Mashup of Your Dreams Hey friend! Isla here. Let’s talk about two …
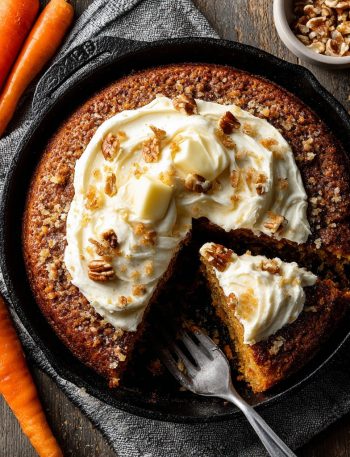
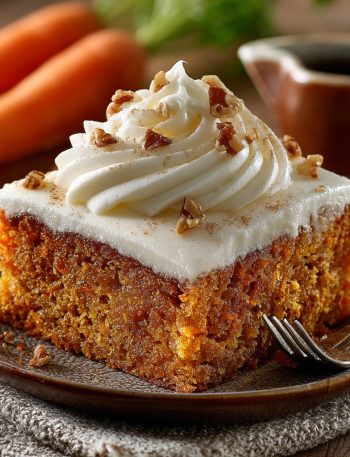
Brown Butter Carrot Cake Skillet Cake: Your New Favorite Cozy Dessert Hey there, friend! Isla here, from BiteTide. Grab your …
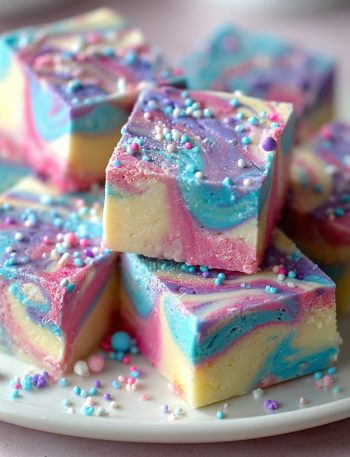
Dive Into a Dreamy, No-Bake Rainbow: Your New Favorite Treat Awaits! Hey there, flavor friend! Isla here, waving from my …
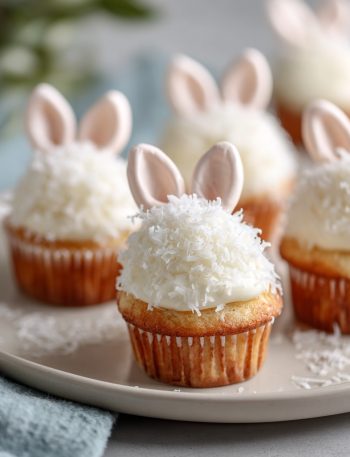
Welcome to Your New Favorite Easter Tradition: Bunny Tail Coconut Muffins! Picture this: It’s a bright, springy Easter morning. Sunlight …

Lavender Lemon Sandwich Cookies: Your New Go-To Spring Showstopper Hey there, flavor friend! Isla here, waving at you from my …
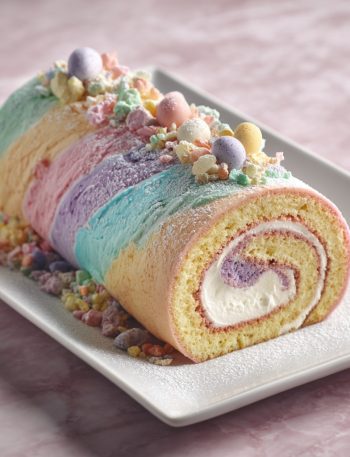
A Colorful Easter Swiss Roll: Your New Favorite Spring Showstopper Hey there, friend! Isla here, from my flour-dusted kitchen to …