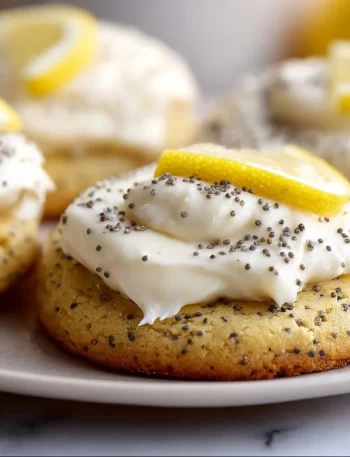
Lemon Poppy Seed Cookies with Cheesecake Frosting Hey there, flavor surfer! 🌊 Are you ready to embark on a delightful …
Bite Tide
Bite Tide
 islamerrickUpdated on Leave a Comment on Lemon Poppy Seed Cookies with Cheesecake Frosting9 min read
Lemon Poppy Seed Cookies with Cheesecake Frosting Hey there, flavor surfer! 🌊 Are you ready to embark on a delightful …
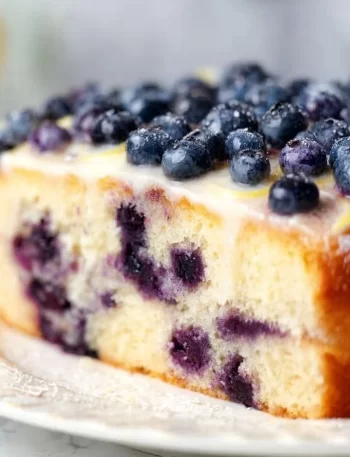
Lemon Blueberry Cake: A Flavor Wave of Sunshine and Sweetness Hey there, fellow foodies! 🌊 I’m Isla, and today I’m …
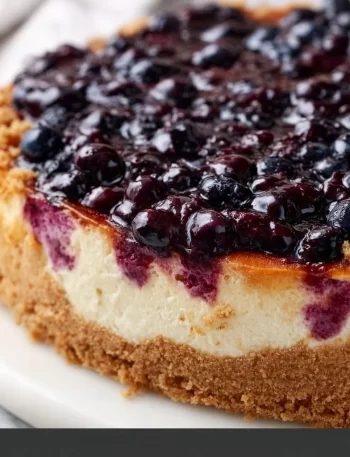
Blueberry Cheesecake: A Bite of Nostalgia Hey there, flavor fanatic! I’m so thrilled you’re here ready to dive into the …
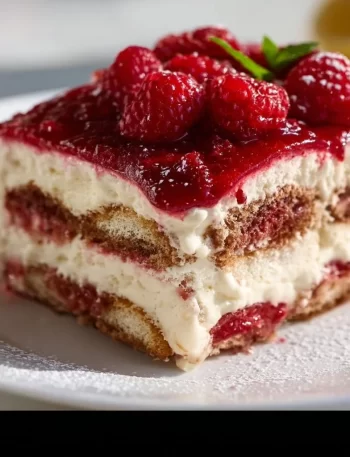
Raspberry Tiramisu: A Sweet Twist on a Classic Dessert Hey there, dessert lovers! 🌟 If you’re anything like me, the …
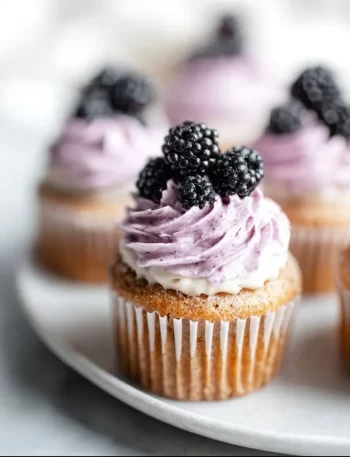
Earl Grey Blackberry Cupcakes: A Flavorful Journey Hey there, fellow foodies! 🌟 If you’ve landed here, it’s clear that you …
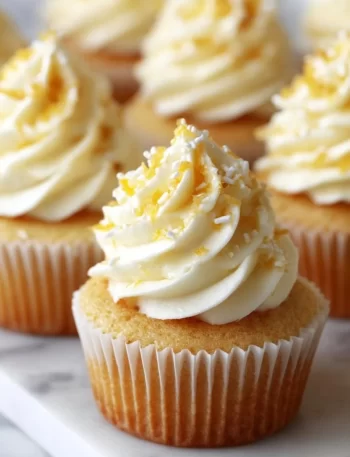
Sweet Sunshine in a Cupcake: Honey Lemon Cupcakes Recipe Hey there, fellow foodies! 🌟 I’m so excited to share a …
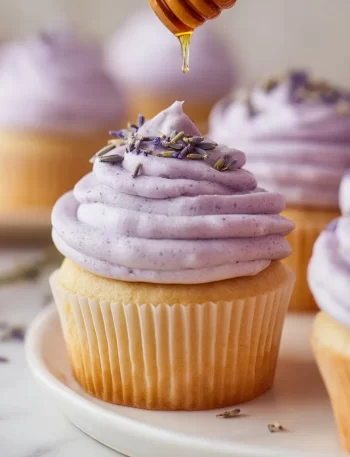
Embrace the Charm of Lavender Cupcakes: A Flavorful Journey Hey there, cupcake lovers! 🌸 If you’ve been searching for a …
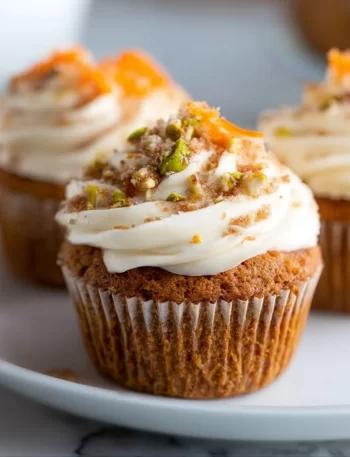
# Easy Carrot Cake Cupcakes: A Sweet Slice of Nostalgia Hello, my fellow foodies! 🎉 I’m Isla, and today, I’m …
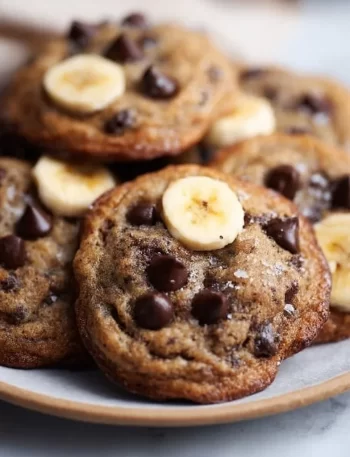
There's something undeniably comforting about the aroma of fresh banana bread wafting through the kitchen, and I'm excited to share …

Super Cute Daisy Cupcakes: A Sweet Treat to Brighten Your Day Hello, lovely food lovers! 🌼 Isla here, and today …