 islamerrick
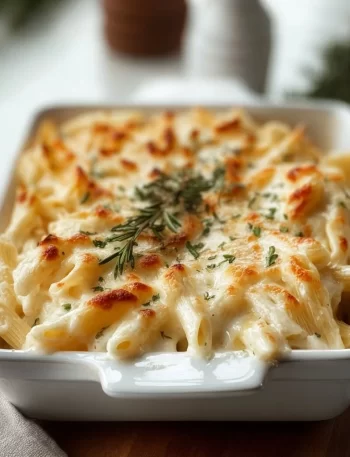
Creamy Cottage Cheese Alfredo Pasta Bake: A Comforting Dish that Tells a Story Hey there, flavor enthusiast! 🌊✨ If you’re …
Bite Tide
Bite Tide
Creamy Cottage Cheese Alfredo Pasta Bake: A Comforting Dish that Tells a Story Hey there, flavor enthusiast! 🌊✨ If you’re …

# Hot Honey Baked Chicken Breasts: A Flavor Adventure ## Introduction Hey there, flavor seekers! 🎉 I’m so excited to …

Indulgent Queso Chicken Enchiladas for Quick Weeknight Dinners Hey there, kitchen adventurers! 🌟 Are you ready for a flavor-packed, cozy …
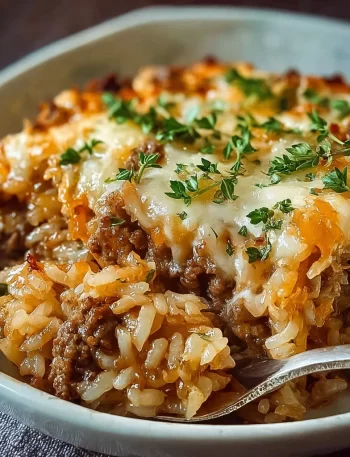
French Onion Ground Beef and Rice Casserole: A Cozy Comfort Food You’ll Crave! Hey there, food lovers! I’m so happy …

Cheesy Hamburger Potato Casserole: A Warm, Flavorful Hug in a Dish Hello, foodie friends! 🌟 If you’re anything like me, …

Cheesy Ground Beef and Rice Casserole: A Flavorful Comfort Dish Welcome to another delicious journey in the kitchen! Today, we’re …
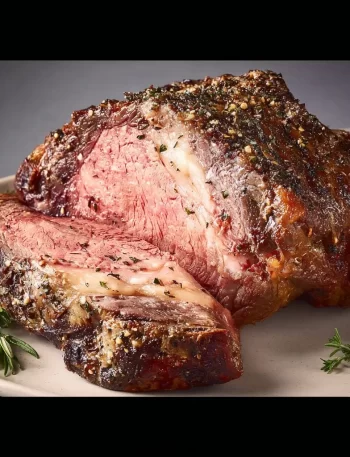
Ultimate Easy Prime Rib Recipe: Bringing Bold Flavor to Your Table Hey there, flavor adventurers! 🥳 I’m Isla, your trusty …

Cattle Drive Casserole: A Hearty Dish to Bring Everyone Together Hey there, fellow food lovers! 👋 If you’ve landed here …
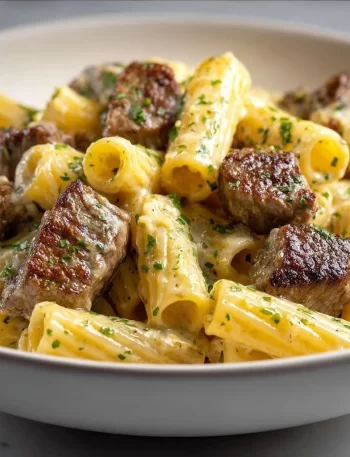
Garlic Butter Steak Rigatoni: An Easy & Creamy Family Favorite Hey there, fellow food lovers! 🌟 Are you ready to …
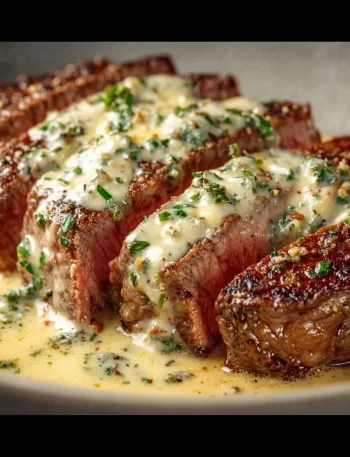
Garlic Butter Steak With Parmesan Cream Sauce Hey there, fellow food lovers! 🌟 Today, we’re diving into a recipe that …