 BiteTide
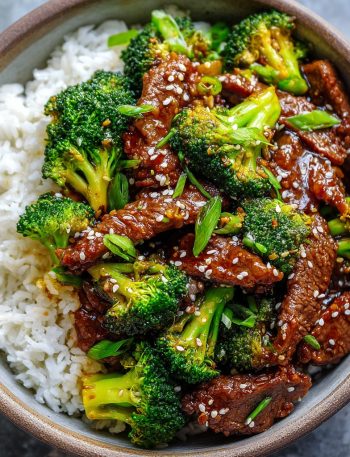
Quick Mongolian Beef Bowls with Broccoli – Your New Healthy Meal Prep Obsession Hey there, friend! Isla here. Let’s be …
Bite Tide
Bite Tide
Quick Mongolian Beef Bowls with Broccoli – Your New Healthy Meal Prep Obsession Hey there, friend! Isla here. Let’s be …
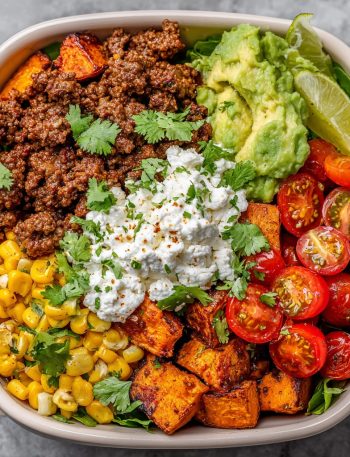
The Viral Sweet Potato Taco Beef & Cottage Cheese Bowl: Your New Meal Prep Bestie Hey friend! Isla here from …
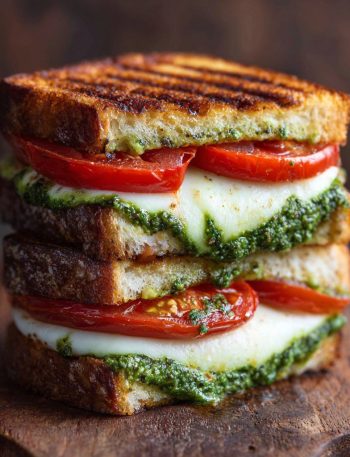
Grilled Tomato Pesto Sandwich – Crispy, Melty & Irresistible There’s something magical about the alchemy of a perfectly grilled sandwich, …

Easy Taco Cups: The Bite-Sized Party Starter You’ll Make on Repeat Hey there, flavor friend! Isla here, from my kitchen …
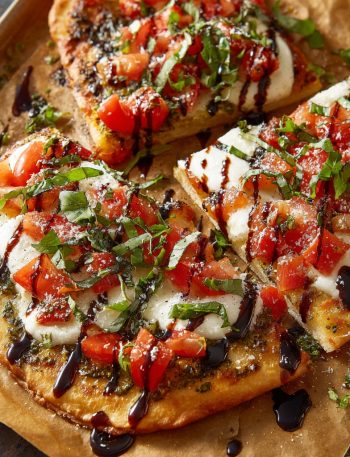
The Best Bruschetta Flatbread Pizza: A Flavor Party on Crispy Bread Okay, picture this: It’s one of those golden-hour evenings …
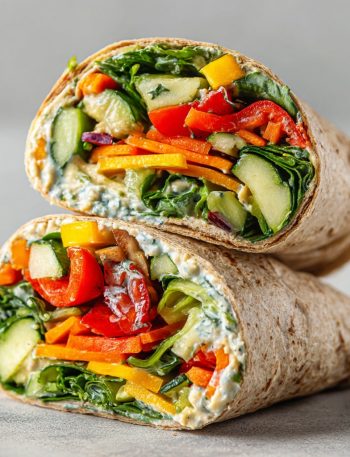
Vegan Veggie Wraps – Fresh, Colorful and Ready in Minutes Hey there, flavor friend! Tell me if this sounds …
When a Sushi Craving Meets a Weeknight Reality Check Hey there, friend! Isla here, from BiteTide. Let’s be real for …

Your New Favorite No-Bake Dessert Is Here Hey there, flavor friend! Have you ever had one of those intense cravings …

Summer’s Calling, and the Answer is Iced Coffee Hey there, friend! Isla here, from my sun-dappled kitchen straight to yours. …
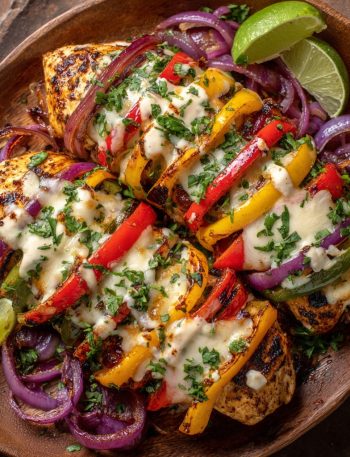
Hasselback Fajita Grilled Chicken – Cheesy Stuffed Chicken Breast Recipe A Bold & Beautiful Twist on Fajitas Hey there, flavor …