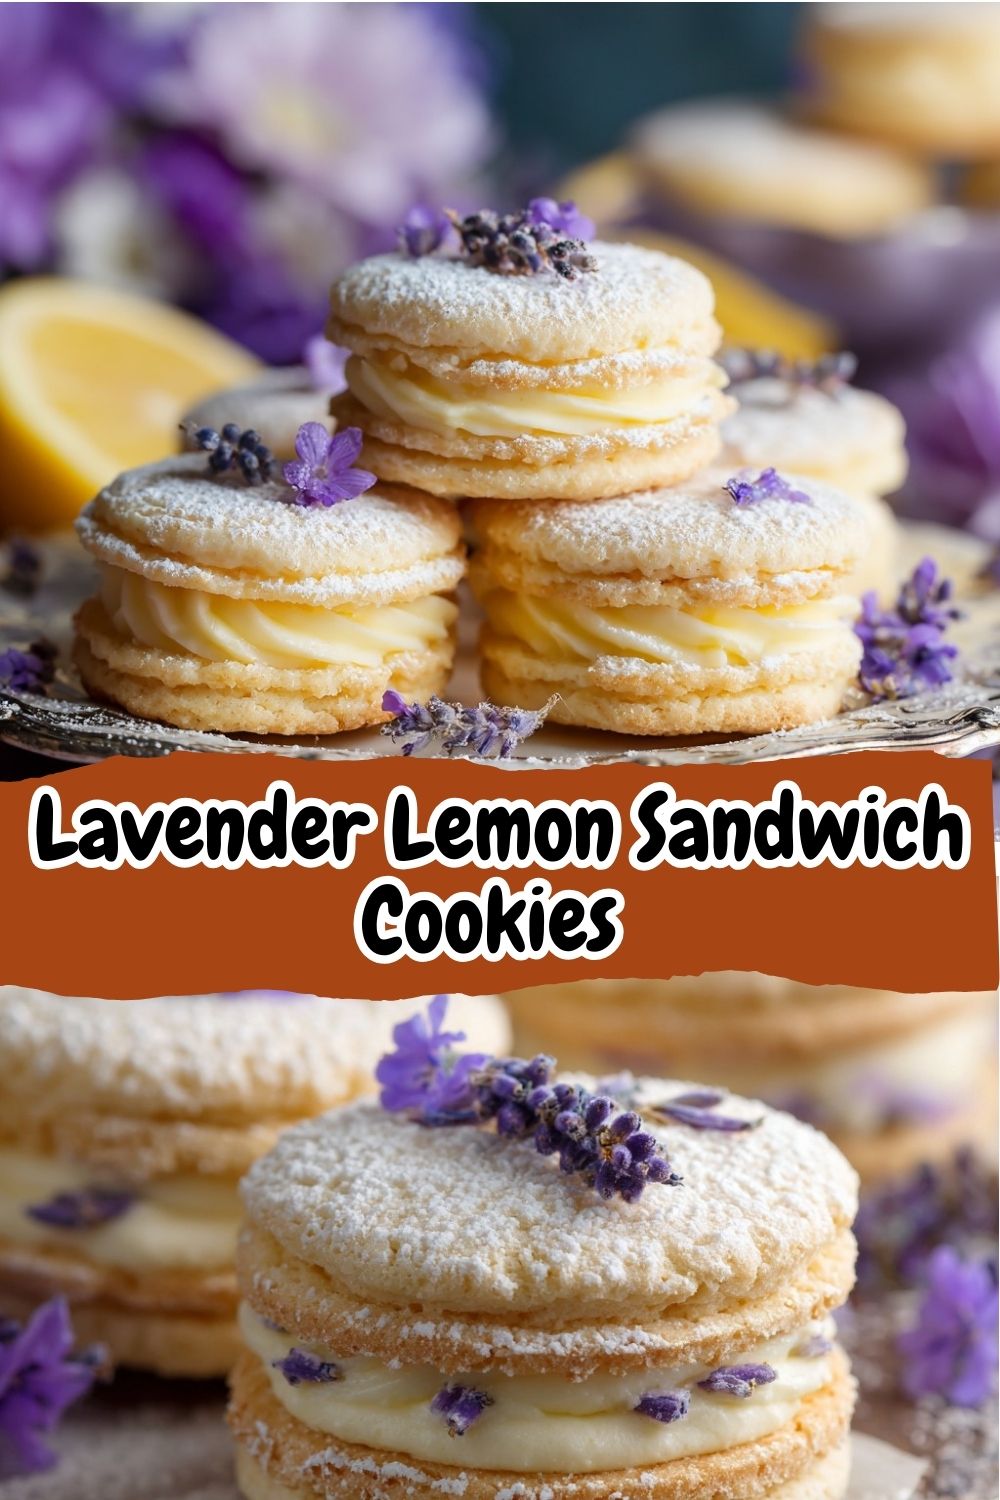
Lavender Lemon Sandwich Cookies: Your New Go-To Spring Showstopper
Hey there, flavor friend! Isla here, waving at you from my flour-dusted kitchen counter. Can we talk about spring for a second? Not just any spring, but the feeling of it—the first real warm breeze, the hopeful green shoots in the garden, and that undeniable urge to bake something that tastes as pretty as the world looks. That’s where these cookies come in. They’re not just cookies; they’re little edible declarations of joy.
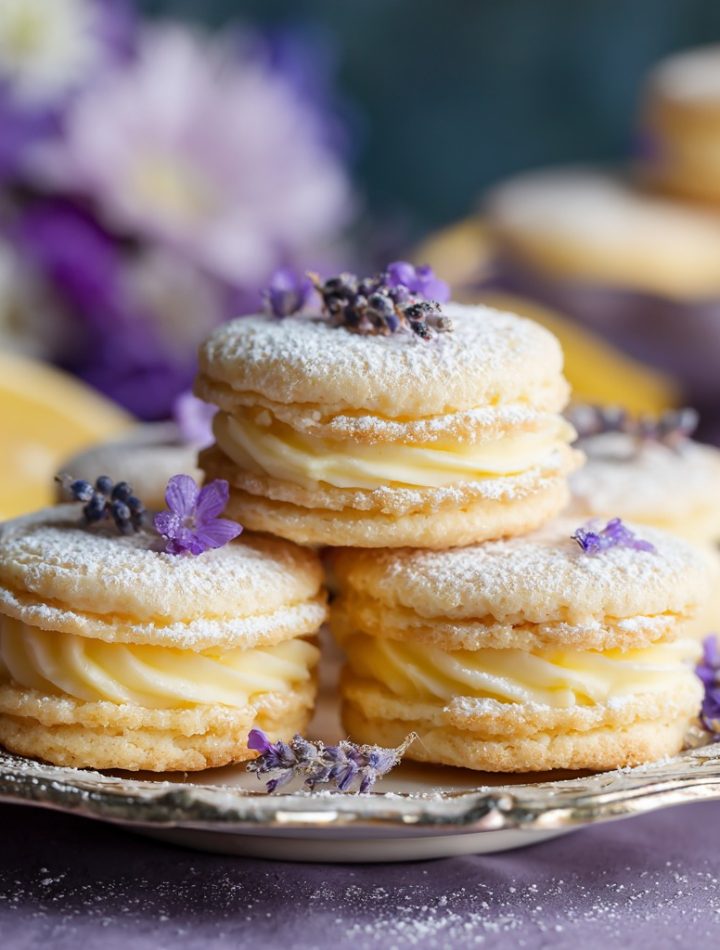
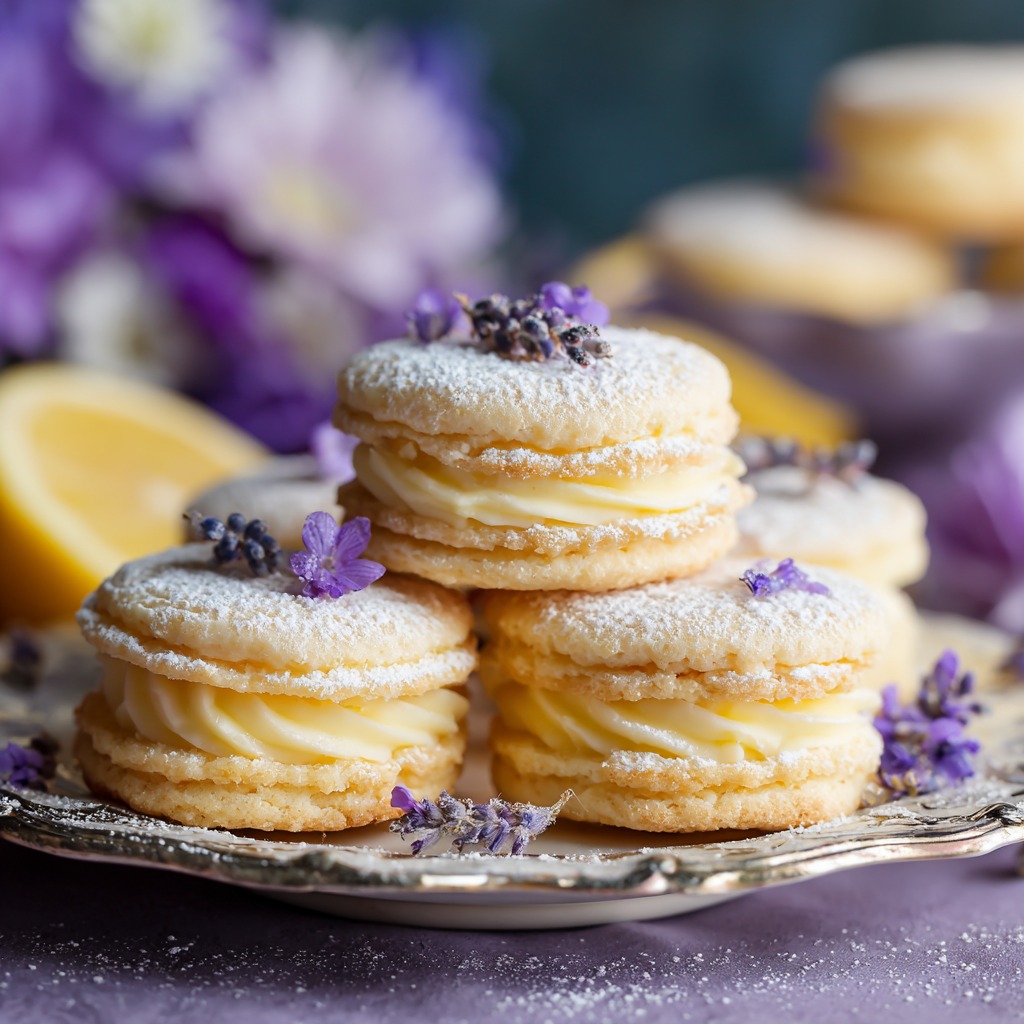
Today, we’re making Lavender Lemon Sandwich Cookies. Imagine this: tender, buttery lemon cookies with the subtlest whisper of floral lavender, hugging a cloud of bright, silky lemon cream. They’re delicate, elegant, and look like they came from a fancy patisserie. But here’s my BiteTide promise: they are absolutely, 100% doable in your home kitchen, even with a million other things on your to-do list. No fussy techniques, no intimidating ingredients—just pure, sunny, floral deliciousness.
Whether you’re planning an Easter brunch, a Mother’s Day tea, a garden party, or just a Tuesday that deserves a dose of beauty, these cookies are your answer. They’re conversation starters. They’re the treat that makes people’s eyes light up. So, tie on your favorite apron, put on some good music, and let’s bake something that smells like a spring dream. Trust me, the happy dance you’ll do when you sandwich that first one is guaranteed.
A Pinch of Memory in Every Batch
My love for lavender and lemon is a direct line back to my grandma’s sun-drenched backyard. She had this sprawling, slightly wild lavender bush that was the envy of the neighborhood. As a kid, I’d run my hands through the purple stalks, releasing that incredible scent, and then promptly go inside and beg for lemonade. She’d just smile, squeeze fresh lemons, and sometimes—on truly magical days—she’d steep a single lavender bud in the simple syrup. That combination of sunny citrus and calm, floral aroma felt like sophistication and comfort in a glass.
Years later, when I was first finding my feet in a tiny apartment kitchen, I wanted to recreate that feeling in something I could share. Cookies felt right. Portable, giftable, joyful. My first test batch… well, let’s just say I learned the hard way that a little lavender goes a VERY long way! But after some tweaking (and some very patient taste-testing friends), we landed on this perfect balance. Every time I make them, I’m right back in that sunny yard, with sticky fingers and the smell of summer on the breeze. Food memories are the best kind of magic, aren’t they?
Print
Lavender Lemon Sandwich Cookies : Elegant Spring Tea Party Treat
- Total Time: 45 minutes
- Yield: 12–15 sandwich cookies 1x
Description
These Lavender Lemon Sandwich Cookies are delicate, fragrant, and perfectly balanced between floral and citrus. Soft lemon-kissed cookies are sandwiched with a silky lemon cream filling, then finished with a dusting of powdered sugar and a touch of dried lavender for an elegant spring look. They’re ideal for Easter brunch, garden parties, or afternoon tea. Light, beautiful, and bakery-worthy—these cookies feel as special as they taste.
Ingredients
For the Cookies:
1 cup unsalted butter, softened
¾ cup granulated sugar
1 large egg
1 tbsp lemon zest
1 tbsp fresh lemon juice
½ tsp culinary lavender, finely ground
2 ¼ cups all-purpose flour
½ tsp baking powder
¼ tsp salt
Purple food coloring (optional, for pastel tone)
For the Lemon Cream Filling:
½ cup unsalted butter, softened
1 ½ cups powdered sugar
1 tbsp fresh lemon juice
½ tsp lemon zest
1–2 tbsp heavy cream (as needed)
For Garnish:
Powdered sugar for dusting
Pinch of culinary lavender
Instructions
Preheat oven to 350°F (175°C). Line baking sheets with parchment paper.
Cream butter and sugar until light and fluffy. Beat in egg, lemon zest, lemon juice, and lavender.
In a separate bowl, whisk flour, baking powder, and salt. Gradually mix into wet ingredients.
Add a tiny drop of purple food coloring if desired for a soft lavender hue.
Roll dough into small balls, flatten slightly, and bake 10–12 minutes until edges are lightly golden. Cool completely.
For filling, beat butter until smooth. Add powdered sugar, lemon juice, zest, and cream until fluffy.
Spread or pipe filling onto half the cookies and sandwich with remaining cookies.
Dust tops lightly with powdered sugar and garnish with a few lavender buds.
- Prep Time: 20 minutes
- Cook Time: 10–12 minutes
- Category: Dessert
Nutrition
- Calories: 220 calories per sandwich
Gathering Your Flavor Waves
Here’s everything you’ll need to create these little masterpieces. I’ve added my chef notes next to each one because knowing your ingredients is the first step to kitchen confidence!
For the Lemon Lavender Cookies:
- 1 cup (2 sticks) unsalted butter, softened – This is the foundation of our tender cookie. “Softened” means it should give easily when you press it, but not be greasy or melted. Pro tip: If you forget to take it out, cut it into chunks and let it sit for 15-20 minutes.
- ¾ cup granulated sugar – Sweetens and helps create that lovely, light texture when creamed with the butter.
- 1 large egg – Our binder! It adds structure and richness. Make sure it’s at room temperature to play nicely with the butter.
- 1 tbsp lemon zest – This is where the big, bright lemon flavor lives! Use a fine grater or microplane and only get the yellow part—the white pith is bitter.
- 1 tbsp fresh lemon juice – Fresh is non-negotiable here, friends. That bottled stuff just won’t give you the same vibrant punch.
- ½ tsp culinary lavender, finely ground – CULINARY GRADE IS A MUST. This ensures it’s safe to eat and pesticide-free. Grind it in a spice grinder or mortar and pestle until it’s almost a powder. This distributes the flavor evenly so you don’t get a crunchy bud.
- 2 ¼ cups all-purpose flour – The trusty workhorse. Spoon and level it into your measuring cup for accuracy—don’t scoop straight from the bag!
- ½ tsp baking powder – Our little leavening helper that gives the cookies a gentle lift.
- ¼ tsp salt – The flavor enhancer! It makes the sweet and citrus pop even more.
- Purple food coloring (optional) – Just a tiny drop of gel or paste coloring for a soft, pastel lavender hue. It’s purely for looks, so skip it if you prefer the natural color!
For the Lemon Cream Filling:
- ½ cup (1 stick) unsalted butter, softened – Same rules apply. This makes the filling luxuriously smooth and pipeable.
- 1 ½ cups powdered sugar – Sweetens and thickens the filling. Sift it if it’s lumpy for a super-silky texture.
- 1 tbsp fresh lemon juice – More of that sunshine flavor!
- ½ tsp lemon zest – Double down on that lemon essence.
- 1–2 tbsp heavy cream – This is our secret weapon for perfect consistency. Start with 1 tbsp and add the second only if needed to reach a fluffy, spreadable texture.
For Garnish:
- Powdered sugar for dusting – Like a light snowfall on your cookies. So pretty!
- Pinch of culinary lavender buds – A tiny sprinkle on top screams “elegant tea party.”
Let’s Bake! Your Step-by-Step Roadmap to Cookie Bliss
Ready? We’re going to take it one simple, joyful step at a time. I’m right here with you in spirit, probably also wiping lemon zest off my elbow.
- Preheat & Prep: Fire up your oven to 350°F (175°C). Line your baking sheets with parchment paper. This is my #1 hack for no-stick cookies and easy cleanup. No parchment? A silicone baking mat works wonders too.
- Cream the Good Stuff: In a large bowl, beat the softened butter and granulated sugar together with an electric mixer (or a stand mixer fitted with the paddle) for 2-3 minutes. We want it light, fluffy, and almost pale in color. This step incorporates air, which is key for a tender cookie. Don’t rush it!
- Add the Wet Team: Beat in the egg until fully combined. Then, add the glorious lemon zest, fresh lemon juice, and your finely ground lavender. The smell at this point is *chef’s kiss*. If you’re using that optional drop of purple food coloring, add it now and mix until you have a uniform, soft pastel dough.
- Bring in the Dry Crew: In a separate bowl, whisk together the flour, baking powder, and salt. This evenly distributes the leavening so every cookie bakes the same. With your mixer on low, gradually add the dry ingredients to the wet. Mix just until the flour disappears. Overmixing is the enemy of tenderness!
- Scoop & Shape: Using a small cookie scoop (about 1 tbsp size) or a spoon, roll the dough into small, even balls. Place them on your prepared sheets, giving them about 2 inches of space to spread. Gently flatten each ball just slightly with the palm of your hand or the bottom of a glass. This helps them bake into perfect little rounds ready for sandwiching.
- Bake to Golden Perfection: Bake for 10-12 minutes. You’re looking for the edges to be just barely starting to turn a light golden brown. The centers might still look soft—that’s perfect! They’ll firm up as they cool. Remember, ovens can be sneaky, so check at the 10-minute mark.
- The Cool Down (The Hardest Part!): Let the cookies cool on the baking sheet for 5 minutes. They’re fragile when hot! Then, transfer them to a wire rack to cool completely. Do not attempt to fill warm cookies—the filling will melt into a sad puddle. I use this time to wash dishes and sneak a cookie edge… for quality control, of course.
- Whip Up the Sunshine Filling: In a clean bowl, beat the softened butter until smooth. Gradually add the powdered sugar, lemon juice, and zest. Start slow unless you want a powdered sugar snowstorm! Beat until combined, then add 1 tbsp of heavy cream. Whip on medium-high for 1-2 minutes until light and fluffy. If it seems too thick to spread easily, add the second tbsp of cream.
- The Grand Sandwiching: Turn half of your cooled cookies bottom-side up. You can spread the filling with a small knife or, for a super-professional look, pipe it using a piping bag with a round tip (or a zip-top bag with the corner snipped off). Place a matching cookie on top and give a gentle squeeze. Admire your handiwork!
- The Final Flourish: Place a little powdered sugar in a fine-mesh sieve and dust it lightly over the top of each sandwich cookie. Sprinkle with a few whole lavender buds for that final touch of elegance.
How to Serve These Stunners
Presentation is part of the fun! Arrange these cookies on a pretty cake stand or a vintage platter. They are the undisputed star of a spring or afternoon tea spread—pair them with scones, finger sandwiches, and a pot of Earl Grey or herbal lavender tea. For a truly magical moment, serve them on a sunny patio. The light, floral flavor and delicate look just belong outdoors. They also make the most heartfelt, homemade gift. Tuck a few into a cellophane bag tied with a ribbon, and you’ve just made someone’s day.
Ride Your Own Flavor Wave: Fun Variations
Feel like mixing it up? Here are some delicious twists:
- Earl Grey Twist: Replace the ground lavender in the cookie with the finely ground leaves from 1 Earl Grey tea bag. The bergamot pairs divinely with the lemon.
- Honey Lavender Filling: Substitute 1 tbsp of the powdered sugar in the filling with 1 tbsp of honey for a deeper, floral sweetness.
- Gluten-Free Friend: Swap the all-purpose flour for a 1:1 gluten-free baking blend. The texture will be slightly more delicate but just as delicious.
- “Lemonade Stand” Version: Omit the lavender entirely for a pure, punchy lemon sandwich cookie. Roll the cookie dough balls in granulated sugar before baking for a sparkly, crunchy edge.
- Berry Cream Dream: Add a teaspoon of freeze-dried raspberry or strawberry powder to the filling for a pretty pink hue and a berry-lemon flavor combo.
Isla’s Kitchen Notes
This recipe is a living thing in my kitchen! The first time I made them, I was so nervous about the lavender that I barely used any, and the flavor got lost. The next batch? I got overzealous and it tasted like… well, perfume. Finding that ½ teaspoon sweet spot was a game-changer. It’s just enough to whisper “floral” without shouting “potpourri.”
Another evolution: the filling. I started with a basic buttercream, but it was too sweet and heavy for the delicate cookie. Swapping in a little heavy cream for some of the sugar lightened it up perfectly, making it a true “cream” filling. And don’t worry if your cookies aren’t perfectly identical—mine never are! That just proves they’re homemade with love. The little quirks are what make them special.
Your Questions, Answered
Q: Can I use dried lavender from my garden?
A: Only if you are 100% certain it has never been treated with pesticides or chemicals. Culinary lavender from a trusted spice shop or online retailer is the safest, most reliable bet for both flavor and food safety.
Q: My filling is too runny/thick! Help!
A: No panic! Kitchen environments vary. Too runny? Beat in a little more sifted powdered sugar, a tablespoon at a time. Too thick? Add more heavy cream or lemon juice, just a teaspoon at a time, until it reaches a fluffy, pipeable consistency. You’ve got this!
Q: Can I make the dough ahead of time?
A: Absolutely! Wrap the dough tightly in plastic wrap and refrigerate for up to 2 days. Let it sit at room temperature for 15-20 minutes before scooping and baking. You can also freeze the shaped dough balls on a tray, then transfer to a freezer bag for up to 3 months. Bake from frozen, adding 1-2 minutes to the bake time.
Q: How do I store these sandwich cookies?
A: Store them in a single layer in an airtight container at room temperature for up to 3 days. If your kitchen is very warm, you can store them in the fridge, but let them come to room temperature before serving for the best texture and flavor.
Nutritional Info (A Quick Glance)
Please note: This is an approximate estimate calculated using online tools and is intended for informational purposes only.
Per Sandwich Cookie: Approximately 220 calories, 14g fat, 23g carbohydrates, 2g protein.