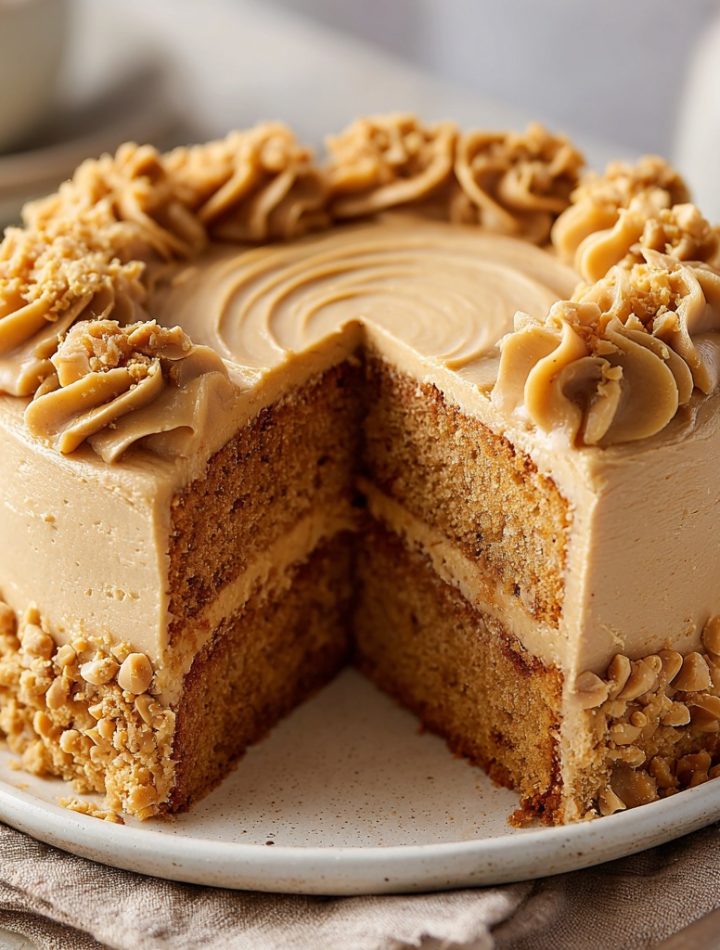
 Rich & Moist Peanut Butter Cake: Your New Go-To Dessert
Hey there, friend! Isla here, from BiteTide. Have you ever had one of those days where only a specific, soul-satisfying flavor will do? For me, that’s almost always peanut butter. Not just a spoonful from the jar (though, no judgment), but something spectacular. Something that feels like a celebration but is simple enough to whip up on a Tuesday just because. That’s exactly why I’m so thrilled to share this recipe with you today.
This Rich & Moist Peanut Butter Cake is my ultimate love letter to that creamy, nutty, irresistible flavor. Imagine the softest, most tender crumb you’ve ever tasted, packed with real peanut butter goodness in every single bite. Then, we double down on the deliciousness by slathering it with a cloud of fluffy, peanut butter frosting that’s not too sweet, just perfectly dreamy. This isn’t just a cake; it’s a warm, edible hug. It’s the dessert you bring to potlucks that makes people quietly ask for the recipe. It’s the birthday cake request from my nephew every single year. It’s pure, unadulterated joy on a plate.
I promise you, this recipe is all about that BiteTide philosophy: maximum flavor, zero fuss. No fancy techniques, no weird ingredients—just straightforward, reliable kitchen magic. So, preheat that oven, grab your favorite jar of peanut butter, and let’s make something amazing together. Your kitchen is about to smell incredible.
A Messy Apron & The Best Memories
This cake always takes me right back to my grandma’s sun-drenched kitchen. She was a wizard with simple ingredients, and her peanut butter cookies were legendary. One rainy afternoon, when I was about ten, I decided I wanted to be just like her and “invent” a peanut butter cake. Let’s just say my first attempt involved… enthusiasm over precision. Flour was absolutely everywhere, including in my hair. I may have underestimated the power of the mixer, leading to a dramatic “peanut butter volcano” eruption all over the counter.
But you know what? My grandma didn’t care about the mess. She helped me scrape the batter into the pan, showed me how to smooth the top with a spatula, and we waited by the oven door like it was the most suspenseful movie. That lopsided, slightly too-brown cake was, to my childhood self, a masterpiece. We ate it warm with glasses of cold milk, and I felt like a real chef. This recipe is that grown-up, perfected, mess-managed version of that memory. It’s proof that the best things often come from a little chaos and a lot of heart.
Print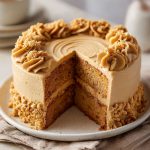
Rich & Moist Peanut Butter Cake : A Dream Dessert for PB Lovers
- Total Time: 50 mins
- Yield: 12–15 1x
Description
This peanut butter cake is a warm hug in dessert form – rich, nutty, and irresistibly soft. It’s made with real creamy peanut butter in both the cake and frosting, delivering bold flavor in every bite. Whether you’re baking for a birthday, a bake sale, or just because, this cake is a guaranteed hit for anyone who loves that classic peanut butter taste.
Ingredients
For the Cake:
1 ¾ cups all-purpose flour
1 cup granulated sugar
½ cup light brown sugar
2 tsp baking powder
½ tsp salt
½ cup unsalted butter, softened
½ cup creamy peanut butter
3 eggs
1 tsp vanilla extract
1 cup milk
For the Frosting:
½ cup creamy peanut butter
¼ cup unsalted butter, softened
2 cups powdered sugar
2–3 tbsp milk (as needed)
½ tsp vanilla extract
Instructions
Preheat oven to 350°F (175°C). Grease a 9×13-inch baking dish.
In a large bowl, whisk flour, baking powder, salt, and both sugars.
Add butter and peanut butter; mix until crumbly.
Add eggs, vanilla, and milk. Beat until smooth and creamy.
Pour into prepared pan and bake for 30–35 minutes, or until a toothpick comes out clean.
Let cake cool completely before frosting.
For the frosting: Beat peanut butter and butter until smooth. Add powdered sugar, vanilla, and milk until fluffy and spreadable.
Frost the cooled cake and enjoy!
- Prep Time: 15 mins
- Cook Time: 35 mins
- Category: Dessert
Gathering Your Flavor Allies
Here’s everything you’ll need to create this peanut butter paradise. I’ve included my little chef insights to explain the “why” behind each item—it makes you a more confident cook, I promise!
For the Cake:
- 1 ¾ cups all-purpose flour: The trusty foundation. Spoon and level it into your measuring cup to avoid a dense cake. For a nuttier twist, you can swap ¼ cup for whole wheat pastry flour.
- 1 cup granulated sugar + ½ cup light brown sugar: The dynamic duo! White sugar gives structure and sweetness, while the brown sugar adds moisture and a subtle molasses note that pairs beautifully with peanut butter.
- 2 tsp baking powder: Our leavening hero. It gives the cake its lovely rise and soft texture. Make sure yours is fresh for the best lift.
- ½ tsp salt: Do not skip this! Salt is the flavor enhancer that makes the peanut butter taste richer and more complex, balancing the sweetness perfectly.
- ½ cup unsalted butter, softened: “Softened” is key here—it should give slightly when pressed. This allows it to cream beautifully with the sugars, creating a light and airy base for the batter.
- ½ cup creamy peanut butter: The star! I use a standard processed kind (like Jif or Skippy) for consistent flavor and texture. Natural peanut butter (the kind that separates) can make the cake oily and dense.
- 3 large eggs: Bring them to room temperature! They incorporate much more smoothly into the batter, leading to a uniform, tender crumb.
- 1 tsp pure vanilla extract: The supporting actor that makes all the other flavors sing a little louder.
- 1 cup milk: Whole milk is my go-to for richness, but any milk you have will work. Room temperature is ideal for even mixing.
For the Peanut Butter Frosting:
- ½ cup creamy peanut butter: Same rules apply—use the standard, no-stir kind for a fluffy, spreadable frosting.
- ¼ cup unsalted butter, softened: The partner to our peanut butter, creating a silky-smooth base.
- 2 cups powdered sugar: Sift it if you have time! This prevents lumps in your frosting, giving you that dreamy, creamy texture.
- 2–3 tbsp milk: We add this gradually to reach the perfect spreading consistency. Start with two!
- ½ tsp vanilla extract: A dash to round out the sweetness.
Let’s Bake! Your Step-by-Step Roadmap
Follow these steps, and you’re golden. I’ve tucked my favorite tips and hacks right in there with you.
- Prep Party! Preheat your oven to 350°F (175°C). Grease a 9×13-inch baking dish with butter or non-stick spray. I like to add a parchment paper sling for super easy removal, but it’s not mandatory. Chef’s Hack: Doing this first means your pan is ready the second your batter is, and your oven is perfectly heated. No waiting around!
- Dry Team Assemble. In a large bowl, whisk together the flour, baking powder, and salt. Now, add both the granulated and light brown sugars. Whisk it all really well. This not only combines everything but also gets rid of any little lumps in the brown sugar. Why we do it: Ensuring your leaveners (baking powder) are evenly distributed prevents random tunnels or dense spots in your baked cake.
- Creaming is Key. Add the softened butter and peanut butter to the dry ingredients. Using a hand mixer or stand mixer fitted with the paddle attachment, mix on medium-low speed until the mixture looks like coarse, damp sand. This usually takes about 1-2 minutes. Chef’s Insight: This “reverse creaming” method (adding fats to dry ingredients first) is a secret weapon for an incredibly tender, fine-crumbed cake that stays moist for days.
- Bring in the Wet Crew. Crack in the eggs, add the vanilla, and pour in the milk. Now, turn that mixer up to medium and let it run for a good 1-2 minutes, until the batter is smooth, creamy, and completely combined. Scrape down the sides of the bowl halfway through. You’ll see it transform into a beautiful, pourable batter. Don’t overmix after this point! Once it’s smooth, you’re done.
- Bake to Golden Perfection. Pour the batter into your prepared pan and use a spatula to spread it evenly into the corners. Slide it into the center of your preheated oven. Bake for 30-35 minutes. Start checking at 30 minutes—the cake is done when the top is golden, the edges pull away slightly from the pan, and a toothpick inserted into the center comes out with a few moist crumbs (not wet batter). Biggest Tip: Avoid opening the oven door before the 30-minute mark to prevent a sunken cake!
- The Patience Test. Once baked, transfer the pan to a wire rack and let the cake cool completely in the pan. I know, I know—it’s hard! But frosting a warm cake is a recipe for a melted, gloppy mess. This is the perfect time to wash your dishes and make the frosting.
- Frosting Fluff Time. In a medium bowl, beat the softened peanut butter and butter together until completely smooth and creamy. Gradually add the sifted powdered sugar, starting on low speed (unless you want a powdered sugar snowstorm). Add the vanilla and 2 tablespoons of milk. Beat on medium-high for 2-3 minutes until light and fluffy. If it seems too thick, add the extra milk, one teaspoon at a time, until it’s spreadable. Chef’s Hack: Want extra fluffy frosting? Make sure your butter and peanut butter are truly softened, and beat for a full 3 minutes to incorporate lots of air.
- The Grand Finale. Once the cake is completely cool, spread the frosting evenly over the top. I love using the back of a spoon to make little swirls. Slice, serve, and get ready for the compliments to roll in!
Serving Up the Joy
This cake is a beautiful, crowd-pleasing rectangle, so serving is a breeze! For a classic touch, sprinkle the top with chopped, salted peanuts or a little drizzle of melted peanut butter. It’s heavenly with a cold glass of milk, a scoop of vanilla bean ice cream (peanut butter and vanilla are a dream team), or even a dollop of whipped cream. For a special occasion, cut it into squares and serve on individual plates with a few berries on the side for a pop of color. Honestly, it’s so good, it doesn’t need any adornment—a simple slice on a napkin is pure happiness.
Ride Your Own Flavor Wave: Fun Variations!
Love the base recipe? Here are some delicious ways to make it your own:
- Chocolate-Peanut Butter Swirl: Drop ½ cup of chocolate chips over the batter before baking and use a knife to gently swirl. Or, add ¼ cup of cocoa powder to half the frosting for a marbled effect.
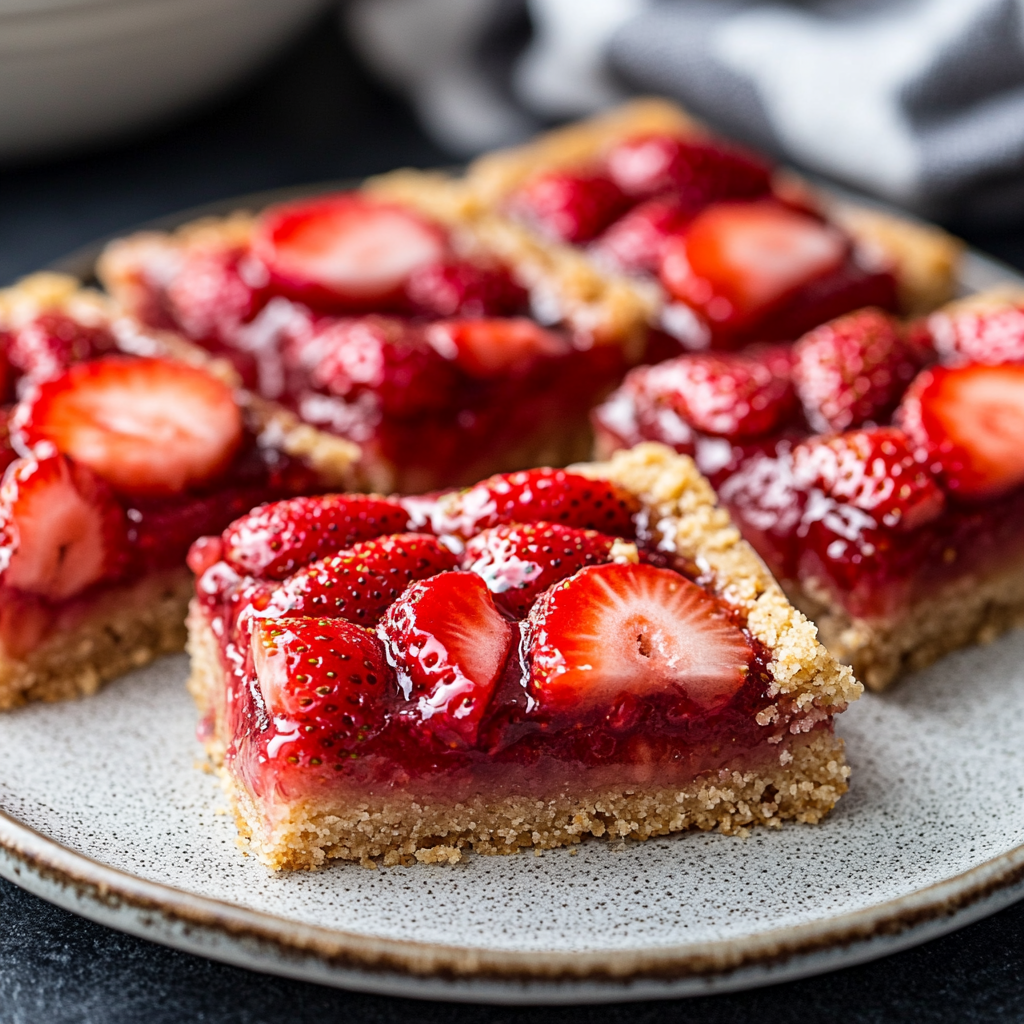
- PB&J Blast: After frosting, warm up some strawberry or raspberry jam and drizzle it artfully over the top for that nostalgic sandwich vibe.
- Banana Peanut Butter Cake: Add 1 cup of mashed ripe banana (about 2 bananas) to the batter with the wet ingredients. It adds incredible moisture and flavor.
- Fluffy Cream Cheese Frosting Swap: Replace the peanut butter frosting with a classic cream cheese frosting. The tangy contrast with the peanut butter cake is next-level amazing.
- Dietary Swaps: Use a 1:1 gluten-free flour blend for the all-purpose flour. For a dairy-free version, use plant-based butter and milk (oat or almond milk work great). Sunflower seed butter can be a nut-free substitute for the peanut butter.
Isla’s Kitchen Notes
This recipe has been a BiteTide staple since almost the beginning, and it’s evolved with me. The original version had only white sugar, but adding that brown sugar was a total game-changer for moisture. I’ve also learned that using a full-fat, standard peanut butter is non-negotiable for the right texture—I tried the “healthy” route with natural PB once and the cake was sadly greasy and heavy. Live and learn!
My favorite thing about this cake (besides eating it) is how it brings people together. I’ve made it for new neighbors, friends needing a pick-me-up, and sleepy Sunday family dinners. It never fails to spark joy. And if you get a few crumbs on the floor? Consider it a tribute to my ten-year-old self and her flour-covered kitchen adventure. Happy baking is sometimes messy baking, and that’s just fine.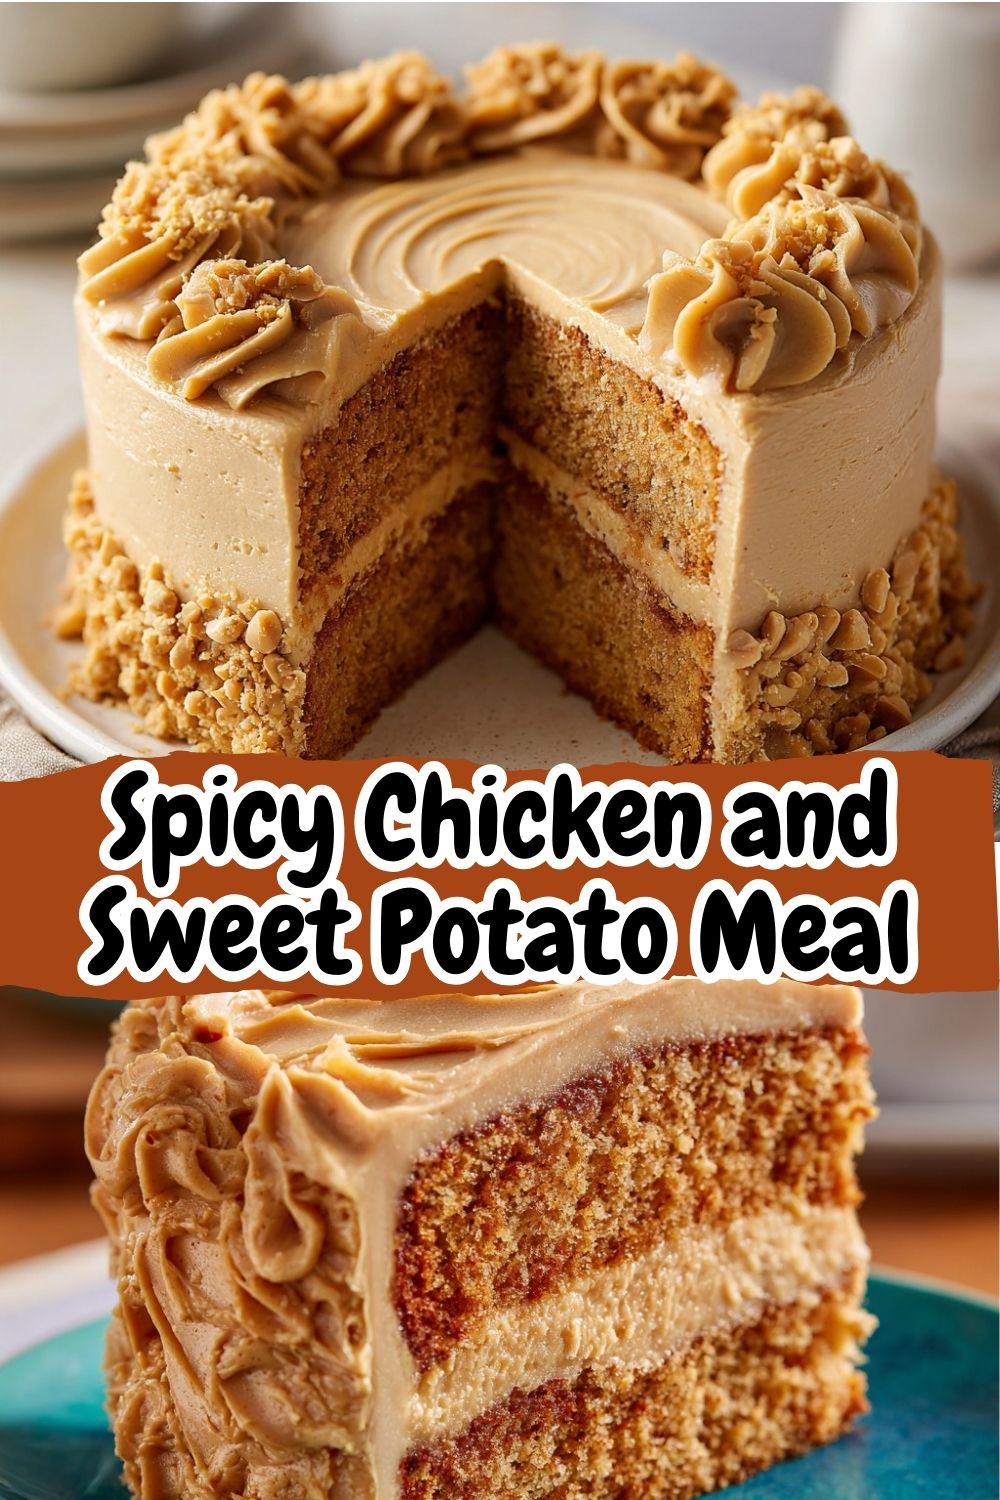
Your Questions, Answered!
Q: My cake turned out a bit dry. What happened?
A: The most common culprits are over-measuring the flour (always spoon & level!) or overbaking. Ovens can vary, so start checking a few minutes early. Also, ensure you’re using both sugars as written—the brown sugar is there for moisture.
Q: Can I make this into a layer cake or cupcakes?
A: Absolutely! For a two-layer cake, divide the batter between two greased and lined 9-inch round pans. Bake for 25-30 minutes. For cupcakes, line a muffin tin and fill cups ⅔ full. Bake for 18-22 minutes. This recipe makes about 24 cupcakes. You might want to make 1.5x the frosting for generous piping on cupcakes or a layered cake.
Q: My frosting is too thick/too thin. Help!
A> Too thick? Beat in more milk, a teaspoon at a time. Too thin? Your butter or PB might have been too warm, or you may need a bit more powdered sugar. Add a ¼ cup of extra sifted powdered sugar and beat again. If it’s runny, you can pop the whole bowl in the fridge for 15 minutes to firm up the fats, then re-beat.
Q: How do I store leftovers?
A> Cover the pan tightly with plastic wrap or transfer slices to an airtight container. It will stay fresh at room temperature for 2-3 days, or in the fridge for up to 5 days. The cake is actually even more moist the next day! You can also freeze the unfrosted cake (well-wrapped) for up to 3 months. Thaw overnight and frost before serving.
Nutritional Information (Per Slice, approx. 1/12 of cake)
Calories: ~420 | Total Fat: 22g | Saturated Fat: 9g | Cholesterol: 70mg | Sodium: 220mg | Total Carbohydrates: 50g | Dietary Fiber: 1g | Sugars: 35g