Easy Cheeseburger Sliders: Juicy, Melty & Made to Disappear
Hey there, flavor friend! Isla here from BiteTide. Let’s be real: some days, you’re dreaming of a gourmet feast, and other days, you’re just craving that perfect, no-fuss, handheld bite of pure joy. You know the one. The kind of food that makes everyone’s eyes light up the second you bring it to the table. The kind that has people hovering around the oven, asking “are they done yet?” on a two-minute loop.
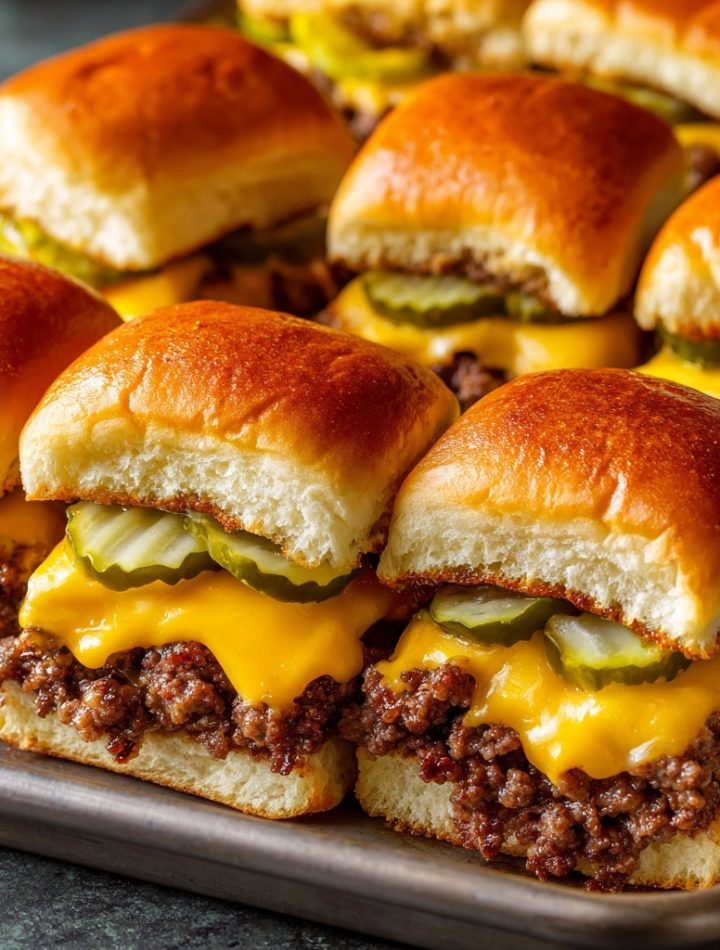
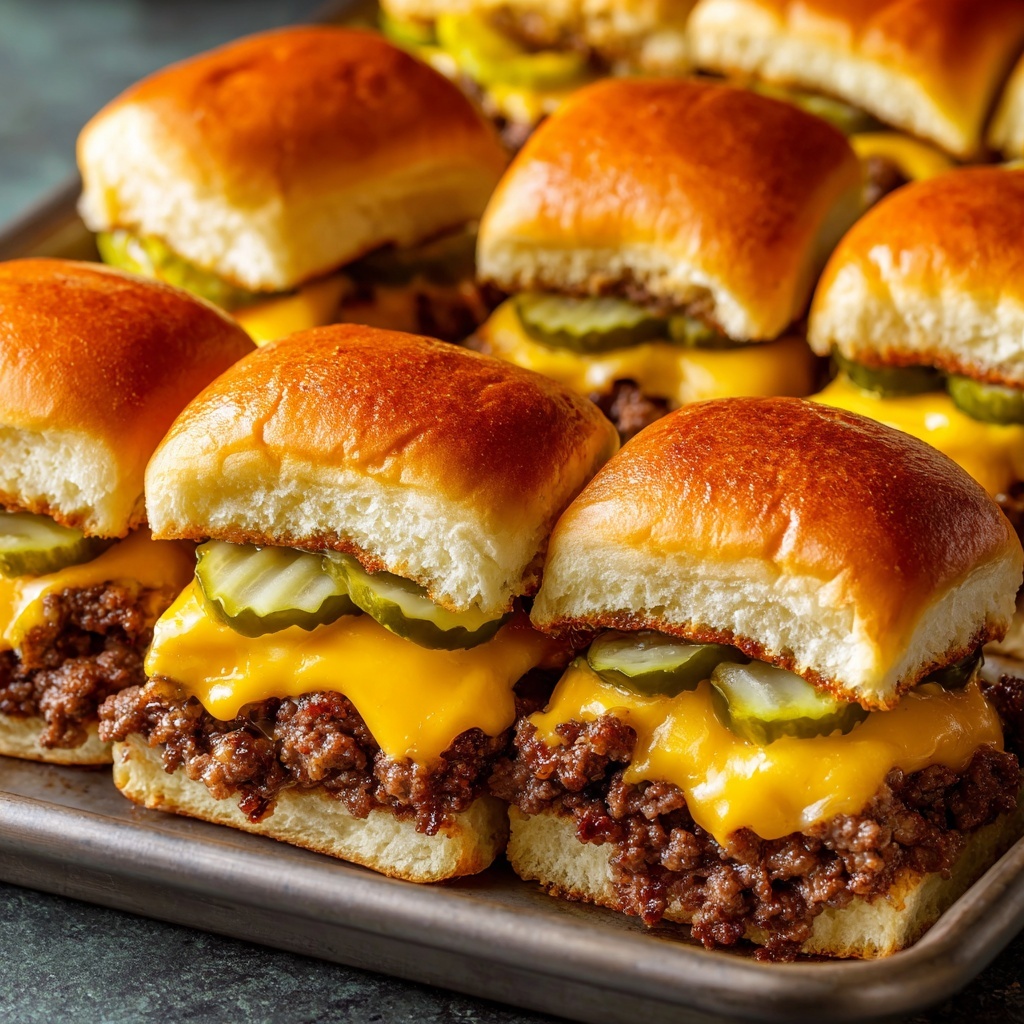
Well, my friends, today we are riding a serious wave of craveable comfort with my ultimate recipe for Cheeseburger Sliders. This is everything you adore about a classic, juicy cheeseburger—the seasoned beef, the gooey melted cheese, the tangy punch of pickles and mustard—all packed into a soft, golden, bite-sized package. They are the undisputed champions of game day spreads, the life of the party platter, and the secret hero of busy weeknights when you need something incredibly satisfying on the table, fast.
I’ve taken the soul-satisfying essence of a backyard BBQ burger and made it effortlessly bakeable. No standing over a hot grill, no worrying about patties falling apart. Just one glorious pan of warm, melty, irresistibly delicious sliders that are guaranteed to vanish before you can say, “save one for me!” So, tie on your favorite apron, and let’s make some kitchen magic happen.
The Slider That Started It All
My love affair with these sliders started in my grandma’s kitchen, a place that always smelled like salt air and simmering tomatoes. It wasn’t a fancy kitchen, but it was the heart of our home. One stormy summer afternoon, a huge crowd of cousins, aunts, and uncles descended unexpectedly. The planned dinner? Not even close to enough. With a twinkle in her eye, my grandma pulled out a pack of ground beef from the freezer, a sleeve of dinner rolls, and the jar of pickles she always had on hand. “We’re having a party,” she declared.
I watched her transform those simple ingredients into a towering, sizzling masterpiece she baked in her old blue pan. When she pulled it out of the oven, golden and bubbling, the whole house erupted in cheers. We devoured those sliders, standing around the kitchen island, laughing and jostling for the crispiest corner piece. It was more than a meal; it was a lesson in joy, in making something wonderful out of what you have, and in the magic that happens when good food brings people together. Every time I bake a batch, I’m right back in that warm, chaotic, love-filled kitchen.
Print
Cheeseburger Sliders : Juicy, Melty & Made to Disappear
- Total Time: 30 minutes
- Yield: 12 sliders 1x
Description
These Cheeseburger Sliders are everything you love about a classic cheeseburger—bite-sized. Stacked with seasoned beef, gooey cheese, tangy pickles, and a touch of mustard, they’re baked until warm, melty, and perfectly golden. Ideal for game day, parties, or quick weeknight dinners, these sliders vanish fast—so make extra.
Ingredients
1½ lbs ground beef
Salt and pepper, to taste
1 tablespoon minced onion (optional)
12 slider buns or Hawaiian rolls
6–8 slices American or cheddar cheese
Dill pickle chips
Yellow mustard
2 tablespoons melted butter (for brushing buns)
Optional: sesame seeds, ketchup, or sliced onions
Optional twist: Add crispy bacon, jalapeños, or a drizzle of burger sauce for extra flavor.
Instructions
Preheat oven to 350°F (175°C).
In a skillet, cook ground beef with salt, pepper, and minced onion until browned. Drain excess fat.
Slice slider rolls in half horizontally (keep tops and bottoms connected).
Place bottom halves in a greased baking dish. Layer on beef, cheese, pickles, and a light drizzle of mustard.
Top with the other half of buns and brush tops with melted butter.
Cover with foil and bake for 10 minutes. Uncover and bake another 5–7 minutes until cheese is melted and tops are golden.
Slice and serve warm.
- Prep Time: 10 mins
- Cook Time: 25 mins
- Category: Snack
Gather Your Flavor Crew: The Ingredients
Part of the beauty of this recipe is its beautiful simplicity. You likely have most of this in your kitchen right now! Here’s what you’ll need to create your own slider magic.
- 1½ lbs Ground Beef (80/20 blend is ideal): This is our star! The 80/20 ratio gives you the perfect amount of fat for incredible juiciness and flavor without being greasy. Chef’s Insight: If you’re using a leaner blend, like 90/10, consider adding a tablespoon of olive oil to the pan to keep things moist.
- Salt and Pepper, to taste: The dynamic duo! Don’t be shy here. Seasoning the beef well is the foundation of a great flavor. I start with a teaspoon of kosher salt and half a teaspoon of black pepper.
- 1 tablespoon Minced Onion (optional but recommended): This little addition gives you that classic “burger joint” flavor without the texture of big onion pieces. Substitution Tip: No minced onion? A quarter cup of finely diced yellow onion works beautifully, or you can use a teaspoon of onion powder.
- 12 Slider Buns or Hawaiian Rolls: Hawaiian Rolls are my secret weapon—their slight sweetness is a dream with the savory beef and cheese. But any soft slider bun or even dinner rolls will do the trick!
- 6–8 slices American or Cheddar Cheese: Let the great cheese debate begin! American cheese melts into an iconic, velvety pool of nostalgia. Cheddar gives you a sharper, tangier bite. I say, follow your heart! You can’t go wrong. Chef’s Insight: Tear the slices to fit and cover every nook and cranny for maximum meltiness.
- Dill Pickle Chips: The tangy, crunchy, non-negotiable element for me! They cut through the richness perfectly.
- Yellow Mustard: A light drizzle adds that classic burger condiment zing. Don’t overdo it; we’re adding flavor, not making a mustard soup.
- 2 tablespoons Melted Butter (for brushing buns): This is what gives the tops that gorgeous, golden, slightly crisp finish. It’s the final touch of indulgence.
- Optional Garnishes: Sesame seeds for a bakery-style look, a swipe of ketchup for the ketchup lovers, or some thinly sliced raw onions for extra crunch.
Let’s Build These Bite-Sized Beauties: Step-by-Step
Ready to create the easiest, most crowd-pleasing dish of all time? Let’s do this! I’ll walk you through every step with my favorite little chef hacks to ensure slider perfection.
- Preheat and Prep: First things first, get your oven preheating to a cozy 350°F (175°C). This is our target temperature for melty, golden perfection. Then, grab a 9×13 inch baking dish and give it a light spritz with cooking spray. Chef’s Hack: Lining the dish with parchment paper first makes for literally zero cleanup. You’re welcome!
- Brown the Beef: Heat a large skillet over medium-high heat. Add your ground beef, breaking it up with a wooden spoon or spatula. Sprinkle in your salt, pepper, and that minced onion. Cook it until it’s beautifully browned and no pink remains. Chef’s Tip: Don’t just drain the fat—take an extra second to press the beef with a paper towel to soak up any excess grease. This prevents soggy-bottomed sliders, and that’s a win in my book!
- Slice and Assemble the Base: Now, take your package of slider buns or Hawaiian rolls. Here’s the pro-move: slice the entire sheet of buns in half horizontally, keeping the top and bottom halves connected as one piece. Gently place the bottom half into your prepared baking dish. It should fit like a dream.
- The Flavor Stack: This is where the party starts! Evenly spread that seasoned cooked beef over the bottom layer of buns. Next, layer on your cheese slices, tearing them as needed to cover every glorious inch of beef. Now, artfully arrange your dill pickle chips over the cheese. Finally, give it a few elegant zig-zags of yellow mustard. Don’t go overboard, but make sure every future bite will get a hint of that tangy goodness.
- Top and Butter Up: Carefully place the top half of your buns back on, like putting a lid on a treasure chest. Take your melted butter and, using a pastry brush, give the tops a generous, glossy coat. This is what will transform them from pale buns to golden-brown masterpieces in the oven. For that extra professional touch, sprinkle on some sesame seeds now if you’re using them.
- Bake to Perfection: Loosely cover the entire baking dish with aluminum foil. This initial covered bake is crucial—it steams the sliders, warming them through and melting the cheese into a gooey wonderland without burning the tops. Bake covered for 10 minutes. Then, remove the foil and let them bake for another 5-7 minutes, uncovered, until the tops are a perfect golden brown and your kitchen smells like heaven.
- Slice and Serve: Carefully remove the pan from the oven (it’s hot!). Let it sit for just a minute or two—this makes slicing cleaner. Then, use a sharp knife to slice along the bun lines, creating 12 perfect individual sliders. Watch as the cheese stretches in that oh-so-satisfying way, and then serve immediately!
How to Serve These Superstar Sliders
Presentation is part of the fun! I love to serve these right in the baking dish for a rustic, family-style vibe. Pile them high on a wooden board or platter for a party. For the full experience, set out little bowls of extra pickles, ketchup, and mustard for dipping and dolloping. They are the ultimate finger food, so no plates or forks are needed—just plenty of napkins! They pair wonderfully with a simple green salad, a big pile of crispy sweet potato fries, or a classic potato salad for the ultimate comfort food spread.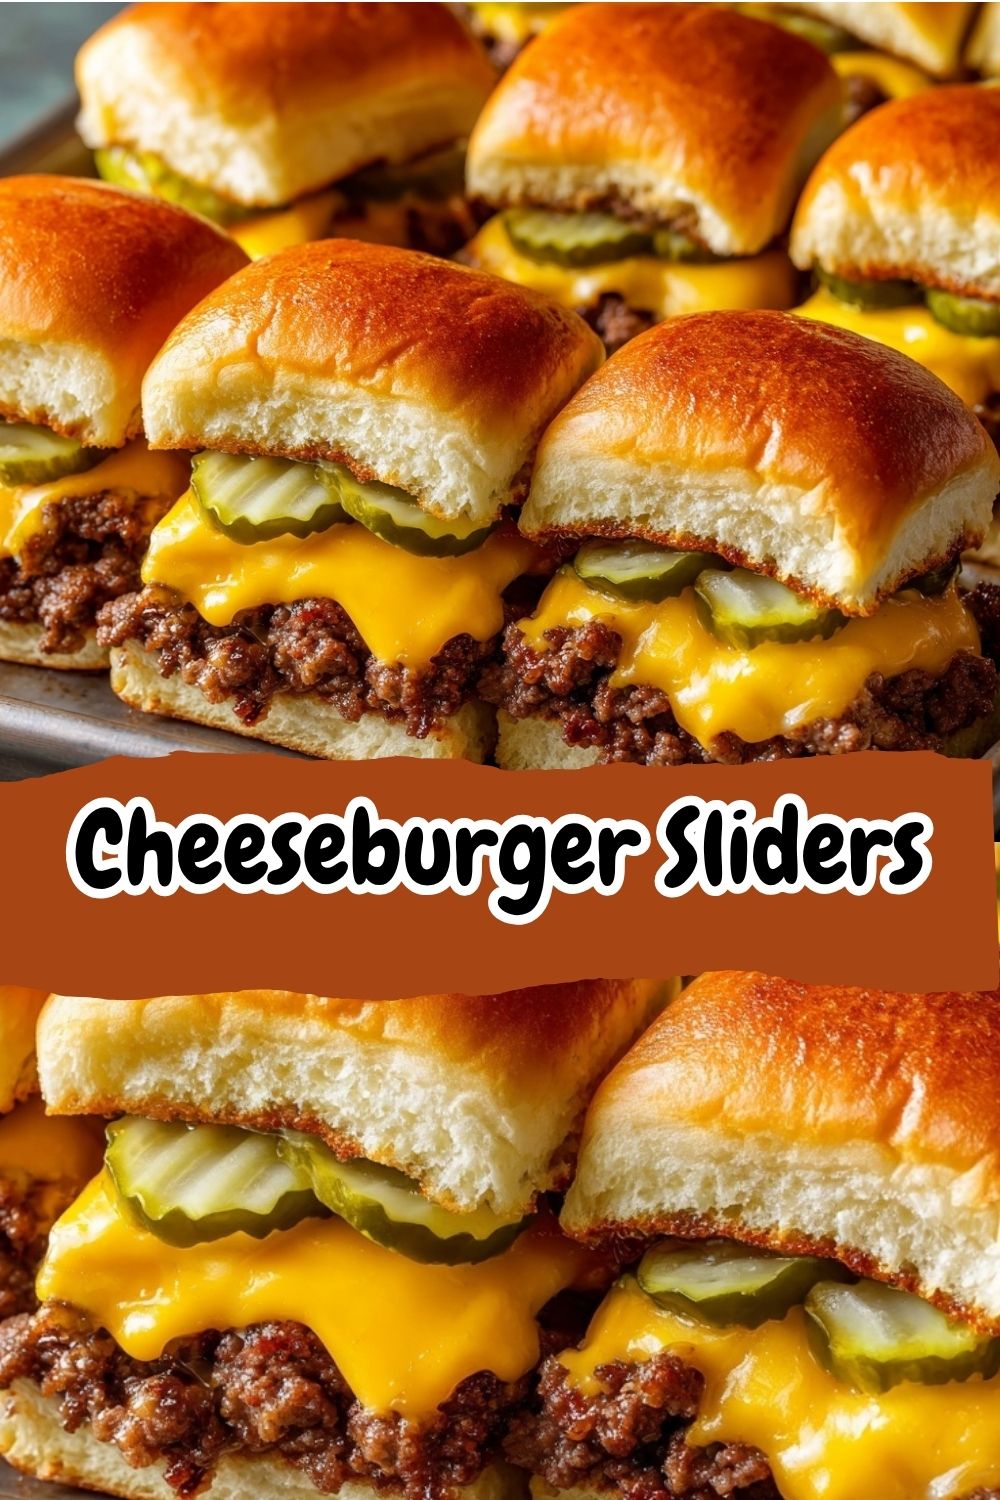
Ride Your Own Flavor Wave: Recipe Variations
The basic recipe is a flawless classic, but feel free to get creative and make it your own! Here are a few of my favorite twists:
- Bacon Cheeseburger Bliss: Crumble 6-8 slices of cooked, crispy bacon over the beef layer before adding the cheese. A game-changer.
- Jalapeño Popper Twist: Love a little heat? Add a layer of thinly sliced fresh jalapeños over the pickles, and swap the cheese for pepper jack.
- Big Mac Style: Swap the yellow mustard for a drizzle of Thousand Island dressing and add a very fine sprinkle of minced onion over the cheese.
- Turkey or Chicken Swap: For a leaner option, ground turkey or chicken works great! Just add a pinch of garlic powder and paprika to the meat while cooking to boost the flavor.
- Pizza Sliders: Change the theme entirely! Use pepperoni and mozzarella cheese, and swap the mustard for a layer of pizza sauce.
Isla’s Chef’s Notes & Kitchen Stories
This recipe has been a part of my life for so long, it’s practically evolved on its own. I’ve made it for newborn parents, for potlucks where I needed a guaranteed hit, and for those “I can’t even” weeknights where my kids declared it the best dinner ever. One time, I was filming a quick video of me pulling the golden sliders out of the oven, and I was so busy trying to get the perfect “cheese pull” shot that I completely forgot to turn the stove off. The empty skillet I’d used for the beef was still on there, getting hotter and hotter! Let’s just say I learned my lesson: always do a full kitchen scan before you get distracted by melty cheese. It’s all part of the real-life kitchen chaos I love!
Over the years, I’ve found that letting the beef mixture cool just slightly before assembling can prevent the bottom bun from getting too steamy. But honestly? Even if the bottom is a little soft, nobody has ever complained. They’re too busy reaching for a second one.
Your Slider Questions, Answered!
I’ve made these a zillion times and have answered every question under the sun. Here are the most common ones to help you out.
Q: Can I make these cheeseburger sliders ahead of time?
A: Absolutely! You can assemble the entire pan, cover it tightly with plastic wrap and then foil, and refrigerate it for up to 24 hours. When you’re ready, just remove the plastic wrap, re-cover with the foil, and bake. You might need to add 3-5 extra minutes to the bake time since you’re starting from cold.
Q: My sliders came out a bit soggy on the bottom. How can I prevent that?
A: This is the most common hiccup, and it’s an easy fix! The main culprit is excess grease from the beef. Be diligent about draining AND patting the cooked beef with paper towels. Also, make sure you’re not adding overly wet condiments directly to the bottom bun. Building the beef and cheese directly on the bun creates a protective barrier.
Q: Can I use a different kind of cheese?
A: Of course! Provolone, Monterey Jack, or even Swiss would be delicious. Just keep in mind that some cheeses (like a pre-shredded cheddar) don’t melt as smoothly because of anti-caking agents. For the ultimate melt, sliced or freshly shredded cheese is always best.
Q: Help! I can’t find slider buns. What can I use instead?
A: No problem! A package of 12 dinner rolls (like King’s Hawaiian) is exactly the same thing. You can also use a soft, square-shaped bread like potato bread or brioche, and just slice it into 12 squares after you’ve assembled the layers.
Quick Nutrition Breakdown
(*Please note: This is an estimated nutritional calculation per slider, based on the ingredients listed. Values can vary based on specific brands and ingredient choices.)
- Calories: ~230
- Protein: 13g
- Carbohydrates: 14g
- Fat: 13g
- Sodium: 420mg