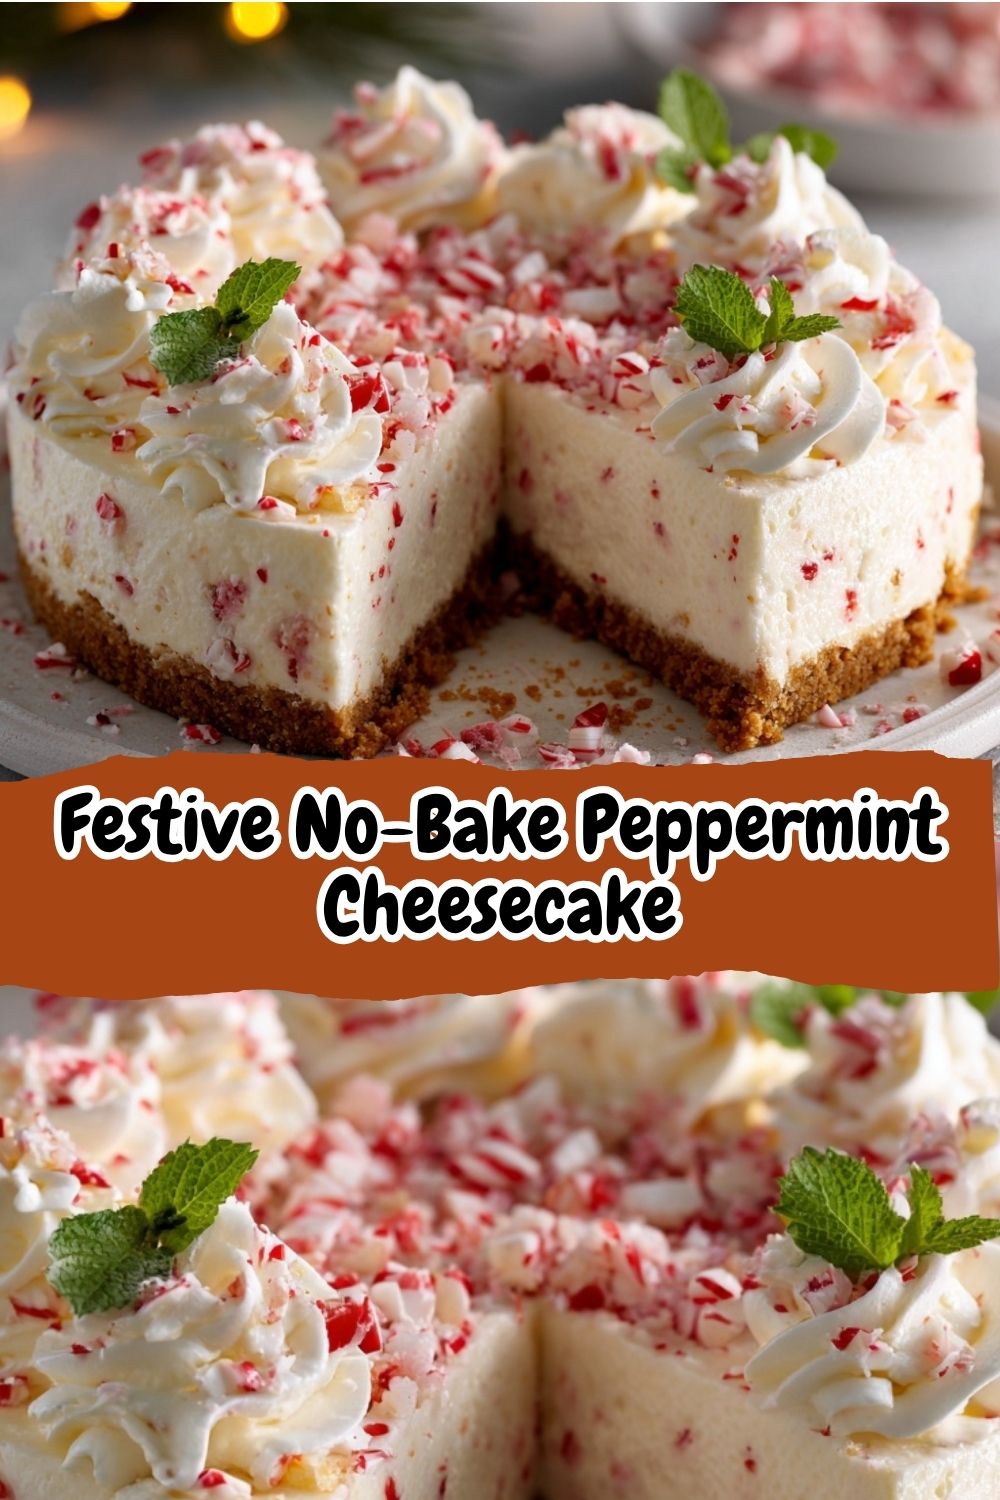
Festive No-Bake Peppermint Cheesecake – Your New Holiday Hero!
Hey there, friend! Isla here from BiteTide, coming at you with a spoon in one hand and a whole lot of holiday excitement in the other. Tell me if this sounds familiar: the oven is already working overtime, roasting, baking, and bubbling away. The kitchen is warm, you’re a little flustered, and the last thing you need is another dessert demanding precious oven space and even more of your attention. That, my dear foodie, is exactly where this magical, magnificent, Festive No-Bake Peppermint Cheesecake swoops in to save the day.
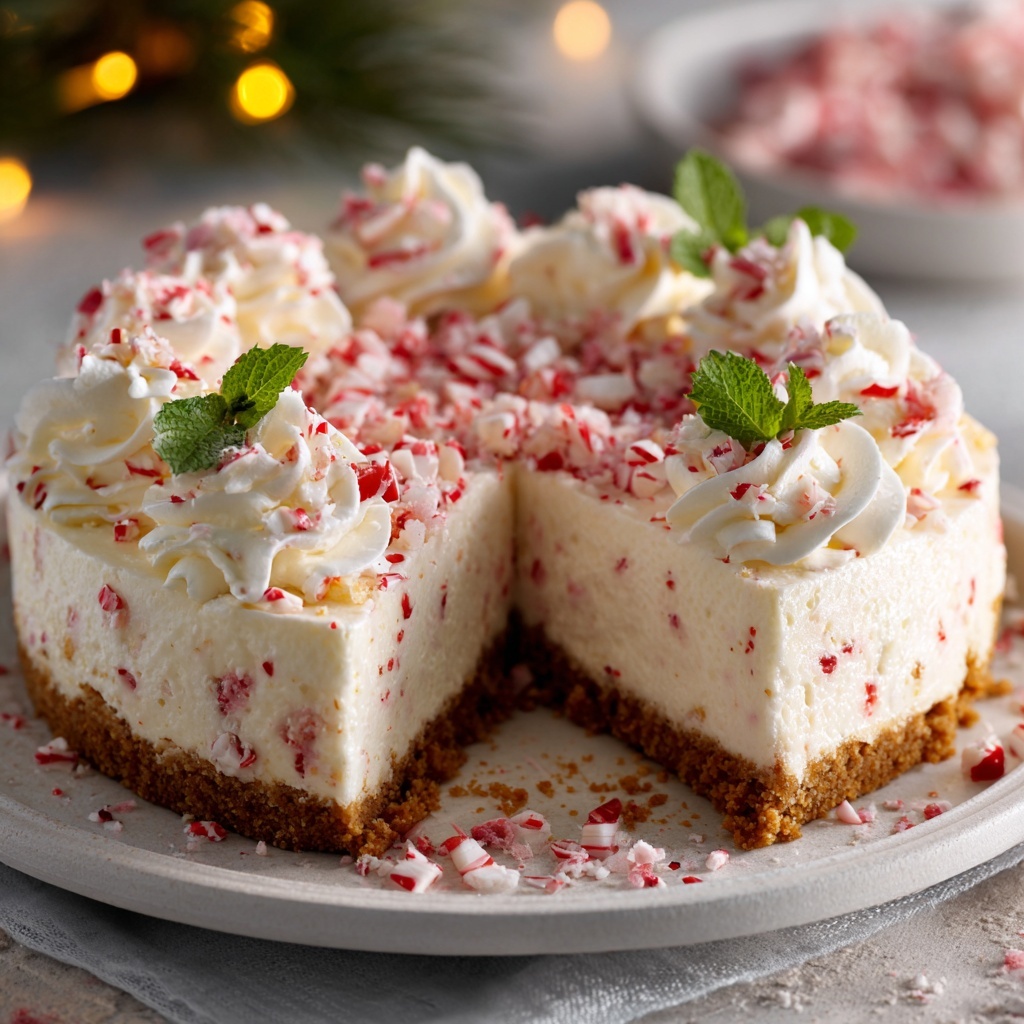
Imagine this: a buttery, crisp graham cracker crust that gives way to an impossibly creamy, cloud-like filling that’s cool, refreshing, and bursting with the perfect hint of peppermint. It’s studded with cheerful bits of crushed candy cane that add a delightful crunch and a pop of festive color. And the best part? It’s ridiculously easy to make. No water baths, no cracking, no baking anxiety—just simple, straightforward mixing, chilling, and the glorious reward of a dessert that looks and tastes like you fussed for hours.
This isn’t just a recipe; it’s your ticket to a stress-free, show-stopping holiday finale. It’s the dessert you can make the day before, letting all those beautiful flavors meld together in the fridge while you handle everything else. So, let’s put on our favorite holiday playlist, tie on our aprons, and create some magic. This creamy, cool, and utterly holiday-ready peppermint cheesecake is about to become your new seasonal tradition.
A Sweet Slice of Memory
This recipe always takes me right back to my grandma’s cozy, flour-dusted kitchen. She was the queen of “fridge desserts,” a wizard who could turn simple ingredients into pure joy without ever preheating the oven. One particularly chaotic Christmas Eve, with a turkey in the oven and what felt like a thousand cookies baking, she saw my little face drooping. I was “helping,” which mostly meant sneaking chocolate chips and getting underfoot.
With a twinkle in her eye, she pulled out a bowl of cream cheese, a box of graham crackers, and a handful of candy canes from the tree. “No oven for this one, Isla-bug,” she said. “This is our secret.” We smashed the candy canes in a tea towel with a rolling pin, laughing at the loud *crack-crack-crack*. We whipped the filling by hand, taking turns until our arms ached, and we licked the spoon clean. That simple, no-bake cheesecake, made together in the middle of the holiday chaos, tasted better than anything else that year. It was a lesson in joy, in simplicity, and in the magic of a cool, creamy dessert that makes everyone feel like a kid on Christmas morning. This recipe is my love letter to her and that memory.
Print
Festive No-Bake Peppermint Cheesecake : Creamy, Cool & Holiday-Ready
- Total Time: 4 hours 20 minutes (or overnight)
- Yield: 12–14 servings 1x
- Diet: Vegetarian
Description
Festive No‑Bake Peppermint Cheesecake is a creamy, cool holiday dessert that requires no oven and delivers big flavor. With a crisp cookie crust, smooth peppermint‑infused cheesecake filling, and a topping of whipped cream and crushed candy‑canes, it’s perfect for holiday gatherings or make‑ahead celebrations.
Ingredients
- 2 cups (≈ 200 g) chocolate sandwich cookie crumbs (e.g., Oreo®), or graham cracker crumbs for a lighter base
- ¼ cup (½ stick / 57 g) unsalted butter, melted
- 16 oz (450 g) cream cheese, softened to room temperature
- 1 cup (200 g) granulated sugar
- 1 tsp vanilla extract
- ½ tsp peppermint extract (adjust to taste)
- 1½ cups (360 ml) heavy whipping cream, cold
- ½ cup (≈ 55 g) crushed candy‑canes or peppermint candies (plus extra for topping)
- Optional topping: 1 cup whipped cream for swirls + extra crushed candy‑canes
Instructions
- In a small bowl, combine the cookie crumbs and melted butter until evenly moistened. Press mixture firmly into the bottom (and slightly up the sides, if desired) of a 9‑inch (≈23 cm) springform pan or an 8‑9‑inch round cake pan. Chill in the fridge while preparing filling.
- In a large mixing bowl, beat the softened cream cheese and granulated sugar on medium speed until smooth and creamy, with no lumps.
- Add the vanilla extract and peppermint extract, and beat until well incorporated.
- In a separate chilled bowl, whip the heavy cream to stiff peaks (the cream should be cold, and mixing should give firm peaks). Carefully fold the whipped cream into the cream cheese mixture in two additions, maintaining as much air as possible to keep it light.
- Gently fold in the crushed candy‑canes into the cheesecake filling.
- Pour the filling over the chilled crust, smoothing the top with a spatula or the back of a spoon. Cover the pan with plastic wrap and refrigerate for at least 4‑6 hours, preferably overnight, until fully set.
- When ready to serve, remove the cheesecake from the springform pan (if using) and transfer to a serving platter. Top with whipped cream swirls (optional) and sprinkle extra crushed candy‑canes on top for festive flair.
- Slice with a warm, clean knife (wiping between each slice helps) and serve chilled.
Notes
- Use full‑fat cream cheese for best texture and stability—low‑fat versions may result in a softer, less firm cheesecake. :contentReference[oaicite:0]{index=0}
- To avoid a toothpaste‑like overly strong mint flavor, balance peppermint extract with vanilla extract. :contentReference[oaicite:1]{index=1}
- If you want a firmer set, you can fold in a small amount of melted and cooled white chocolate (as seen in some no‑bake cheesecake versions) but ensure it’s cooled so it doesn’t melt the cream cheese/cream mix. :contentReference[oaicite:2]{index=2}
- This cheesecake can be made a day ahead and chilled to allow flavors to meld and texture to set well. :contentReference[oaicite:3]{index=3}
- For a lighter crust alternative, graham crackers or vanilla cookie crumbs can replace chocolate cookie crumbs.
- Prep Time: 20 minutes
- Cook Time: undefined
- Category: Dessert
- Method: No‑Bake / Refrigerated
- Cuisine: American / Holiday
Nutrition
- Serving Size: 1 slice (1/14 of cheesecake)
- Calories: 310
- Sugar: 24g
- Sodium: 210mg
- Fat: 20g
- Saturated Fat: 12g
- Unsaturated Fat: 7g
- Trans Fat: 0g
- Carbohydrates: 27g
- Fiber: 1g
- Protein: 4g
- Cholesterol: 55mg
Keywords: no bake cheesecake, peppermint cheesecake, holiday dessert, Christmas cheesecake, make ahead dessert
Gathering Your Cheesecake Crew
Here’s your shopping list for this peppermint paradise! The beauty of this recipe is in its simplicity, and I’ve got some easy-breezy swaps and chef-y insights for you, too.
- 1½ cups graham cracker crumbs: This is the foundation of our crust, giving it that classic, toasty, and slightly sweet flavor. Chef’s Tip: If you’re starting with whole crackers, about 9-10 full sheets will do the trick. Pulse them in a food processor or pop them in a zip-top bag and roll with a rolling pin for a quick arm workout!
- ¼ cup granulated sugar: Mixed with the crumbs, it helps create a caramelized, crisp texture once it mingles with the melted butter.
- ½ cup unsalted butter, melted: This is the glue that holds our crust together! Using unsalted lets you control the salt level. Easy Swap: Salted butter works in a pinch, just maybe skip any extra salt you might be tempted to add.
- 2 cups cream cheese, softened: This is the star of the show, folks! Please, please make sure it’s at true room temperature. Leave it on the counter for a good 1-2 hours before you start. Cold cream cheese will leave you with a lumpy filling, and we’re going for cloud-like smoothness.
- 1 cup powdered sugar: It sweetens the filling perfectly and, because it contains a bit of cornstarch, it also helps thicken and stabilize our no-bake masterpiece.
- ½ cup heavy cream: Also called heavy whipping cream. When we beat this in, it introduces air and lightens the filling, making it mousse-like and dreamy.
- 1 tsp vanilla extract: The ultimate flavor enhancer! It rounds out all the other flavors and adds a warm, cozy depth. Don’t skip it!
- ½ tsp peppermint extract: This is where the holiday magic happens! A little goes a long way. Chef’s Insight: Start with ½ tsp and taste. You can always add a tiny bit more if you want a stronger minty kick, but you can’t take it out!
- ½ cup crushed peppermint candies or candy canes: The festive confetti! They provide little bursts of sweet, crunchy peppermint throughout every bite. Fun Swap: You can use starlight mints, candy canes, or even peppermint baking bits.
- Whipped cream, for topping (optional but highly encouraged!): A billowy cloud of fresh whipped cream on top makes it extra special. You can use store-bought for ease or make your own by whipping 1 cup of heavy cream with 2 tbsp of powdered sugar until soft peaks form.
Let’s Build Our No-Bake Masterpiece!
Ready to create some holiday magic? Follow these steps, and you’ll have a perfect peppermint cheesecake in no time. I’m sprinkling in all my best tips and hacks along the way, so read on!
- Create the Crust: In a medium bowl, combine the graham cracker crumbs and granulated sugar. Pour the melted butter over the top and use a fork to mix until all the crumbs are evenly moistened. They should feel like wet sand and hold together when you pinch them. Chef’s Hack: For an extra-flavorful crust, you can toast your graham cracker crumbs in a dry skillet for a few minutes before adding the butter. It deepens the flavor beautifully!
- Press and Chill: Dump the crumb mixture into a 9-inch springform pan (my preference for easy slicing) or a pie dish. Use the flat bottom of a measuring cup or a glass to press the crumbs firmly and evenly into the bottom and slightly up the sides. A firm press is the secret to a crust that doesn’t fall apart when you slice it! Pop the crust into the fridge to set up while you make the filling. This takes about 15 minutes.
- Whip the Cream Cheese Base: In a large bowl, beat the softened cream cheese and powdered sugar together with an electric mixer on medium speed. Start slow to avoid a powdered sugar cloud, then increase the speed. Beat for 2-3 minutes, until the mixture is completely smooth, fluffy, and has no lumps. Scrape down the sides of the bowl with a spatula to make sure everything is incorporated. This is the most important step for a silky texture!
- Lighten it Up: Pour in the heavy cream, vanilla extract, and peppermint extract. Now, turn your mixer up to medium-high and beat for another 1-2 minutes. Watch as the mixture transforms, becoming lighter, airier, and almost like a thick whipped cream. It should hold soft peaks. Don’t overbeat here, or you’ll risk the cream separating.
- Fold in the Festive Bits: Now for the fun part! Take your crushed peppermint candies and sprinkle most of them into the bowl (reserve about 2 tablespoons for garnish). Use your spatula to gently fold them in. Folding, rather than stirring aggressively, keeps all that lovely air you just whipped into the filling. Little Tip: If your candies are sticky, toss them in a tiny pinch of flour or powdered sugar from your measured amount before folding—this helps them distribute evenly instead of clumping.
- Assemble and Smooth: Pull your chilled crust out of the fridge. Spoon the beautiful pink-and-white-speckled filling into the crust. Use your spatula or an offset spatula to spread it evenly and smooth the top into a lovely, flat canvas for your garnish.
- The Patient Part – Chilling: This is the non-negotiable step! Cover the cheesecake with plastic wrap and refrigerate it for at least 4 hours, but honestly, overnight is even better. This gives the crust time to firm up and the filling time to set perfectly so you get those clean, beautiful slices.
- Garnish and Serve: Just before serving, release your cheesecake from the springform pan. Top it with generous dollops of whipped cream and a festive shower of your reserved crushed candy canes. Slice, serve, and get ready for the “oohs” and “aahs”!
How to Serve This Holiday Stunner
Presentation is part of the fun! For picture-perfect slices, I run a thin knife under hot water, wipe it dry, and then make a clean cut. Repeat between each slice. Serve it on its own for a pure peppermint experience, or alongside a warm cup of hot chocolate or coffee to balance the cool, creamy texture. A little dark chocolate shaving on top would also be a gorgeous (and delicious) addition!
Ride Your Own Flavor Wave!
This recipe is a fantastic base for so many fun twists. Don’t be afraid to get creative and make it your own!
- Chocolate Lover’s Dream: Swap the graham cracker crust for an Oreo cookie crust. Use about 2 cups of Oreo crumbs (filling included) and ¼ cup of melted butter.
- White Chocolate Peppermint: Melt 1 cup of white chocolate chips, let them cool slightly, and beat them into the cream cheese and powdered sugar mixture before adding the heavy cream.
- Festive Fudge Swirl: Warm up ½ cup of hot fudge sauce and let it cool slightly. After spreading the filling into the crust, dollop the fudge on top and use a knife or skewer to swirl it marbled through the peppermint filling.
- Dairy-Free Delight: Use your favorite plant-based cream cheese and heavy cream alternative. Just make sure the cream alternative is one that whips well!
Isla’s Kitchen Chronicles
This recipe has been a part of my holiday table for years, and it’s evolved in the funniest ways. One year, in a last-minute panic, I realized I was out of candy canes. I ended up crushing up a bag of peppermint Starlight mints with a hammer in the garage—my family still teases me about it, but the cheesecake was just as delicious! Another time, my nephew decided to “decorate” it early with a whole army of gummy bears. We just scooped them off, and it was our little secret.
The biggest lesson I’ve learned? The power of patience. I know it’s tempting to cut into it after just two hours, but trust me, that full 4-hour chill (or overnight rest) is what transforms it from a good dessert into an unforgettable one. It gives the flavors time to party together and the texture a chance to become perfectly sliceable. This cheesecake is a testament to the fact that the best things in life (and in the kitchen) are worth waiting for.
Your Cheesecake Questions, Answered!
I’ve made this a zillion times and answered just as many questions from the BiteTide community. Here are the most common ones to help you out!
Q: My filling is a bit runny. What happened?
A: This usually boils down to two things: 1) The cream cheese wasn’t soft enough, so it didn’t whip up properly and incorporate air. Or 2) It just needs more time to chill! The filling firms up significantly in the fridge. If it’s still too soft after 4 hours, give it another hour or two. Also, make sure you’re using full-fat brick cream cheese, not the spreadable kind from a tub, as it has a different moisture content.
Q: Can I make this ahead of time?
A: Absolutely! This is the ultimate make-ahead dessert. You can make it up to 2-3 days in advance. Just hold off on adding the whipped cream and final candy garnish until right before you’re ready to serve to keep everything looking fresh and beautiful.
Q: My crushed candies bled color into the filling and turned it pink. Is that okay?
A> That is more than okay—it’s a happy accident! It often creates a beautiful, natural pink swirl that looks incredibly festive. If you want to avoid it, you can look for “peppermint baking bits” which are often coated to prevent bleeding. But honestly, I love the marbled pink look it creates!
Q: Can I freeze this cheesecake?
A: You can! Wrap the fully set cheesecake tightly in plastic wrap and then aluminum foil. It will keep for 1-2 months. Thaw it overnight in the refrigerator before garnishing and serving. The texture might be a touch firmer, but it’s still delicious.
Nutritional Information*
*Please note: This is an estimated nutritional breakdown provided for informational purposes only. I’m a chef, not a dietitian!
Per slice (based on 12 slices):
Calories: ~360 | Carbohydrates: 30g | Fat: 25g | Sugar: 24g | Protein: 4g
Prep Time: 20 minutes | Chill Time: 4+ hours | Total Time: ~4.5 hours | Yields: 12 slices