The Dip That Disappears: My Legendary Seven-Layer Taco Dip
Hey there, flavor friend! Isla here, from my cozy kitchen to yours. Let’s talk about a universal truth: no party, potluck, or game day gathering is complete without that one legendary dish that has everyone hovering around the table, spoons at the ready. You know the one. It’s the dish that sparks conversations, the one that disappears faster than you can say, “Did you try the dip?”
For me, that dish has always been, and will always be, the iconic Seven-Layer Taco Dip. It’s more than just an appetizer; it’s a edible masterpiece, a symphony of textures and flavors, and the ultimate crowd-pleaser. But I get it, sometimes classic recipes can feel a little… predictable. That’s why I’ve spent years perfecting my version, injecting it with a few chef-y secrets and a whole lot of love to transform it from a simple layered dip into an unforgettable flavor experience.
This isn’t just about dumping ingredients into a dish. It’s about building layers with intention, creating a perfect bite every single time. We’re talking creamy, zesty, crunchy, fresh, and cheesy all in one glorious scoop. The best part? It’s ridiculously easy to make. Seriously, if you can spread, sprinkle, and chop, you’ve got this. So, let’s ditch the fuss and dive into creating the most talked-about, can’t-stop-eating-it Seven-Layer Taco Dip you’ll ever make. Get ready to be the hero of your next get-together!
A Dip of Destiny: My First Big Kitchen Win
I’ll never forget the first time I was put in charge of “the dip.” I was about fourteen, and my parents were hosting their annual summer barbecue. The backyard was packed, the grill was sizzling, and my mom, in a moment of pure kitchen chaos, handed me a stack of ingredients and a mission: “Make the taco dip. Don’t mess it up.” No pressure, right?
Up until that point, my culinary expertise was mostly limited to aggressively stirring brownie batter and sneaking slices of cheese. But as I stood there, looking at that can of refried beans, a spark of something ignited. This wasn’t just a task; it was my canvas. I remember the satisfying *schmear* of the bean layer, the careful dolloping of the sour cream mixture, and the meticulous sprinkling of each subsequent layer. I even took the time to arrange the black olives in a slightly-too-proud spiral on top. When I carried that platter out to the table, my heart was pounding. But then, I watched. I saw my aunts and uncles, my cool older cousins, all diving in. The compliments started rolling in, and the platter was scraped clean in under twenty minutes. That was the moment I truly fell in love with the power of a well-made, joy-sharing dish. This dip was my first kitchen victory, and it’s a feeling I want to recreate for you every time you make it.
Print
Seven-Layer Taco Dip
- Total Time: 15 minutes
- Yield: 10–12 servings 1x
- Diet: Vegetarian
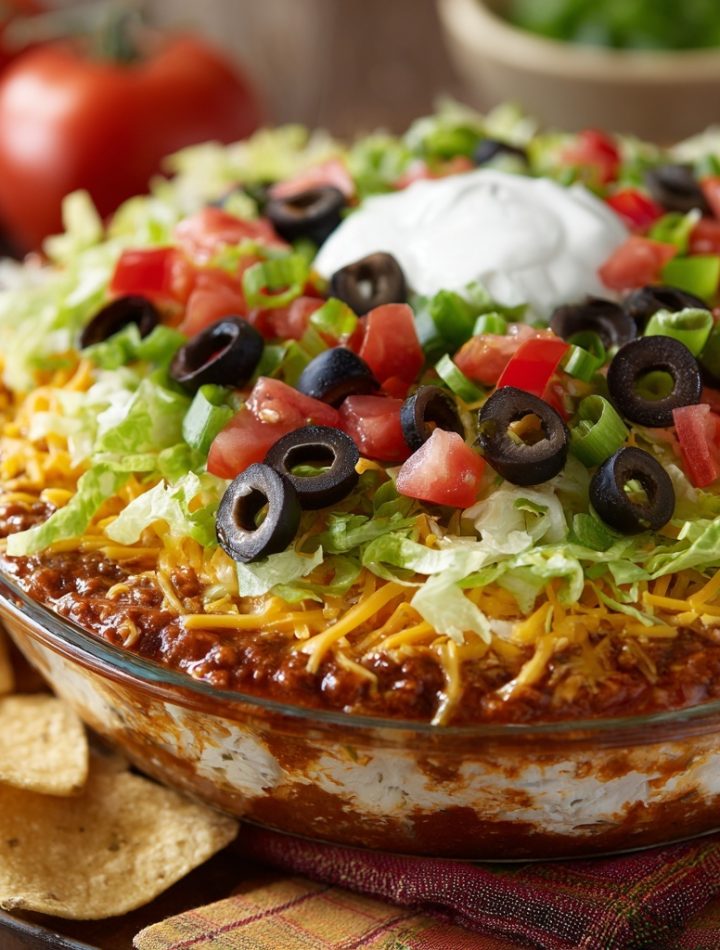
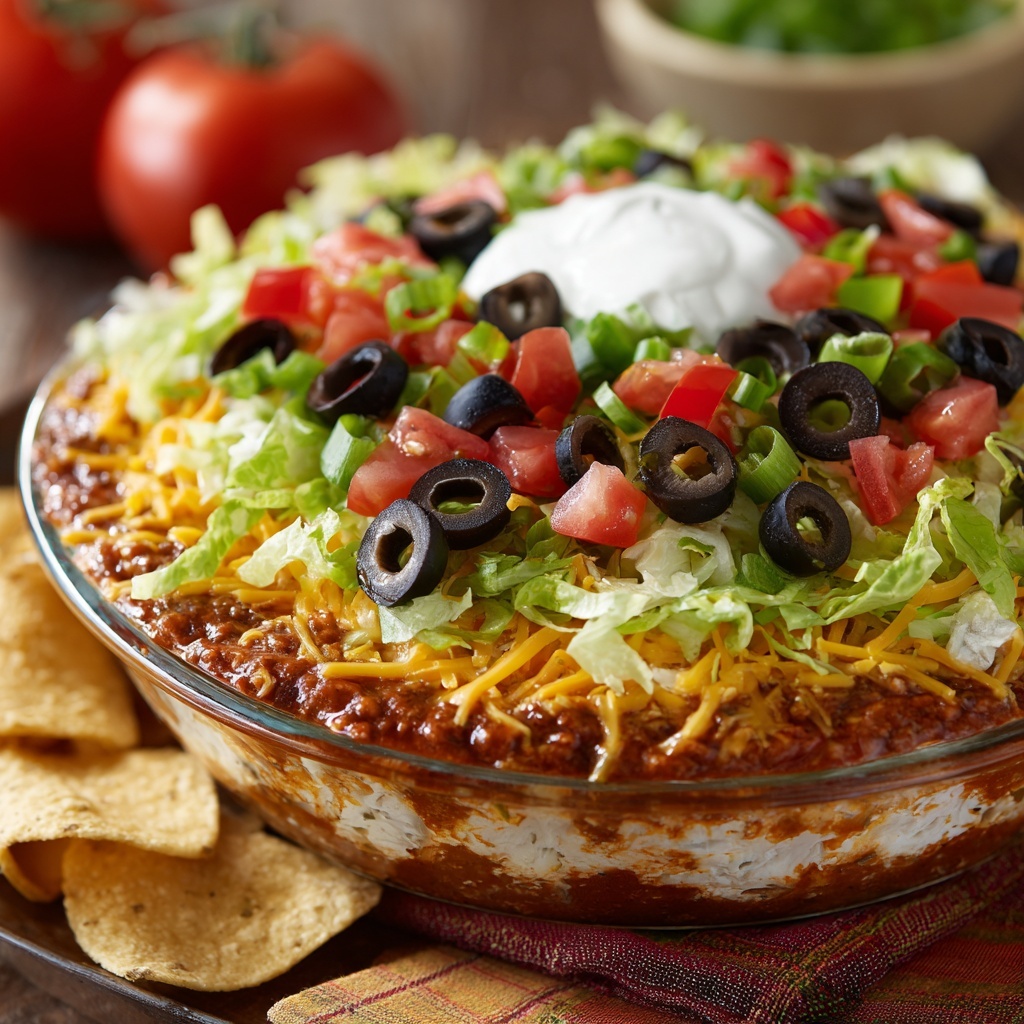
Description
Seven-Layer Taco Dip is a crowd-pleasing party appetizer made with flavorful layers of refried beans, guacamole, sour cream, salsa, cheese, and toppings. Perfect for game day, potlucks, or casual gatherings, this easy no-bake dip is always a hit!
Ingredients
- 1 can (16 oz) refried beans
- 1 packet taco seasoning
- 1 cup guacamole
- 1 cup sour cream
- 1 cup salsa (thick and chunky preferred)
- 1 cup shredded cheddar or Mexican blend cheese
- 1/2 cup chopped tomatoes
- 1/4 cup sliced black olives
- 1/4 cup chopped green onions
- Optional: chopped jalapeños, shredded lettuce, cilantro
Instructions
- In a bowl, mix refried beans with taco seasoning until well combined.
- Spread the seasoned beans in the bottom of a serving dish or 9×13-inch pan.
- Layer the guacamole evenly over the beans.
- Spread the sour cream over the guacamole.
- Spoon the salsa over the sour cream layer.
- Sprinkle shredded cheese evenly over the salsa.
- Top with chopped tomatoes, black olives, and green onions.
- Chill for at least 30 minutes before serving with tortilla chips.
- Prep Time: 15 minutes
- Cook Time: 0 minutes
- Category: Appetizer, Snack
- Method: No-Bake
- Cuisine: Mexican-Inspired
Nutrition
- Serving Size: 1/12 of recipe
- Calories: 180
- Sugar: 2g
- Sodium: 360mg
- Fat: 11g
- Saturated Fat: 5g
- Unsaturated Fat: 5g
- Trans Fat: 0g
- Carbohydrates: 14g
- Fiber: 3g
- Protein: 6g
- Cholesterol: 15mg
Keywords: Seven-Layer Taco Dip, layered taco dip, party dip, Mexican appetizer, easy taco dip, game day snack, no-bake appetizer
Gathering Your Flavor Crew: The Ingredients
Here’s your shopping list for dip domination! I’ve included my favorite little hacks and substitutions for each ingredient because, hey, life happens and we don’t always have everything on hand.
- 1 (16 ounce) can Refried Beans: This is our sturdy foundation! I prefer the traditional kind, but feel free to use black refried beans for a deeper color and flavor. Chef’s Insight: A little secret? I always warm them up slightly before spreading. It makes them infinitely easier to smooth into a perfect, even layer.
- 1 (1 ounce) package Taco Seasoning Mix: This is our flavor bomb! We’ll mix half into the beans and half into the creamy layer for maximum taco impact throughout every single bite. Substitution Tip: If you’re out of a packet, you can whip up your own with a blend of chili powder, cumin, garlic powder, onion powder, paprika, and a pinch of salt and pepper.
- 1 (16 ounce) container Sour Cream & 1 (8 ounce) package Cream Cheese, softened: The dynamic duo of creaminess! The sour cream brings tang, while the cream cheese adds a lush, rich body that holds the layers together beautifully. Substitution Tip: For a lighter version, you can use Greek yogurt in place of the sour cream. Just make sure that cream cheese is truly softened, or you’ll have a lumpy situation on your hands!
- 1 (16 ounce) jar Salsa: This is our juicy, zesty layer. I recommend a thick and chunky style salsa so it doesn’t make the dip too watery. Chef’s Insight: Draining the salsa in a fine-mesh strainer for a few minutes is a GAME-CHANGER. It removes excess liquid and keeps our dip structurally sound!
- 1 large Tomato, chopped & 1 medium Green Bell Pepper, chopped: Our fresh, crunchy veggie power! They add a bright, garden-fresh pop that cuts through the richness. Substitution Tip: Not a fan of green pepper? Red, yellow, or orange bell peppers are sweeter and work wonderfully. You can even add some finely diced red onion for an extra kick.
- 1 bunch chopped Green Onions & 1 small head Iceberg Lettuce, shredded: The crisp and the crunch! The green onions bring a mild, oniony bite, while the shredded lettuce provides that essential fresh, watery crunch we all love in a taco. Chef’s Insight: Shred the lettuce thinly! Big chunks are hard to scoop and can throw off the balance of the dip.
- 2 cups shredded Cheddar Cheese: The melty, salty, glorious blanket on top! I like to use a sharp cheddar for more flavor. Substitution Tip: A Mexican cheese blend is a fantastic alternative here for a more authentic flavor profile.
- 1 (6 ounce) can sliced Black Olives, drained: The salty, briny finishing touch! They look beautiful and add a classic, salty note. Chef’s Insight: If you’re an olive lover, feel free to be generous. They are the confetti of this dip party!
Building Your Masterpiece: The Step-by-Step Guide
Alright, team, let’s get building! This is where the magic happens. Follow these steps, and you’ll have a dip that’s not only delicious but also a total showstopper.
- The Foundation: The Bean Layer. In a medium bowl, combine the entire can of refried beans with half of the taco seasoning mix. Now, here’s my first big hack: warm the beans in the microwave for 30-60 seconds before you try to mix them. This makes them soft, pliable, and so much easier to spread. Once combined, transfer the beans to your serving platter. A 9×13-inch dish or a large, round platter works perfectly. Use a spatula or the back of a spoon to spread them into a smooth, even layer that covers the entire bottom. This is our base camp—make it solid!
- The Creamy Dream: The Sour Cream & Cream Cheese Layer. In the same bowl (less dishes for the win!), beat the softened cream cheese with the sour cream and the remaining half of the taco seasoning until it’s completely smooth and well-combined. No one wants a surprise chunk of unseasoned cream cheese! If the mixture is still a little stiff, a splash of milk or lime juice can help loosen it up. Now, carefully dollop this creamy mixture over the bean layer. This is the trickiest layer to spread without disturbing the beans. My pro-tip? Drop spoonfuls all over the bean layer first, then gently spread and connect the dots with an offset spatula or the back of a spoon. Take your time here!
- The Zesty Wave: The Salsa Layer. Remember that draining trick I mentioned? Now’s the time! Place your chunky salsa in a fine-mesh strainer over the sink or a bowl and let the excess liquid drain off for about 5 minutes. This step is crucial for preventing a soggy dip! Once drained, spoon the salsa evenly over the creamy layer and spread it gently to the edges.
- The Fresh Crunch: The Veggie & Lettuce Layers. Now for the colorful, fresh layers! Sprinkle the shredded iceberg lettuce evenly over the salsa. Follow that with a generous layer of the chopped green bell pepper, then the chopped tomato. I like to do lettuce first because it acts as a bit of a barrier for the juicier tomatoes.
- The Grand Finale: The Cheese & Olive Topping. You’re in the home stretch! Now, blanket everything with that glorious two cups of shredded cheddar cheese. Cover every last bit of the veggie layer. Finally, artfully scatter the drained black olives over the top. I’m a fan of the “confetti” method—just a joyful, even sprinkle all over.
And voilà! You’ve just built a culinary skyscraper of flavor. The hardest part now is waiting to dig in. For the absolute best texture and flavor, I highly recommend covering the dip with plastic wrap and letting it chill in the refrigerator for at least one hour before serving. This allows the flavors to marry and the layers to set, making it the perfect, scoopable consistency.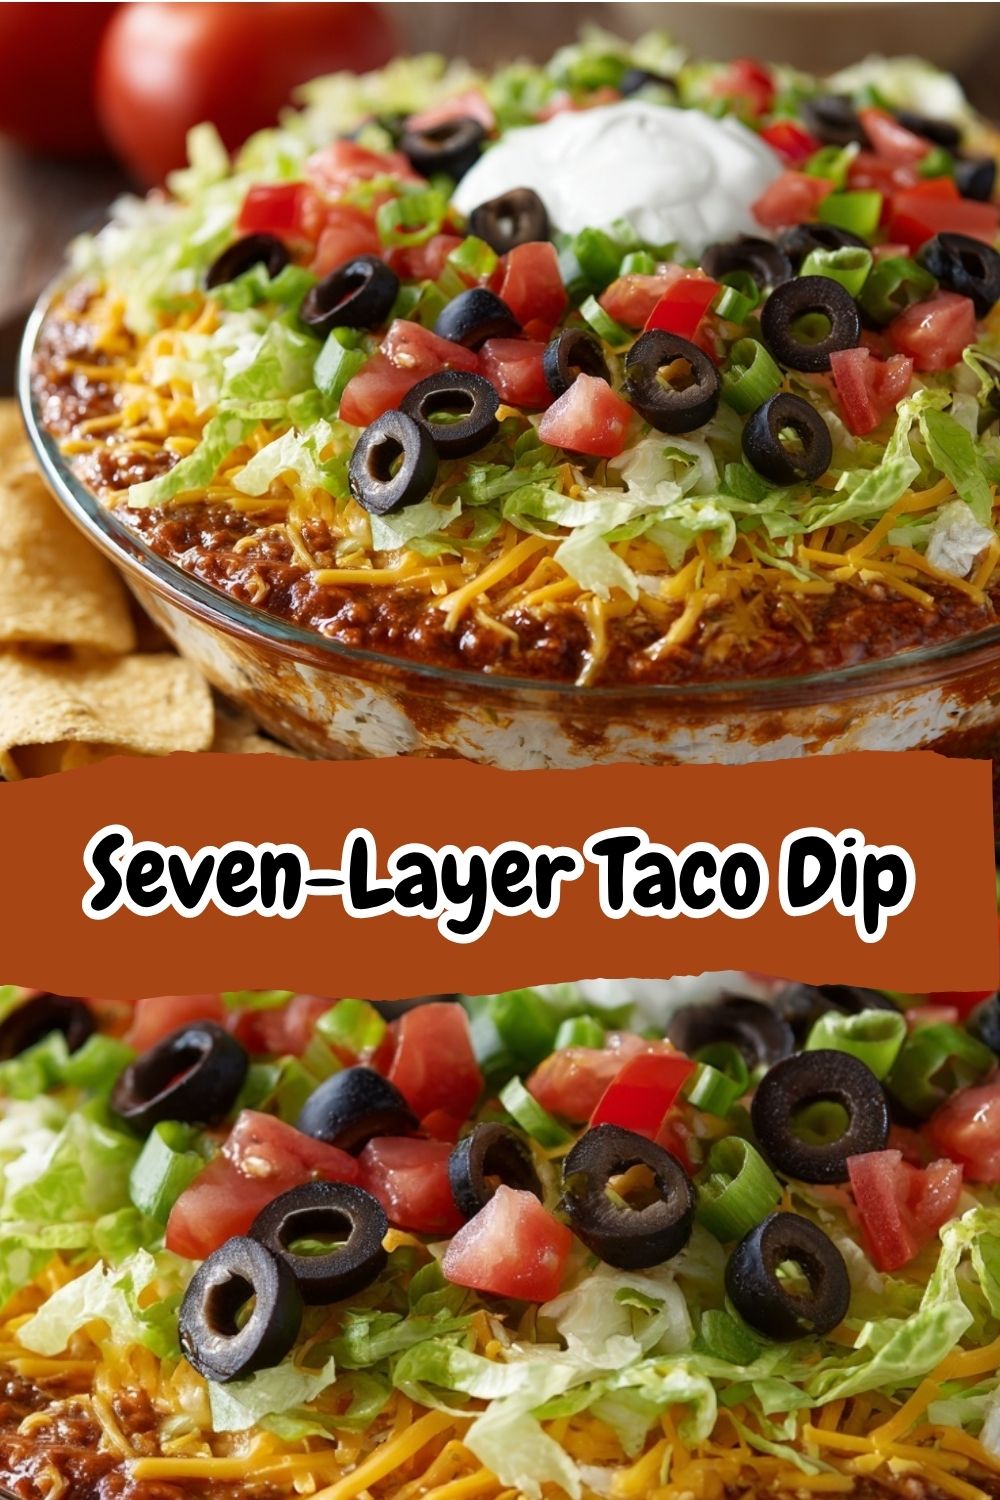
Let’s Serve This Sunshine!
Presentation is part of the fun! I love serving this dip on a large, colorful platter that makes the layers pop. Place a sturdy bowl of your favorite tortilla chips right alongside it—the thick, restaurant-style chips are my go-to because they’re strong enough to scoop up a generous, layered bite without breaking. For a lighter option, you can also offer crisp romaine lettuce leaves for scooping or a platter of fresh veggie sticks like bell peppers and jicama. Watch as your friends and family gather ’round, their eyes lighting up as they dive into the beautiful layers you’ve created. This is the moment, the happy kitchen connection we live for!
Ride Your Own Flavor Wave: Fun Variations
The beauty of this recipe is its adaptability! Don’t be afraid to make it your own. Here are a few of my favorite twists:
- Guacamole Layer: For a creamy, rich addition, add a layer of homemade or store-bought guacamole between the sour cream layer and the salsa layer. (Just be sure to press plastic wrap directly onto its surface if prepping ahead to prevent browning).
- Spicy Fiesta: Kick up the heat! Use a hot salsa, add a layer of pickled jalapeños, and mix a few dashes of your favorite hot sauce into the sour cream mixture.
- Protein Power: Add a layer of seasoned ground beef or turkey, or even some black beans, between the bean layer and the creamy layer for a heartier, main-dish-worthy dip.
- Southwest Style: Add a cup of thawed frozen corn (roasted corn is even better!) and a can of drained and rinsed black beans over the salsa layer.
- Lighter Dip: Swap the sour cream for plain Greek yogurt and use reduced-fat cream cheese and cheese. It’s still incredibly delicious!
Isla’s Chef Notes & Kitchen Confessions
This recipe has been my trusty sidekick for years, and it’s evolved with me. I used to just mix the taco seasoning with the sour cream, but I found the bean layer was a little bland. Mixing it into both layers was the “aha!” moment that changed everything. Another confession: I once, in a pre-coffee haze, accidentally used vanilla yogurt instead of sour cream. Let me save you the trauma—do not recommend! We ordered pizza that night.
This dip is also a fantastic make-ahead friend. You can build the entire thing (minus the lettuce and tomato if you’re prepping more than 4 hours ahead, as they can get a bit watery) the night before, cover it tightly, and let it chill. Just add the fresh toppings and cheese right before your guests arrive. It’s the ultimate no-stress, high-reward recipe that truly proves food is meant to be shared, savored, and celebrated.
Your Dip Questions, Answered!
Over the years, I’ve gotten a lot of questions about this dip. Here are the answers to the most common ones!
Q: My dip is getting watery. How can I prevent this?
A: This is the #1 question! Wateriness usually comes from the salsa and the fresh veggies. My two best defenses are: 1) Drain your salsa. Seriously, don’t skip this step. Let it sit in a strainer for 5-10 minutes. 2) Keep the lettuce and tomato cold and dry. After shredding the lettuce and chopping the tomato, pat them gently with a paper towel to remove excess moisture. Also, don’t assemble the dip too far in advance—aim for 1-4 hours before serving for the best texture.
Q: Can I make this dip ahead of time?
A: Absolutely! You can build the entire dip (through the cheese and olive layer) up to 24 hours in advance. Just cover it very tightly with plastic wrap and store it in the fridge. The flavors will meld beautifully! If you’re worried about the lettuce getting soggy, you can add that layer the day of.
Q: What’s the best way to store leftovers?
A> Leftovers? A rare occurrence! But if you’re lucky enough to have some, cover the platter tightly with plastic wrap or transfer the dip to an airtight container. It will keep in the fridge for 2-3 days. The lettuce will lose some of its crispness, but it will still taste delicious.
Q: My cream cheese layer is lumpy! How do I get it smooth?
A> The key is softened cream cheese. Take it out of the fridge at least an hour before you start. If it’s still cold, you can microwave it on a plate for 15-20 seconds. Using an electric hand mixer for this step is a foolproof way to achieve a perfectly smooth and creamy consistency with the sour cream.
Nutritional Information (Approximate, per serving)
Disclaimer: This is a rough estimate based on the ingredients used and will vary with substitutions.
- Calories: ~85 kcal
- Carbohydrates: 5g
- Protein: 3g
- Fat: 6g
- Saturated Fat: 3.5g
- Cholesterol: 15mg
- Sodium: 220m