Crème Brûlée Cheesecake: The Ultimate Dessert Mashup You NEED to Make
Hey there, friend! Isla here from BiteTide, and I am practically buzzing with excitement to share this recipe with you today. If you’ve ever found yourself torn between the creamy, dreamy indulgence of a classic New York cheesecake and the satisfying, crisp *crack* of a crème brûlée’s caramelized sugar top, I have glorious news: you don’t have to choose anymore.
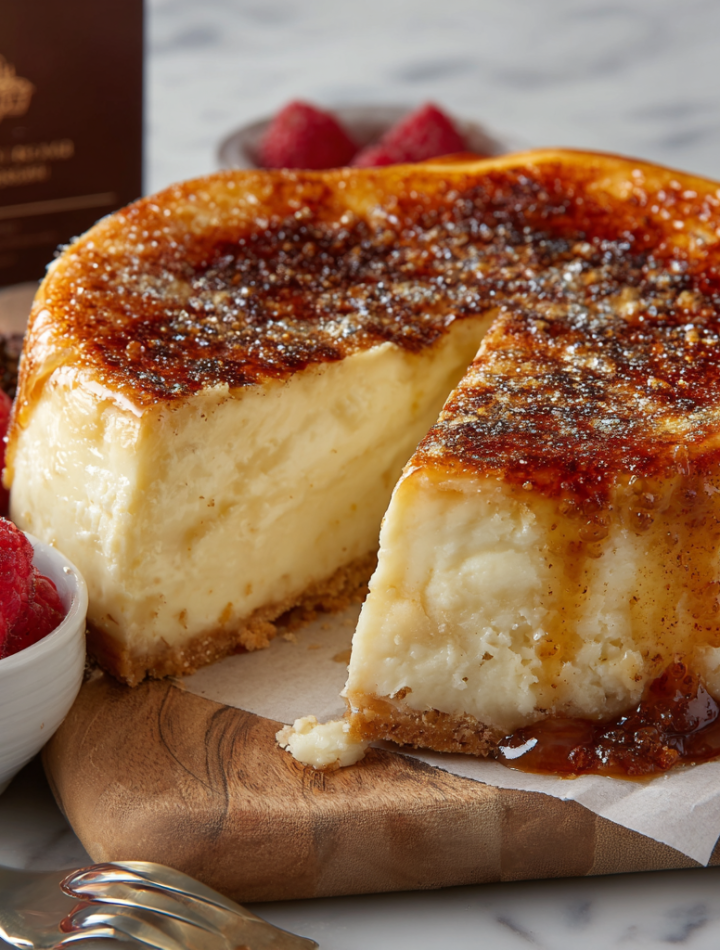
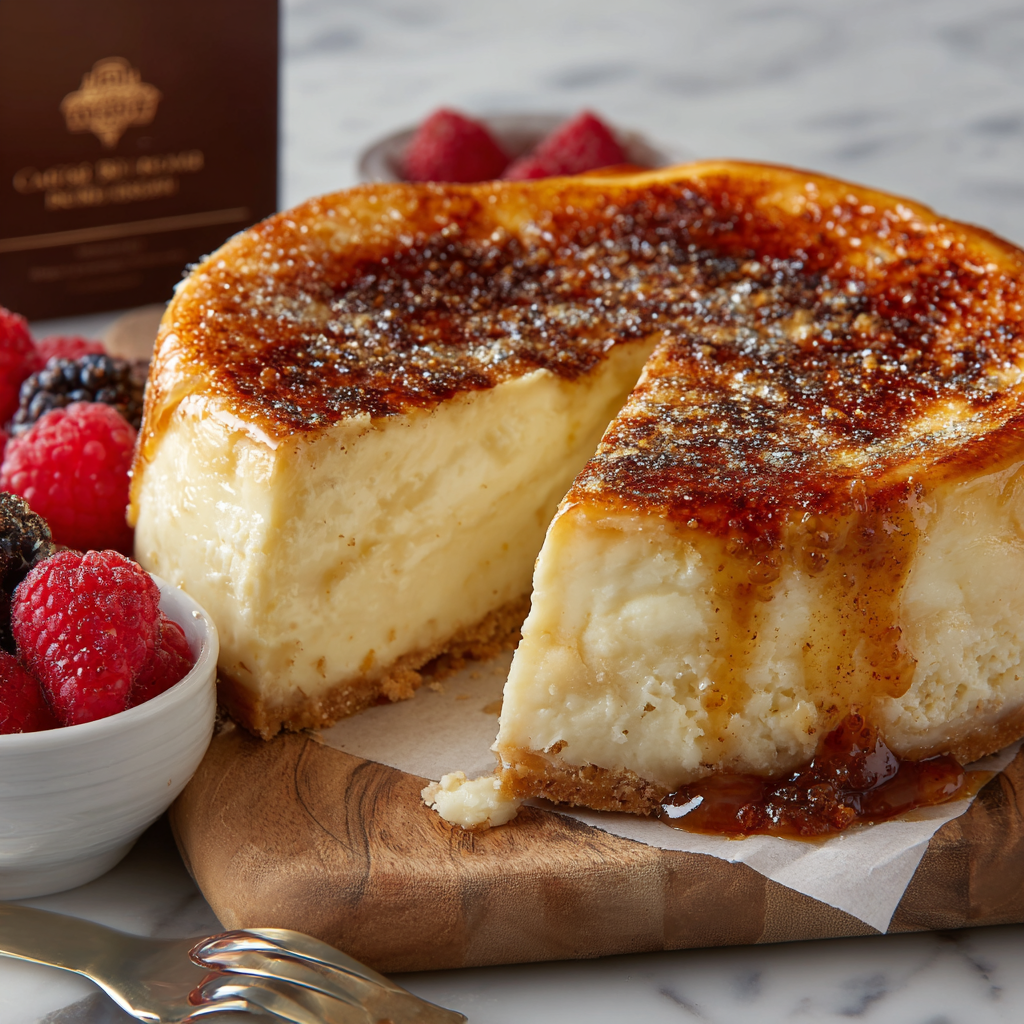
This Crème Brûlée Cheesecake is my love letter to two of the greatest desserts of all time. We’re talking about a tall, incredibly smooth, and rich cheesecake nestled into a buttery biscuit crust, all crowned with that iconic, glass-like layer of torched sugar. It’s a showstopper. It’s a conversation piece. It’s the kind of dessert that makes people’s eyes go wide with wonder before they’ve even taken a bite.
And the best part? It’s honestly easier than it looks. I’ve taken all the guesswork out of it for you. We’re using a water bath for a flawless, crack-free surface (no “Grand Canyon” cracks in our cheesecake, thank you very much!), and I’m sharing all my favorite kitchen hacks to make the process feel like a fun project, not a stressful exam. So, preheat that oven, grab your favorite mixing bowl, and let’s create some magic together. This is one flavor wave you’re going to want to ride!
A Tale of Two Desserts: My Cheesecake “Aha!” Moment
This recipe was born from a little bit of chaos and a whole lot of love. It was my turn to host our annual “Friendsgiving” a few years back, and I, in a classic Isla move, decided to make both a cheesecake and individual crème brûlées. Ambition? High. Oven space? Low. Time management? Practically nonexistent.
As I was frantically juggling ramekins and springform pans, my best friend Sarah looked at me and said, “Why don’t you just… put the crunchy sugar on top of the cheesecake?” It was one of those brilliantly simple ideas that just stops you in your tracks. We looked at each other, and I knew we had to try it. The result was a slightly lopsided (hey, it was a test run!), but utterly divine dessert that had everyone scraping their plates clean.
That “happy accident” evolved into this perfected, double-batch recipe. It reminds me that some of the best things in life—and in the kitchen—come from a little improvisation and a lot of laughter with good friends. Every time I make it, I think of that crowded, warm kitchen full of my favorite people, and it just tastes even sweeter.
Gathering Your Flavor Arsenal: What You’ll Need
Here’s your shopping list for this epic dessert. I’ve made it a double batch because, trust me, you’ll want leftovers (they’re even better the next day!). This makes one magnificent tall 10-inch cheesecake or two perfect 8-inch cakes. Read on for my chef-y notes and easy swaps!
For the Crust:
- 340g (about 3 cups) Digestive Biscuit Crumbs: I love digestives for their slightly sweet, wheaty flavor that isn’t as overpowering as graham crackers. Chef’s Insight: You can blitz them in a food processor or place them in a zip-top bag and roll them with a rolling pin until fine.
- 200g Unsalted Butter, melted: This is the glue for our crust. Using unsalted lets us control the salt level. Substitution Tip: For a nuttier flavor, try browning your butter first! It adds a whole new depth.
For the Cheesecake Filling:
- 1.8 kg Cream Cheese, softened: This is KEY. Full-fat, brick-style cream cheese only, please! Let it sit on the counter for a few hours until it’s room temp. This ensures a silky-smooth filling with no lumps.
- 400g Caster Sugar: Caster sugar is finer than granulated, so it dissolves more easily. Chef’s Hack: No caster sugar? Just pulse regular granulated sugar in a clean blender for a few seconds!
- 320g Sour Cream: The secret weapon for tangy flavor and an luxuriously creamy texture.
- 3 tsp Vanilla Extract: Use the good stuff! Pure vanilla extract makes a world of difference.
- Pinch of Salt: Don’t skip this! It balances the sweetness and makes all the flavors pop.
- 8 Large Eggs, lightly beaten: Eggs give the cheesecake its structure. Add them one at a time, and just until incorporated. Overmixing incorporates too much air and can cause cracking.
For the Topping & Optional Twists:
- 100g Granulated Sugar: Perfect for creating that hard, caramelized shell.
- Optional: 1 tsp Vanilla Bean Paste: Scrape those beautiful little specks right into the batter for an extra vanilla punch.
- Optional: Zest of 1 Lemon: Brightens up the rich filling beautifully.
- Optional: Pinch of Cinnamon or Nutmeg in the crust: A warm, cozy spice addition.Print

Crème Brûlée Cheesecake
- Total Time: ~5½ hrs
Description
This Crème Brûlée Cheesecake is pure indulgence—creamy, airy cheesecake with a buttery biscuit crust and a crisp caramelized sugar topping that cracks just like the classic. We’ve doubled the batch and added a few elegant twists to make this dessert worthy of any celebration.
Ingredients
ScaleCrust:
340g digestive biscuits (about 3 cups crumbs)
200g unsalted butter, melted
Cheesecake Filling:
1.8 kg cream cheese, softened
400g caster sugar
320g sour cream
3 tsp vanilla extract
Pinch of salt
8 large eggs, lightly beaten
Topping:
100g granulated sugar (for brûlée crust)
Optional Twists:
Add 1 tsp vanilla bean paste or lemon zest to the batter
Infuse the crust with a pinch of cinnamon or nutmeg
Serve with fresh berries or a drizzle of raspberry coulis
Instructions
Preheat oven to 325°F (163°C). Wrap springform pan in foil for water bath.
Mix biscuit crumbs and butter. Press into pan and bake 10 min. Cool.
Beat cream cheese and sugar until smooth. Add sour cream, vanilla, salt, and eggs gradually.
Pour filling into crust. Bake in water bath for 60–70 min or until center is slightly jiggly.
Cool 1 hr at room temp, then chill for 4–6 hrs or overnight.
Before serving, sprinkle sugar evenly over the top and torch until caramelized and crisp.
- Prep Time: 30 minutes
- Cook Time: 1 hr
- Category: Dessert
Nutrition
- Calories: 460
- Sugar: 24g
- Fat: 34g
- Carbohydrates: 30g
- Protein: 6g
Let’s Build This Masterpiece: Step-by-Step Instructions
Follow these steps, and you’ll be a cheesecake champion in no time. I’m walking you through every detail!
Step 1: Prep Like a Pro. Preheat your oven to 325°F (163°C). Grab your springform pan(s). This is crucial: double-wrap the bottom and sides of your springform pan in heavy-duty aluminum foil. This is our armor against the water bath and will prevent any sneaky water from seeping in and making our crust soggy. Trust me, it’s a non-negotiable step!
Step 2: Create the Buttery Base. In a medium bowl, stir together your fine biscuit crumbs and melted butter until it looks like wet sand. Pour the mixture into your prepared pan and press it down firmly and evenly into the bottom and about halfway up the sides. I like to use the bottom of a measuring cup to really pack it down. Bake this for 10 minutes, then let it cool on a wire rack. This pre-baking (blind baking) gives our crust a head start and ensures it stays crisp.
Step 3: Master the Filling. In the bowl of a stand mixer fitted with a paddle attachment (or using a hand mixer), beat the room-temperature cream cheese and caster sugar on medium-low speed until it is completely smooth, creamy, and has no lumps. Scrape down the bowl and beater thoroughly. This is the most important step for a smooth texture! Now, mix in the sour cream, vanilla extract, and pinch of salt until just combined. With the mixer on low, gradually add the lightly beaten eggs. Mix only until the yellow streaks of egg disappear. Chef’s Hack: Do NOT overmix after adding the eggs! This incorporates air and can lead to a puffy, cracked cheesecake.
Step 4: The Water Bath Secret. Place your foil-wrapped springform pan into a large roasting pan. Carefully pour your cheesecake filling into the crust. Now, bring a kettle of water to a boil. Place the roasting pan with the cheesecake in the oven, and THEN carefully pour the hot water into the roasting pan until it comes about halfway up the sides of the springform pan. This water bath creates a steamy environment for gentle, even cooking, which is the ultimate secret to that classic creamy texture and crack-free top.
Step 5: Bake to Perfection. Bake for 60-70 minutes. The cake is done when the edges are set but the center still has a slight jiggle—like Jell-O—when you gently shake the pan. It will firm up as it cools. If it looks completely firm in the center, it’s overbaked.
Step 6: The Patience Game (The Hardest Part!). Turn off the oven, crack the door open, and let the cheesecake cool in the oven for 1 hour. This gradual temperature change helps prevent shocking the cake, which can cause it to fall or crack. Then, remove it from the water bath, take off the foil, and let it cool completely to room temperature on a wire rack. Once cool, cover it and refrigerate for at least 4-6 hours, but ideally overnight. This waiting period allows the flavors to meld and the texture to set perfectly.
Step 7: The Grand Finale – The Brûlée! Right before serving, remove the chilled cheesecake from the springform pan and place it on a serving plate. Sprinkle the top evenly with the granulated sugar. Using a kitchen torch, move the flame in small circles about 2 inches above the sugar until it melts, bubbles, and turns a deep amber color. Let it sit for a few minutes to harden into that perfect, crackable shell. No torch? You can place the sugared cheesecake under a very hot broiler for 1-3 minutes, but watch it like a hawk—it can burn in seconds!
How to Serve This Stunning Dessert
Presentation is part of the fun! Use a sharp, thin knife that you’ve run under hot water and dried to get perfectly clean slices. The sound of the crack as you slice through the sugar top is pure music. I love serving this on its own to let the flavors truly shine, but a few fresh raspberries, a drizzle of raspberry coulis, or a dollop of lightly sweetened whipped cream on the side never hurts. It’s elegant enough for a black-tie dinner but comforting enough for a Saturday night treat in your pajamas.
Ride Your Own Flavor Wave: Creative Twists!
Once you’ve mastered the classic, the world is your oyster! Here are a few fun ways to mix it up:
- Chocolate Swirl: Melt ½ cup of chocolate chips, let it cool slightly, and dollop it over the filled crust. Use a knife to swirl it marbled goodness into the batter before baking.
- Citrus Burst: Add the zest of an orange or a lemon to the filling for a bright, sunny flavor that cuts through the richness.
- Boozy Addition: Add 2 tablespoons of Grand Marnier, Chambord, or Baileys to the filling for a sophisticated adult twist.
- Ginger Snap Crust: Swap the digestive biscuits for gingersnaps for a warm, spicy base that pairs amazingly with the creamy filling.
- Dairy-Free Delight: Use your favorite plant-based cream cheese, sour cream, and butter alternatives. The method remains exactly the same!
Isla’s Chef Notes & Kitchen Confessions
This recipe has been through many iterations in my kitchen. The first time I tried the brûlée top, I got a little too torch-happy and ended up with a slightly *burnt* sugar top. My advice? Patience! Hold the torch a little farther away than you think and take your time melting the sugar evenly. It’s better to go slow than to scorch it.
I’ve also learned that the brand of cream cheese matters. I always have the best results with Philadelphia brand—it consistently gives me the creamiest, most reliable texture. And remember, the overnight chill isn’t just a suggestion; it’s a commandment for the perfect crème brûlée cheesecake. It allows the proteins to set fully, giving you that sublime, melt-in-your-mouth experience. This dessert is a labor of love, but every single minute is worth it when you see that first bite disappear with a smile.
Your Questions, Answered: FAQs & Troubleshooting
Q: My cheesecake cracked! What did I do wrong?
A: Don’t despair! The most common culprits are overmixing the batter (which adds too much air), overbaking, or cooling it too quickly. The water bath and gradual cooling are your best defenses against this. And hey, if it does crack, that’s what the gorgeous brûlée top is for—it covers a multitude of sins!
Q: Can I make this without a springform pan?
A: A springform pan is highly recommended because it allows you to remove the sides without flipping the delicate cake. If you’re in a pinch, a deep cake pan with parchment paper slings might work, but removing the cake will be much trickier.
Q: I don’t have a kitchen torch. What are my options?
A: You can use your oven’s broiler! Place the sugared cheesecake on a rack set about 5-6 inches below the broiler element. Turn it on high and watch it CONSTANTLY. It can go from perfectly caramelized to completely burnt in mere seconds. Rotate the pan for even browning.
Q: How far in advance can I make this?
A: You can bake and refrigerate the cheesecake (without the sugar top) for up to 3 days. I highly recommend adding the sugar layer and torching it right before you serve it to ensure that signature crack remains crisp and doesn’t get soft and weepy.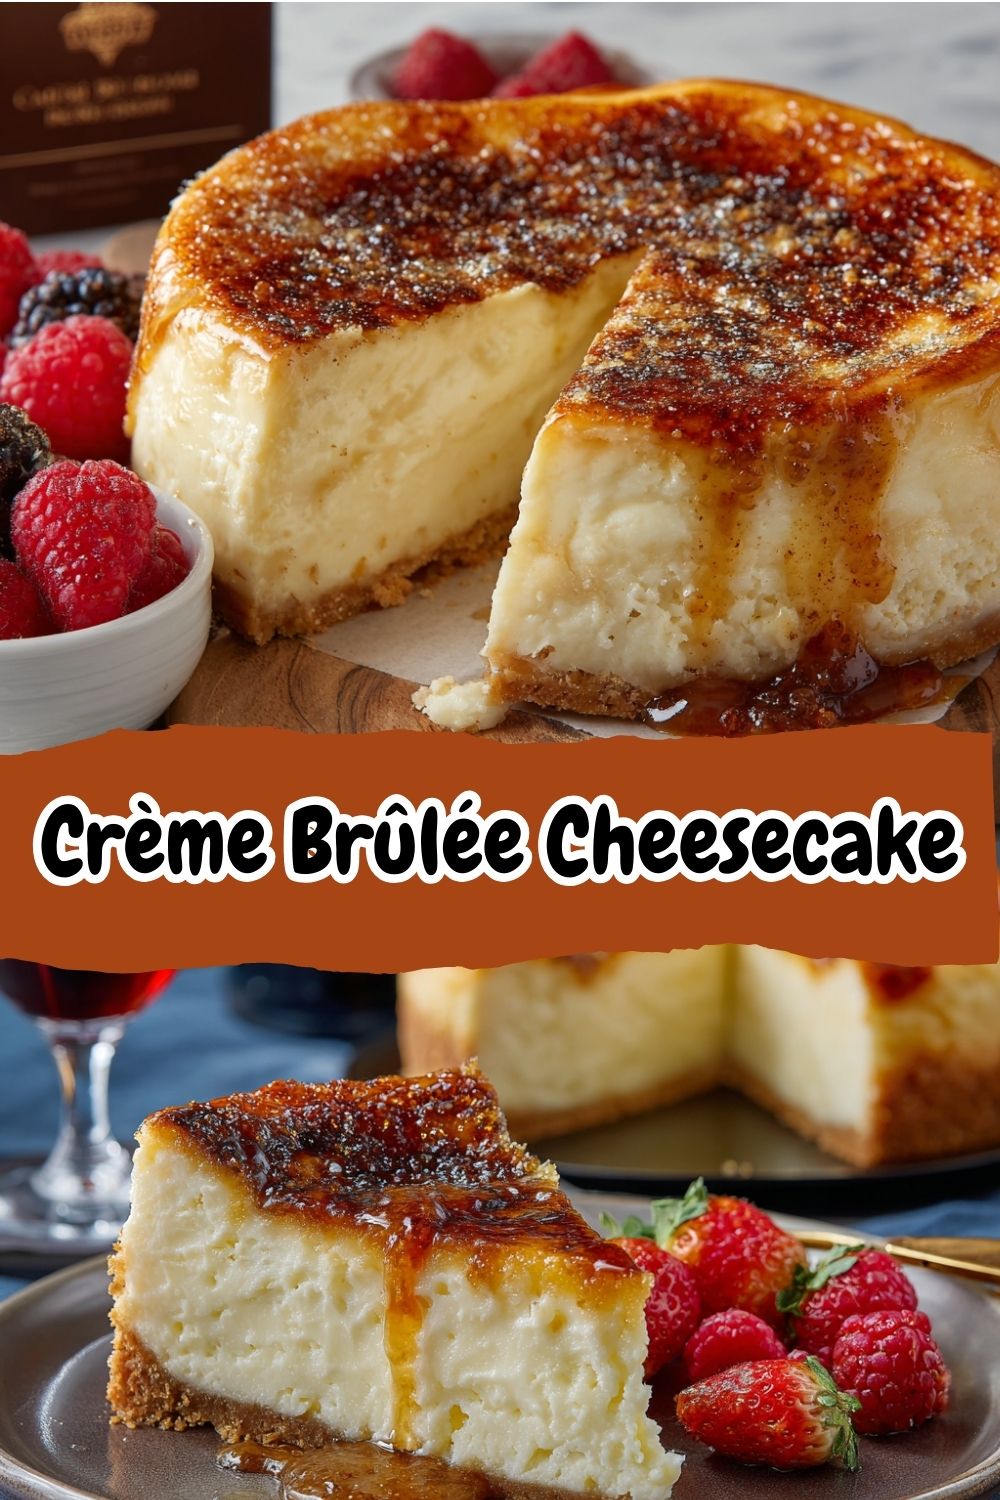
Nutritional Information (Approximate, Per Slice)
Note: This is an estimate for 1 of 20 slices from a 10-inch cake. Values may vary based on specific ingredients used.
- Calories: ~460
- Fat: 34g
- Carbohydrates: 30g
- Sugar: 24g
- Protein: 6g
There you have it! My ultimate Crème Brûlée Cheesecake. I hope you love making it and sharing it as much as I do. If you give it a try, be sure to tag me @BiteTide on socials—I love seeing your kitchen creations! Now, go forth and conquer that sugar top. You’ve got this!
With love and a fully stocked pastry bag,
Isla 💛