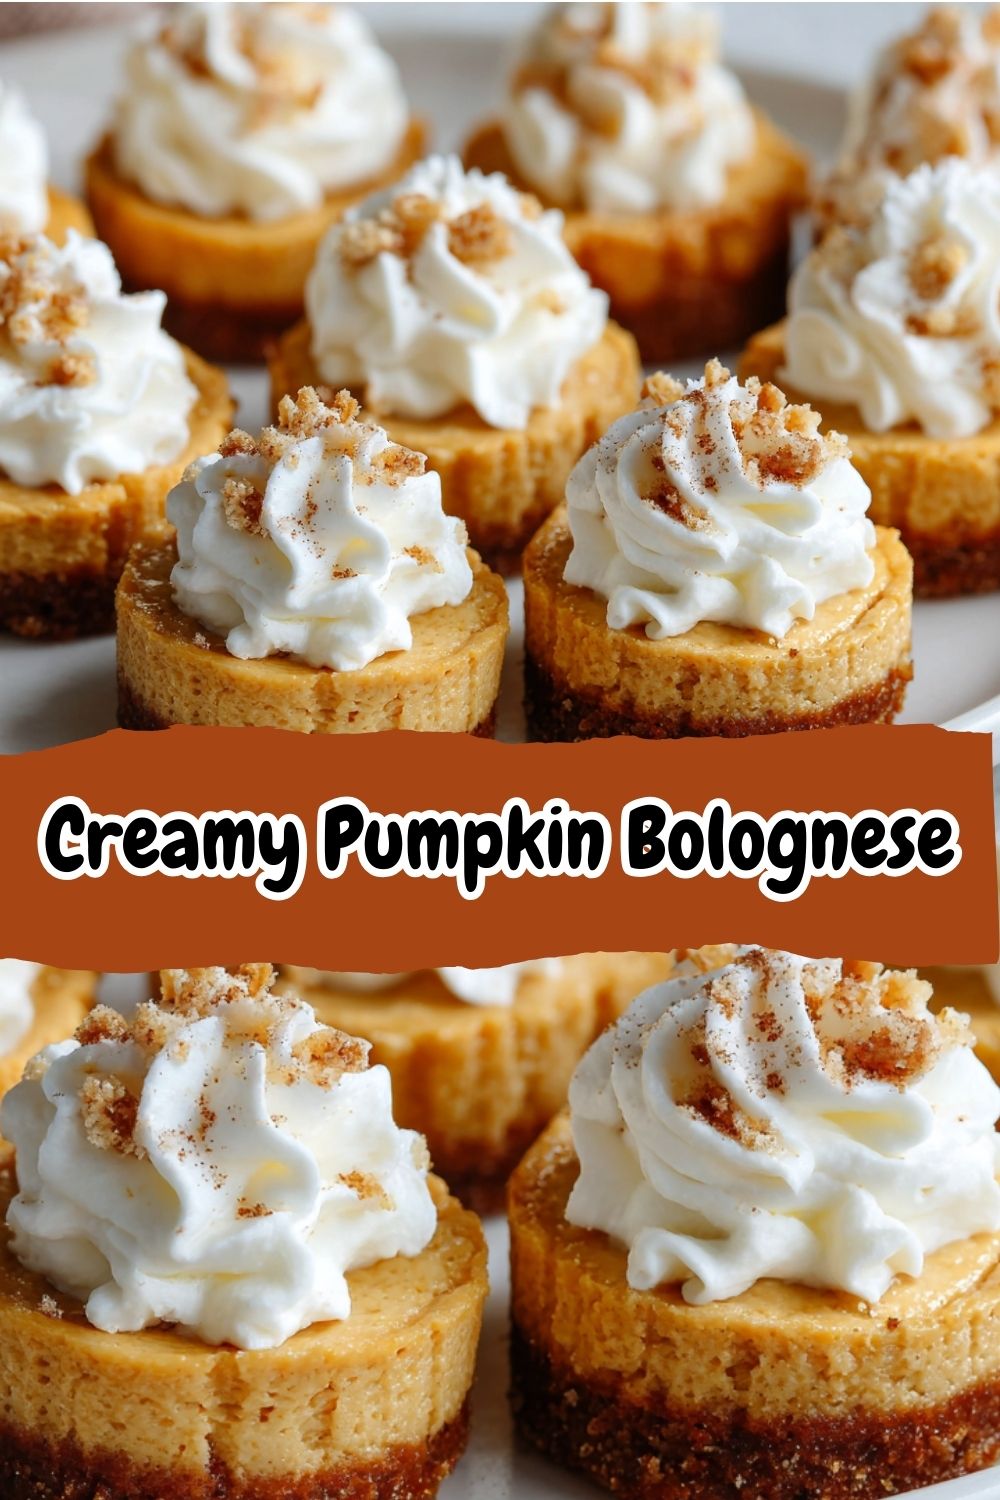
 Mini Pumpkin Pie Bites: Your New Favorite Holiday Hack!
Hey there, friend! Isla here from BiteTide, coming at you from my kitchen where there’s always a sprinkle of flour on the floor and something delicious in the oven. Can you smell it? That warm, cozy aroma of cinnamon, nutmeg, and pumpkin? It’s the official scent of the holidays, and today, we’re bottling that magic into the most adorable, fuss-free treat you’ll ever make: Mini Pumpkin Pie Bites.
Let’s be real. The holiday season is a beautiful, chaotic whirlwind of joy, family, and… well, stress. The last thing anyone needs is a complicated dessert recipe that dirties every bowl you own. You deserve to be part of the fun, not stuck in the kitchen alone! That’s why I’m utterly obsessed with these little bites of heaven. We’re taking a whole, beautiful pumpkin pie—whether you proudly baked it from scratch or cleverly snagged it from the bakery section—and transforming it into a crowd-pleasing, portion-perfect, incredibly cute dessert in literally minutes. No rolling pins, no pie weights, no stress. Just you, a cookie cutter, and a can of whipped cream ready to make everyone’s day a whole lot sweeter. So, tie on your favorite apron (the cute one with the patterns!), and let’s ride this flavor wave together.
Print
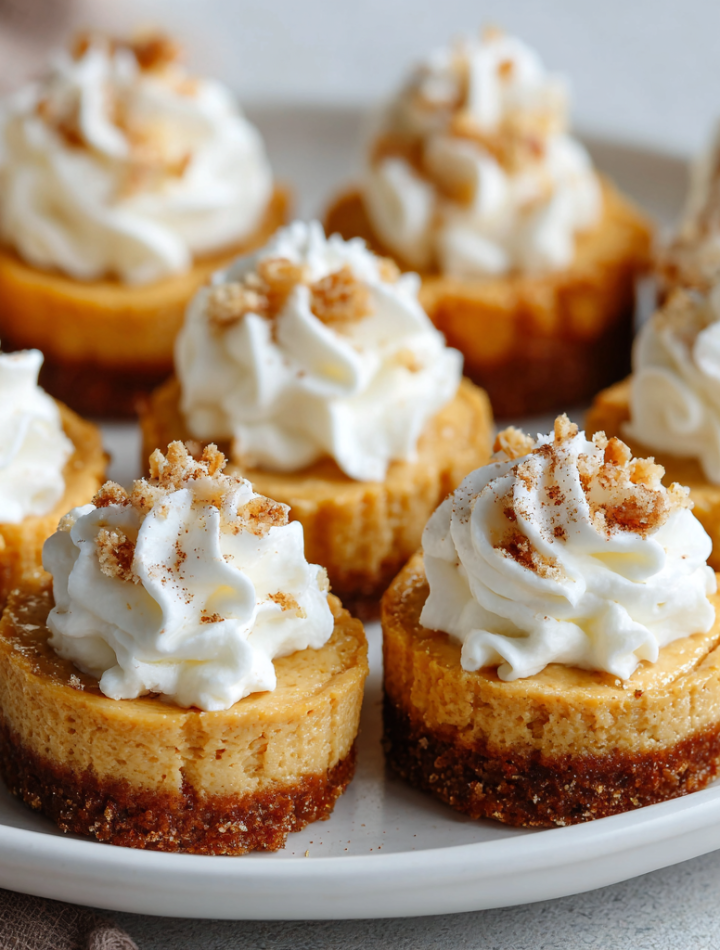
Mini Pumpkin Pie Bites
- Total Time: 20 minutes
- Yield: 12–16 mini pies 1x
Description
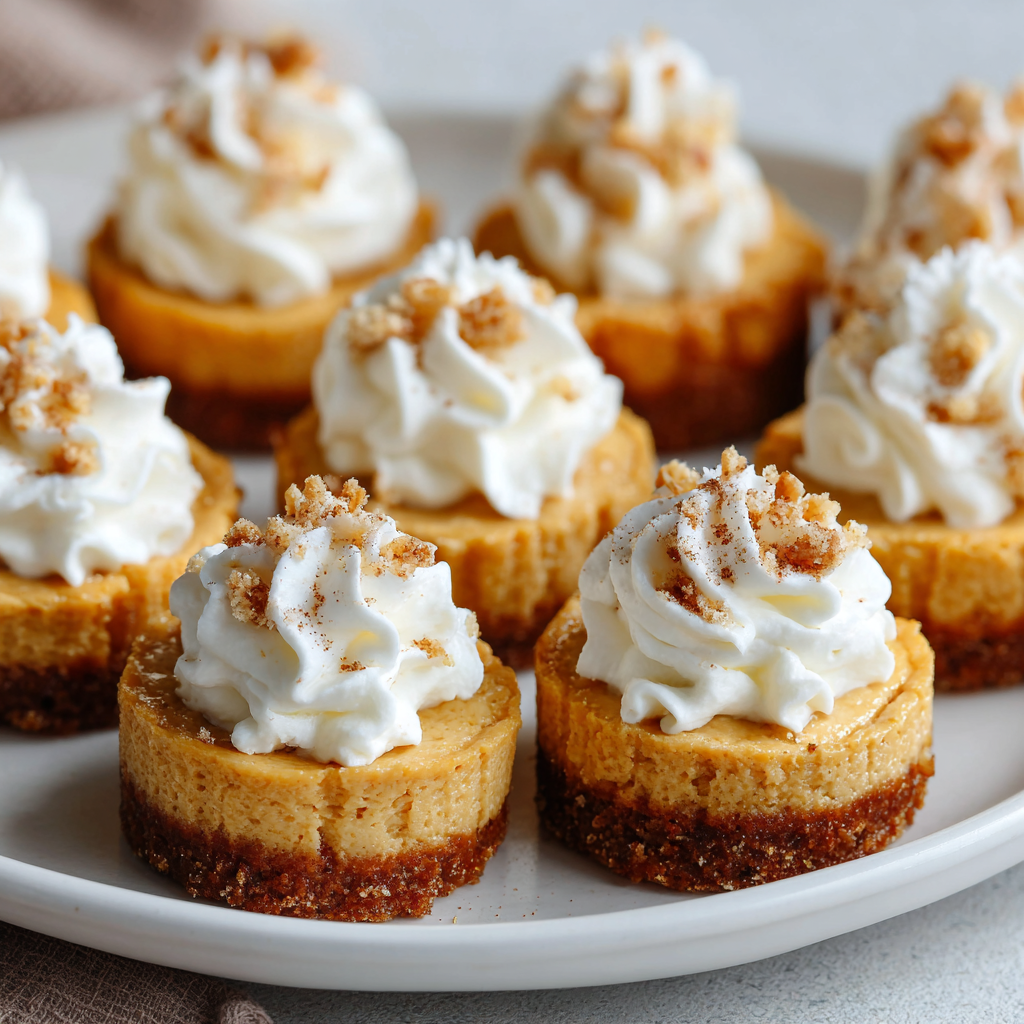
These bite-sized pumpkin pie treats are the easiest holiday hack—made straight from a baked pie! Perfect for Thanksgiving dessert tables, snack trays, or portion-controlled indulgence, they’re cute, creamy, and ready in minutes.
Ingredients
1 pumpkin pie (store-bought or homemade)
1 can whipped cream
Instructions
Cut: Using a round cookie cutter (1½–2 inches), cut mini circles out of the baked pumpkin pie. Carefully lift each portion with a spatula.
Garnish: Top each mini pie with a swirl of whipped cream. Serve immediately or chill until ready.
Bonus: Save leftover pie scraps and crust to make Pumpkin Pie Truffles (mix with cream cheese, roll into balls, and dip in chocolate).
Optional Twists
Sprinkle with cinnamon sugar or pumpkin spice before serving
Top with candied pecans or a drizzle of caramel sauce
Use graham cracker crumbs as a base layer for extra crunch
- Prep Time: 10 minutes
- Cook Time: 10 minutes
- Category: Dessert
Nutrition
- Calories: 120
- Sugar: 9g
- Carbohydrates: 15g
- Fiber: 1g
- Protein: 2g
A Pie-Cutters & Laughter Kind of Memory
This recipe always takes me right back to my grandma’s warm, always-bustling kitchen. Picture it: Thanksgiving, circa… well, let’s just say the 90s were in full swing. The grown-ups were handling the “serious” business of the turkey and gravy, but my grandma always had a special job for me and my cousins: pie duty. Our mission was to take her famous, from-scratch pumpkin pie and make it “party-ready.”
Armed with a rinsed-out tomato paste can (the original cookie cutter hack!), we’d press out as many little circles as we could from that glorious pie. There was more laughing than actual cooking, and we’d inevitably “sample” the jagged, leftover crust scraps, which she’d later mix with a bit of cream cheese and roll into “pie truffles” for us. It wasn’t about perfection; it was about being together, making a mess, and sharing that first, magical bite. That’s the spirit I want to bring to your kitchen with this recipe. It’s not just about the dessert; it’s about the joy of creating something delightful without any of the fuss.
Gathering Your Flavor Crew
Here’s the beautiful part: the ingredient list is gloriously short. This is all about assembly and artistry! Here’s what you’ll need to make about 12-16 delightful bites.
- 1 Pumpkin Pie (store-bought or homemade): This is your superstar! Don’t you dare feel an ounce of guilt if you use a store-bought pie—it’s our ultimate secret weapon for brilliance. If you’re using homemade, let it cool completely so it’s firm and easy to cut. A deeper-dish pie will yield more bites!
- 1 can Whipped Cream: The fluffy, cloud-like crown for your mini masterpieces. For a next-level experience, use homemade whipped cream sweetened with a touch of maple syrup or vanilla. But again, the canned stuff is 100% approved and loved here for its convenience and classic taste.
- (Optional) Garnishes: This is where your creativity gets to shine! Think of this as your flavor playground.
- Cinnamon Sugar or Pumpkin Pie Spice: A light dusting adds warmth and a pretty finish.
- Candied Pecans or Walnuts: Adds a fantastic crunch and sophisticated sweetness.
- Caramel or Chocolate Sauce: A drizzle right before serving makes these feel truly decadent.
- Graham Cracker Crumbs: A little sprinkle on the plate or on top of the whip adds a lovely textural contrast.
Let’s Build Some Bite-Sized Magic!
Ready? This is the easiest—and most fun—part of the entire process. Let’s turn that pie into a platter of perfection.
- Prep Your Pie: If your pie is freshly baked, this is non-negotiable: let it cool completely. I know, the temptation is real! But a warm pie will be too soft and messy to cut cleanly. Pop it in the fridge for a few hours, or even overnight, to get it firm and ready for action. If you’re using a refrigerated store-bought pie, you’re already good to go!
- Choose Your Weapon (The Cutter!): Grab a round cookie cutter between 1.5 to 2 inches in diameter. Don’t have a cookie cutter? Get creative! The open end of a large piping tip, a small glass, or even that tomato paste can (like my grandma used) will work perfectly. Just make sure the edges are smooth.
- The Big Cut: Press your cutter straight down into the pie, aiming to get as much of the filling and crust in one go as possible. Try to map out your cuts to minimize waste—think of it like a delicious puzzle! Pro-Tip: Dip the edge of your cutter in warm water between cuts to help it glide through the filling smoothly for ultra-clean edges.
- Lift With Care: This is the trickiest step, but you’ve got this! Gently nudge the pie bite up from the bottom with a small offset spatula or a butter knife. If it’s being stubborn, you can use your fingers to carefully push it up from the crust bottom. Place each perfect little circle on your serving platter or a parchment-lined tray.
- Garnish and Wow: Right before serving, give each mini pie a generous, joyful swirl of whipped cream. This is your moment to be extra! Add any of your optional garnishes here—a drizzle of caramel, a sprinkle of spice, a candied pecan perched on top. They’re ready to steal the show!
How to Serve These Tiny Treasures
Presentation is part of the fun! For a casual gathering, a simple rustic wooden board or a large platter works beautifully. For a more elegant touch, place each mini pie bite on a individual small plate or in a mini cupcake liner, and dust the entire platter with a light snowfall of powdered sugar or pumpkin spice. They are the perfect finger food for a holiday party, a stunning addition to a dessert charcuterie board, or a sweet little treat passed around with coffee after a big meal. The best part? Everyone gets their own perfect, personal portion of pie.
Ride Your Own Flavor Wave: Fun Variations
Once you’ve mastered the basic bite, the world is your pumpkin pie! Here are a few ways to mix it up:
- Chocolate Dipped Dreams: Dip the bottom crust of each chilled pie bite in melted chocolate (dark, milk, or white!) and let set on parchment paper for a decadent crunch.
- Gingersnap Crust: Use a pumpkin pie with a gingersnap crust instead of a traditional one for a spicy, snappy twist.
- Maple Whipped Cream: Whip up some heavy cream with a tablespoon of maple syrup instead of sugar for a fall-flavored topping.
- Bourbon Caramel Drizzle: Add a teaspoon of bourbon to store-bought caramel sauce for a grown-up, sophisticated kick.
- Vegan/DF Friendly: Use a vegan pumpkin pie (many store-bought options exist!) and top with coconut whipped cream.
Isla’s Chef Notes & Kitchen Confessions
I cannot tell you how many times this recipe has saved my sanity during the holidays. One year, I was so behind on prep that I literally bought a pie on my way to a Friendsgiving, borrowed a cookie cutter from the host, and assembled these on the spot in their kitchen. Everyone thought I was a culinary genius! The truth is, I’m just a fan of smart, delicious shortcuts that let us spend less time stressing and more time connecting.
And please, whatever you do, DO NOT throw away those scraps! The leftover bits of crust and filling are absolute gold. Mash them together with a spoonful of cream cheese (about 2 tbsp per cup of scraps), roll into teaspoon-sized balls, and freeze for 20 minutes. Then, dip them in melted chocolate and you’ve got incredible Pumpkin Pie Truffles. Zero waste, maximum delight!
Your Questions, Answered!
Q: Can I make these ahead of time?
A: Absolutely! You can cut the pie bites a day in advance. Keep them covered on a tray in the fridge. Hold off on adding the whipped cream and any wet garnishes (like caramel) until just before you serve them to prevent sogginess.
Q: My pie bites are falling apart! What did I do wrong?
A: This usually means the pie was too warm or not firm enough. Pop the whole pie in the freezer for 20-30 minutes before cutting—it will slice like a dream! Also, make sure you’re using a sharp, clean cutter and lifting gently with a thin spatula.
Q: What’s the best way to store leftovers?
A: Store any leftover bites (without whip) in an airtight container in the fridge for up to 2 days. The crust may soften a bit, but they’ll still taste great!
Q: My pie has a whipped topping already. Can I still use it?
A> You sure can! Just be aware that the pre-topped pie might be a bit taller and softer. Work carefully when cutting, and you might want to skip adding extra whip on top to keep it from being too sweet.
Nutritional Information*
*Estimated based on using a standard store-bought pumpkin pie and canned whipped cream. Values are per bite (1 of 16).
- Calories: 120
- Protein: 2g
- Fat: 6g
- Carbohydrates: 15g
- Sugar: 9g
- Fiber: 1g
Prep Time: 10 minutes | Total Time: 10 minutes | Yield: 12-16 mini pies
These Mini Pumpkin Pie Bites prove that holiday desserts don’t have to be complicated. Quick, cute, and crowd-pleasing, they’re perfect for parties or family gatherings—and with fun variations and truffle-making tips, they’re as creative as they are delicious!