Let’s Bake Some Joy: Your New Favorite Healthy Thumbprint Cookies
Hey there, friend! Isla here, welcoming you back to BiteTide. Is there anything that screams “cozy kitchen vibes” more than the smell of cookies baking in the oven? I think not. But if you’re anything like me, that warm, fuzzy feeling can sometimes get mixed with a tiny bit of guilt after the third (or fourth… no judgment!) cookie of the day. What if I told you we could have our cookie and eat it too—without any of the fuss or the sugar crash?
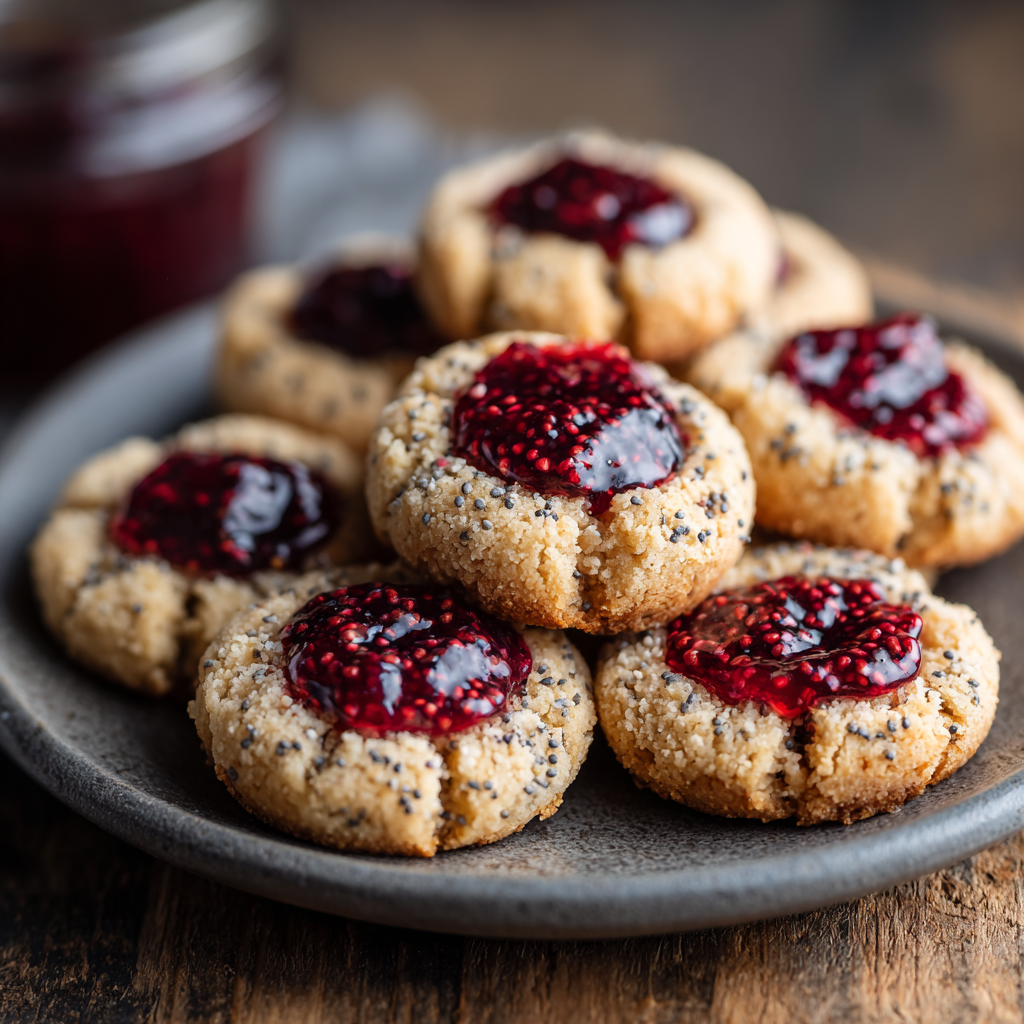
Today, we’re whipping up a batch of my absolute Healthy Thumbprint Cookies, and trust me, they are about to become a staple in your recipe box. We’re taking a beloved holiday classic and giving it a nourishing, glow-up twist. Imagine a cookie that’s tender, buttery (without the butter!), and cradling a little pool of the most vibrant, fruity chia seed jam. They’re naturally gluten-free, sweetened just right with maple syrup, and packed with good-for-you ingredients like almond flour and chia seeds.
These little gems are perfect for your holiday cookie swap, a lunchbox treat, or that moment at 3 p.m. when you need a sweet pick-me-up that actually fuels you. They come together in one bowl, require zero chill time, and bake in just about 10 minutes. This is the kind of simple, satisfying recipe I built BiteTide on. So, tie on your favorite apron, put on some feel-good music, and let’s bake some joy together!
A Thumbprint of Memory
This recipe always takes me right back to my grandma’s warm, always-flour-dusted kitchen. Every December, she’d declare it “Cookie Weekend.” The table would disappear under a sea of baking sheets, mixing bowls, and every sprinkle imaginable. My job, as the smallest helper with the smallest thumbs, was to make the perfect little wells in her famous jam thumbprints.
I’d press my tiny thumb into the soft, sugary dough with the utmost seriousness, determined to create the ideal vessel for her homemade strawberry preserves. Of course, my focus often wavered, and I’d end up with a few casualty cookies that looked more like craters than thumbprints. Grandma would just laugh, her eyes twinkling, and say, “Well, that one just needs a little extra jam, that’s all!” She never stressed about perfection; it was all about the joy of making something with love.
These healthier thumbprints are my little nod to her. They capture that same spirit of fun and homemade goodness. While I’ve swapped a few ingredients to fit my lifestyle today, the heart of the recipe—that moment of pressing your thumb into the dough and creating a space for something sweet—is exactly the same. It’s a simple, joyful act that connects my kitchen now to hers all those years ago.
Print
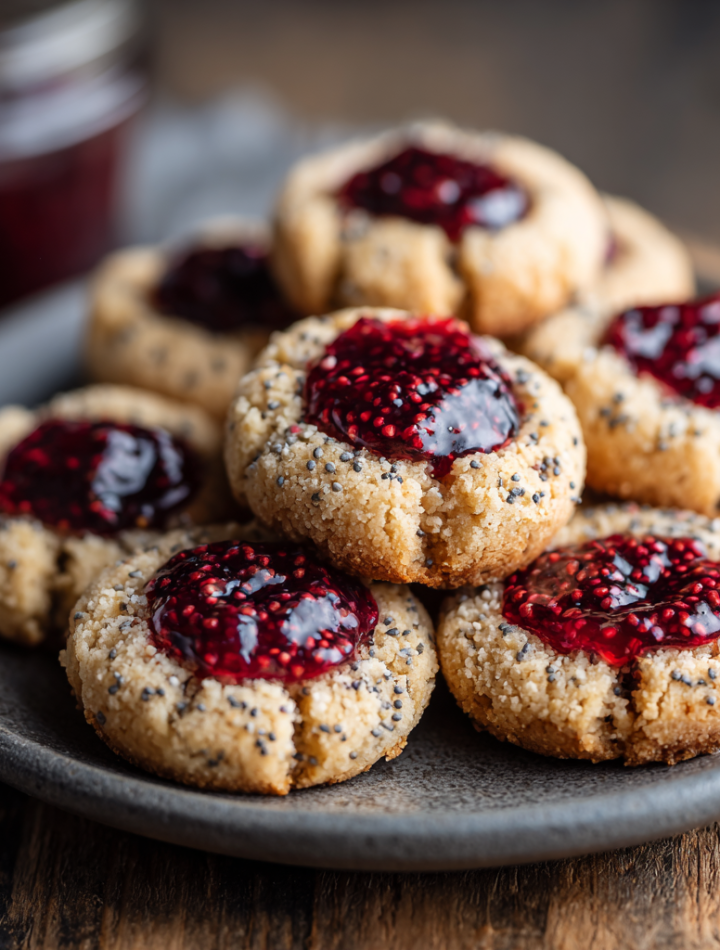
Healthy Thumbprint Cookies
- Total Time: 6 minute
- Yield: Makes 14–16 cookies 1x
Description
These festive thumbprint cookies are a nourishing twist on a holiday classic. Made with almond flour and filled with vibrant chia-seed jam, they’re gluten-free, naturally sweetened, and rich in fiber. Perfect for sharing—or keeping all to yourself!
Ingredients
For the Cookies:
2 cups almond flour
3 tbsp maple syrup or honey
3 tbsp coconut oil (melted)
1 tsp vanilla extract
Pinch of salt
For the Chia Jam:
1 cup berries (fresh or frozen)
1 tbsp chia seeds
1 tbsp maple syrup (optional)
Instructions
Make the Jam:
In a saucepan, heat berries until soft. Mash with a fork and stir in chia seeds and sweetener. Simmer for 5 minutes, then let cool to thicken.
Make the Dough:
Preheat oven to 350°F (175°C). In a bowl, mix almond flour, maple syrup, coconut oil, vanilla, and salt until a dough forms.
Shape the Cookies:
Roll dough into 1-inch balls and place on a lined baking sheet. Press a thumbprint into each center.
Fill and Bake:
Spoon a bit of chia jam into each cookie. Bake for 10–12 minutes, until golden on the edges. Cool before serving.
- Prep Time: 10 minutes
- Cook Time: 10–12 mins
- Category: Dessert
Nutrition
- Calories: 90
- Fat: 7g
- Carbohydrates: 6g
- Protein: 2g
Gathering Your Cookie Crew (Aka The Ingredients!)
Part of the magic of this recipe is its simplicity. You likely have most of these ingredients in your pantry right now! Here’s what you’ll need and my little chef insights on each one.
For the Chia Seed Jam:
- 1 cup berries (fresh or frozen): This is your chance to play! I love a mix of raspberries and strawberries for a tart-sweet combo, but blueberries or blackberries work beautifully too. Frozen berries are perfect here and often more affordable—no need to thaw!
- 1 tbsp chia seeds: These tiny powerhouses are the magic thickener! They create a gorgeous, glossy jam without any need for pectin or excessive sugar. They’re also packed with fiber and omega-3s.
- 1 tbsp maple syrup (optional): Taste your berries first! If they’re super sweet, you might not need this. If they’re tart, a touch of maple syrup balances it perfectly. You can also use honey.
For the Cookie Dough:
- 2 cups almond flour: Please make sure you’re using fine, blanched almond flour, not almond meal. This is the key to that tender, melt-in-your-mouth shortbread-like texture. Almond meal will make the cookies gritty and oily.
- 3 tbsp maple syrup or honey: Our natural sweetener. I prefer the flavor of maple syrup with almond flour, but honey gives a lovely richness. For a vegan version, stick with maple syrup.
- 3 tbsp coconut oil, melted: This binds our gluten-free dough and gives it that irresistible buttery flavor. If you’re not a coconut fan, don’t worry—the refined kind has no coconut taste. You can also use melted butter if you’re not dairy-free.
- 1 tsp vanilla extract: The flavor booster! A good quality vanilla makes all the difference, adding warmth and depth.
- Pinch of salt: Never, ever skip the salt! It’s not enough to make things salty; it’s just enough to make all the other flavors sing and balance the sweetness.
Let’s Make Some Magic: Step-by-Step
Ready? This is the fun part. Let’s turn these simple ingredients into cookie magic.
Step 1: Make the Quick Chia Jam
We’ll start with the jam so it has a few minutes to thicken up while we make the dough.
Grab a small saucepan and toss in your berries. Heat them over medium heat for about 5-7 minutes, until they start to break down and get all juicy. Use a fork or a potato masher to squish them to your desired consistency—I like a few chunks for texture! Remove the pan from the heat and immediately stir in the chia seeds and maple syrup (if using). Let it sit for at least 10 minutes. You’ll see it transform into a perfect, spoonable jam. Chef’s Hack: If you want an ultra-smooth jam, you can blend it with an immersion blender right in the pot before adding the chia seeds.
Step 2: Whip Up the Cookie Dough
Preheat your oven to 350°F (175°C) and line a baking sheet with parchment paper. This is a non-negotiable for easy cleanup!
Now, in a medium-sized bowl, combine the almond flour, maple syrup, melted coconut oil, vanilla extract, and that all-important pinch of salt. Stir it all together with a spatula until a soft, slightly sticky dough forms. It should come together easily when you press it between your fingers. Chef’s Hack: If your dough seems too wet or oily, add another tablespoon of almond flour. If it seems too dry and crumbly, add a tiny splash of water or more maple syrup, one teaspoon at a time. Different almond flour brands can vary in absorbency!
Step 3: Shape Your Cookies
This is the part where you get to be like little-kid-me! Roll the dough into small, 1-inch balls. I use a small cookie scoop for uniformity, but a tablespoon measure works great too. Place the dough balls on your prepared baking sheet, about an inch apart.
Now, for the signature move: gently press your thumb into the center of each ball to create a well. Don’t press all the way through to the baking sheet! You’re just making a little divot for the jam. Chef’s Hack: If the dough starts sticking to your thumb, lightly wet your thumb with a little water or coconut oil. This prevents any tearing and gives you a perfect, smooth impression every time.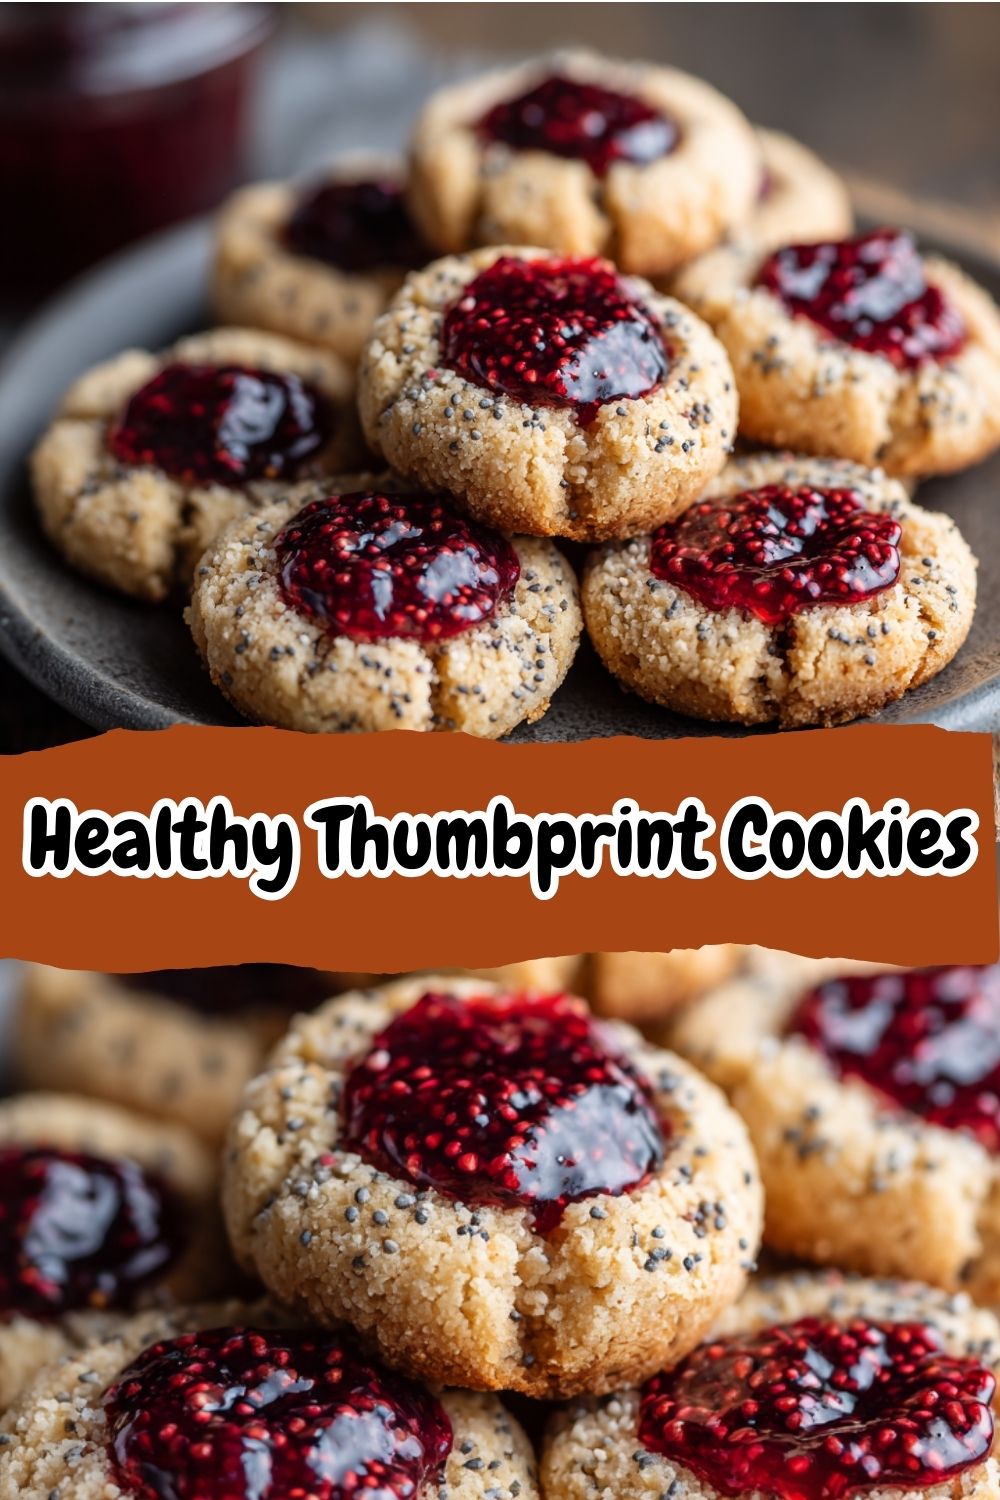
Step 4: Fill and Bake to Perfection
Take your slightly cooled chia jam and spoon a little bit into each thumbprint. You don’t need to overfill them—the jam will set further as it bakes and cools.
Slide the baking sheet into your preheated oven and bake for 10-12 minutes. You’re looking for the edges to turn a beautiful light golden brown. The cookies will be very soft when they first come out—that’s perfect! This is crucial: You MUST let them cool completely on the baking sheet. They need this time to firm up. If you try to move them while warm, they’ll break. I know it’s hard to wait, but it’s worth the promise!
How to Serve These Little Gems
Once they’re completely cool, it’s time for the best part! These cookies are a dream all on their own with a cup of tea or coffee. For a real treat, I love serving them on a vintage platter for a holiday party—their jewel-toned jam centers look so festive. They also make the most thoughtful homemade gift. Package a few in a little cellophane bag tied with a ribbon, and you’ve just made someone’s day. Honestly, they’re so good you might just want to hide a few in the back of the cookie jar for yourself… I won’t tell!
Ride Your Own Flavor Wave: Fun Variations!
The beauty of this recipe is how easily you can make it your own. Here are a few of my favorite twists:
- Citrus Zest: Add the zest of one lemon or orange to the cookie dough for a bright, sunny flavor that pairs amazingly with the berry jam.
- Chocolate Thumbprints: Stir 2 tablespoons of cocoa powder into the dough and fill the baked cookies with a dab of almond butter or a melted dark chocolate center instead of jam.
- Nutty Delight: Roll the dough balls in finely chopped pecans or walnuts before making the thumbprint for a lovely crunch.
- Different Jam Flavors: Not a berry fan? Make a quick jam with diced peaches and a dash of cinnamon, or use apricots!
- Nut-Free Version: Swap the almond flour for sunflower seed flour (just grind raw sunflower seeds into a fine powder in your blender). Note: this can sometimes cause a green reaction due to chlorophyll, but it’s still totally safe to eat!
From My Kitchen to Yours: Chef’s Notes
This recipe has been through many iterations in my kitchen! The first time I made them, I was so excited I pulled them out of the oven and immediately tried to eat one. It was a delicious, crumbly mess all over my shirt. Lesson learned: patience is a virtue, especially with gluten-free baking!
I’ve also learned that the type of almond flour is everything. I’ve tested this with every brand under the sun, and a finely ground, blanched almond flour like Bob’s Red Mill or Blue Diamond gives the absolute best texture. These cookies have become my go-to for last-minute guests or when I need a hostess gift. They feel fancy and indulgent, but I love knowing they’re made with such wholesome ingredients. It’s a win-win!
FAQs & Cookie Rescue
Q: My dough is too crumbly and won’t hold together! What did I do wrong?
A: This usually means your almond flour is very absorbent or you measured it by packing it into the cup. Always spoon your almond flour into the measuring cup and level it off for accuracy. The fix is easy! Just add a teaspoon of water or more maple syrup at a time until the dough comes together when you squeeze it.
Q: Can I make these ahead of time?
A: Absolutely! The cookie dough balls can be shaped and frozen on a baking sheet, then transferred to a freezer bag for up to 3 months. Bake from frozen, adding a minute or two to the baking time. The baked cookies also freeze beautifully for up to 2 months.
Q: My cookies spread and lost their shape! Why?
A: This is likely because your coconut oil was too warm when you mixed it in, or your almond flour was a bit oily. Next time, make sure your melted coconut oil has cooled slightly before adding it to the dry ingredients. Also, ensure you’re using blanched almond flour, not almond meal.
Q: Is the jam supposed to be so runny?
A: It will thicken significantly as it cools! If it’s still runny after 15 minutes, you can add another half tablespoon of chia seeds and let it sit a bit longer. It will also continue to set up inside the cookie as it bakes and cools.
Nutritional Info (Per Cookie, approximate)
Calories: 90 | Protein: 2g | Carbs: 6g | Fat: 7g | Fiber: 2g
Remember: these are gluten-free, grain-free, and easily made vegan!
There you have it! My beloved Healthy Thumbprint Cookies. I hope you love making them (and eating them!) as much as I do. If you try them, I’d be absolutely thrilled to hear how they turned out. Leave a comment below or tag me on Instagram @bitetide so I can see your beautiful creations!
Happy baking!
– Isla 💛