Your New Go-To Party Appetizer: The Savory Pumpkin Cheese Ball
Hey there, flavor friend! Isla here from BiteTide, coming at you from my (slightly flour-dusted) kitchen. Is there anything better than that moment at a party when you bring out a dish that makes everyone stop, stare, and let out a collective “WOW!”? I live for those moments. They don’t have to be complicated or stressful, I promise. And with fall just around the corner, I’ve got the perfect, most adorable, and downright delicious recipe to make you the star of every harvest party, Halloween spook-tacular, or cozy Friendsgiving: the Savory Pumpkin Cheese Ball.
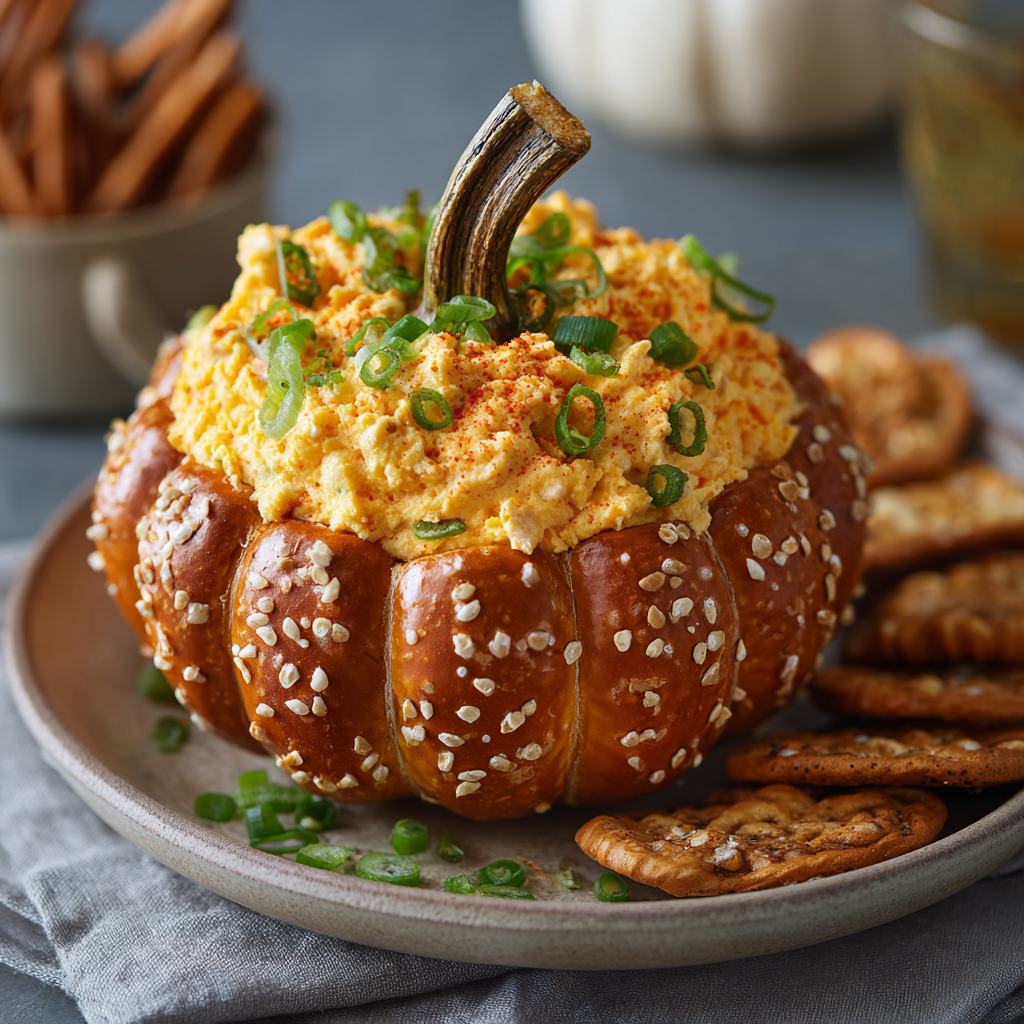
This isn’t just any cheese ball, my friend. This is a creamy, dreamy, savory showstopper that looks like a cute little pumpkin but tastes like a bold, cheesy flavor explosion. We’re talking sharp cheddar, smooth cream cheese, and a hint of spice, all rolled into one festive package. The best part? It’s unbelievably easy. Seriously, if you can mix ingredients in a bowl, you can make this. It’s the ultimate “looks like you fussed for hours but secretly took you 15 minutes” kind of recipe. So, grab your favorite mixing bowl, and let’s whip up some edible magic that’s guaranteed to ride a huge wave of compliments your way!
A Pumpkin Shaped Memory
This recipe always takes me right back to my first apartment after college. My friends and we were all broke, but we loved any excuse to get together. One chilly October, I decided to host a “Fake Fancy” potluck—where everyone had to bring the most impressive-looking dish they could make on a shoestring budget. I scoured my grandma’s old recipe box and found a basic cheese ball recipe. It was good, but it needed… personality. I remember looking at a leftover bag of pretzels and a pumpkin sitting on my windowsill, and a lightbulb went off. What if I shaped it? A little kitchen twine, a frantic call to my mom to confirm it would work, and a few hours later, my very first pumpkin cheese ball was born. It was lopsided, the “ribs” were a bit crooked, and I used a broken piece of carrot for the stem because I was out of pretzels. But you know what? My friends went absolutely nuts for it. It was the hit of the party, and it’s been a staple in my fall entertaining arsenal ever since. It just goes to show that the most memorable dishes aren’t about perfection; they’re about a little creativity and a whole lot of heart.
Print
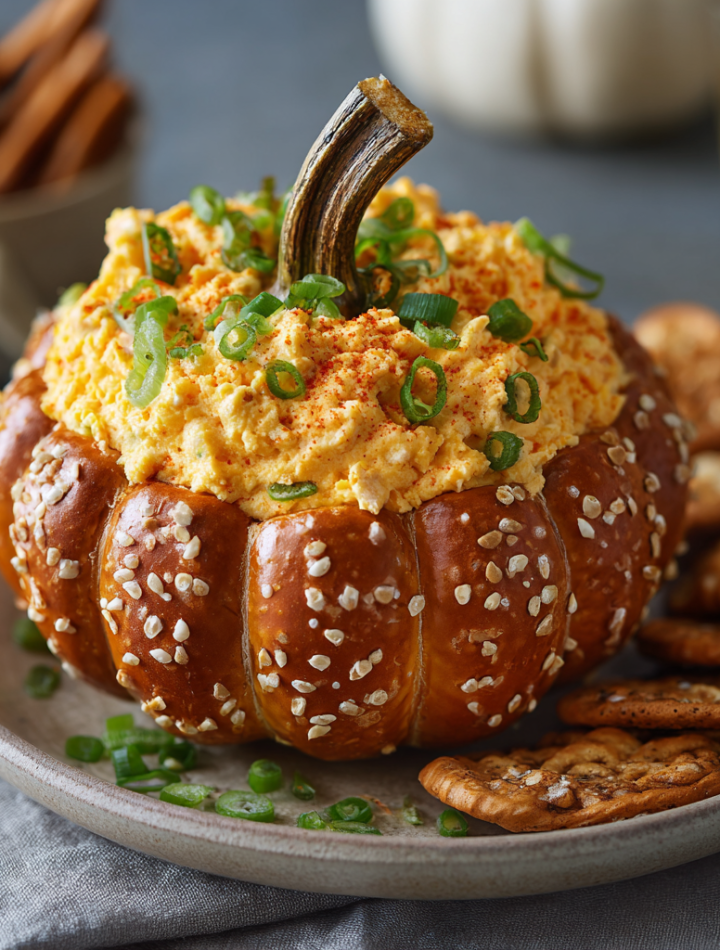
Pumpkin Cheese Ball
- Total Time: 15 minutes
- Yield: 8 servings 1x
Description
This Pumpkin Cheese Ball is a savory showstopper perfect for fall gatherings and Halloween spreads. Blending sharp cheddar with smooth cream cheese, it’s shaped into a festive pumpkin and finished with a pretzel stick stem. Easy to make and even easier to love, it pairs perfectly with crackers, veggies, or toasted bread.
Ingredients
2 cups shredded sharp cheddar cheese
8 oz cream cheese, softened
2 tablespoons chopped green onions or chives
½ teaspoon garlic powder
½ teaspoon smoked paprika (optional, for color)
Salt and pepper to taste
1 large pretzel rod (for stem)
Plastic wrap and kitchen twine (for shaping)
Instructions
In a bowl, mix cheddar, cream cheese, green onions, garlic powder, paprika, salt, and pepper until fully combined.
Transfer mixture to plastic wrap and form into a ball. Wrap tightly and use kitchen twine or rubber bands to shape indentations like a pumpkin.
Chill for at least 2 hours or until firm.
Remove wrap, insert pretzel stick on top as the stem, and serve with crackers or veggies
- Prep Time: 15 mins
- Category: Dinner
Nutrition
- Calories: 180
- Fat: 15g
- Carbohydrates: 2g
- Protein: 8g
Gathering Your Pumpkin Patch of Ingredients
Here’s everything you need to create this savory masterpiece. The beauty of a cheese ball is its flexibility, so I’ve included all my favorite chef-y insights and swaps to make it your own!
- 2 cups shredded sharp cheddar cheese – This is our flavor powerhouse! I highly recommend shredding a block of cheese yourself. The pre-shredded stuff is coated in anti-caking agents that can make your cheese ball a little grainy and less creamy. Trust me, the extra minute of shredding is 100% worth it for that ultra-smooth, melt-in-your-mouth texture.
- 8 oz cream cheese, softened – This is the glue that holds our pumpkin patch together! Pro Tip: Let it sit on the counter for at least 30-60 minutes before you start. If you forget (hey, it happens!), you can quickly soften it by placing the sealed block in a bowl of warm water for 10-15 minutes. Soft cream cheese blends beautifully, preventing a lumpy ball.
- 2 tablespoons chopped green onions or chives – I love the mild, fresh oniony kick these provide. They cut through the richness of the cheese perfectly. If you’re not an onion fan, feel free to skip them or swap in finely chopped fresh parsley or even a teaspoon of dried dill for a different herbaceous note.
- ½ teaspoon garlic powder – We’re using powder instead of fresh garlic here for a reason. Fresh garlic can be overpowering and sometimes has too much moisture, which might make our cheese ball weep. The powder gives us that warm, savory garlic essence without any sogginess.
- ½ teaspoon smoked paprika (optional, for color) – This is my secret weapon! It gives the cheese a gorgeous, warm orange hue and adds a tiny, subtle smokiness that plays so well with the cheddar. If you only have sweet paprika, that works great too! For a little kick, a pinch of cayenne pepper is a fantastic addition.
- Salt and pepper to taste – Always, always taste your mixture before you shape it! The saltiness of cheese can vary, so you might not need much extra salt. A few cracks of black pepper are a must for me.
- 1 large pretzel rod (for stem) – The adorable finishing touch! A piece of bell pepper stem, a small celery stick, or even a rosemary sprig works beautifully if you don’t have a pretzel rod on hand.
- Plastic wrap and kitchen twine (for shaping) – Don’t worry, we’re not doing any complicated kitchen magic. The twine just helps us create those perfect pumpkin grooves.
Shaping Your Savory Pumpkin Masterpiece
Ready to create some kitchen magic? Let’s do this! Follow these steps for a flawless, picture-perfect cheese ball every single time.
- Combine Your Ingredients. In a medium-sized mixing bowl, add your softened cream cheese, shredded cheddar, chopped green onions, garlic powder, smoked paprika, and a pinch of salt and pepper. Now, roll up your sleeves and get in there with your hands! I find that mixing with my hands (clean ones, of course!) is the absolute best way to ensure everything is evenly incorporated without over-mixing. You could use a hand mixer on low, but be careful not to overbeat, as it can make the cheese too soft. Mix until you have a uniform, slightly sticky, and wonderfully cheesy dough.
- Taste and Adjust. This is the most important chef hack I can give you! Take a tiny pinch of the mixture and taste it. Does it need more salt? More pepper? A bit more smokiness? Now is the time to adjust. Remember, the flavors will mellow just a touch as it chills, so season confidently.
- Form the Base Ball. Lay a large piece of plastic wrap on your counter. Scoop the entire cheese mixture onto the center of the plastic. Bring the edges of the plastic up and over the cheese and start to form it into a rough ball shape right in the plastic. The wrap will prevent it from sticking to your hands and keep everything nice and clean.
- Create the Pumpkin Shape. This is the fun part! Once you have a relatively smooth ball, leave it wrapped in the plastic. Now, take a piece of kitchen twine (about 12 inches long) and wrap it around the middle of the ball, as if you were tying a ribbon around a package. Pull it tight to create an indentation. Tie a secure knot to hold it. Repeat this process with 3-4 more pieces of twine, spacing them evenly around the ball to create the classic pumpkin sections. Don’t worry if it’s not perfectly symmetrical—real pumpkins aren’t either! This just adds to the charm.
- Chill Out. Place your beautifully shaped pumpkin cheese ball (still wrapped in its plastic wrap cocoon) on a small plate and pop it into the refrigerator for at least 2 hours, or ideally overnight. This is non-negotiable, friends! The chilling time allows the flavors to meld together beautifully and, most importantly, firms up the ball so it holds its gorgeous pumpkin shape when you unveil it.
- The Grand Reveal. When you’re ready to serve, take the cheese ball out of the fridge. Carefully snip and remove all the pieces of kitchen twine. Then, unwrap the plastic wrap. You’ll be greeted by a perfectly formed pumpkin! Gently press your pretzel rod into the top center to create the stem. If it seems loose, you can add a tiny dab of cream cheese to the end of the pretzel to act as edible glue.
- Serve and Celebrate! Place your masterpiece on a serving platter surrounded by your favorite dippers. Step back and admire your work before your guests devour it! Get ready for those “oohs” and “aahs.”
How to Serve Your Cheese Ball Pumpkin
Presentation is part of the fun! I love placing my pumpkin cheese ball right in the center of a large wooden board or a vibrant fall-themed platter. Create a little “patch” around it with an assortment of dippers. My go-to’s are: sturdy ridged potato chips, crispy baguette slices, an array of crackers (water crackers, wheat crackers, everything crackers!), and fresh veggie sticks like bell peppers, cucumber rounds, and carrot sticks for a refreshing crunch. The contrast of the creamy, rich cheese with the crisp dippers is pure texture heaven.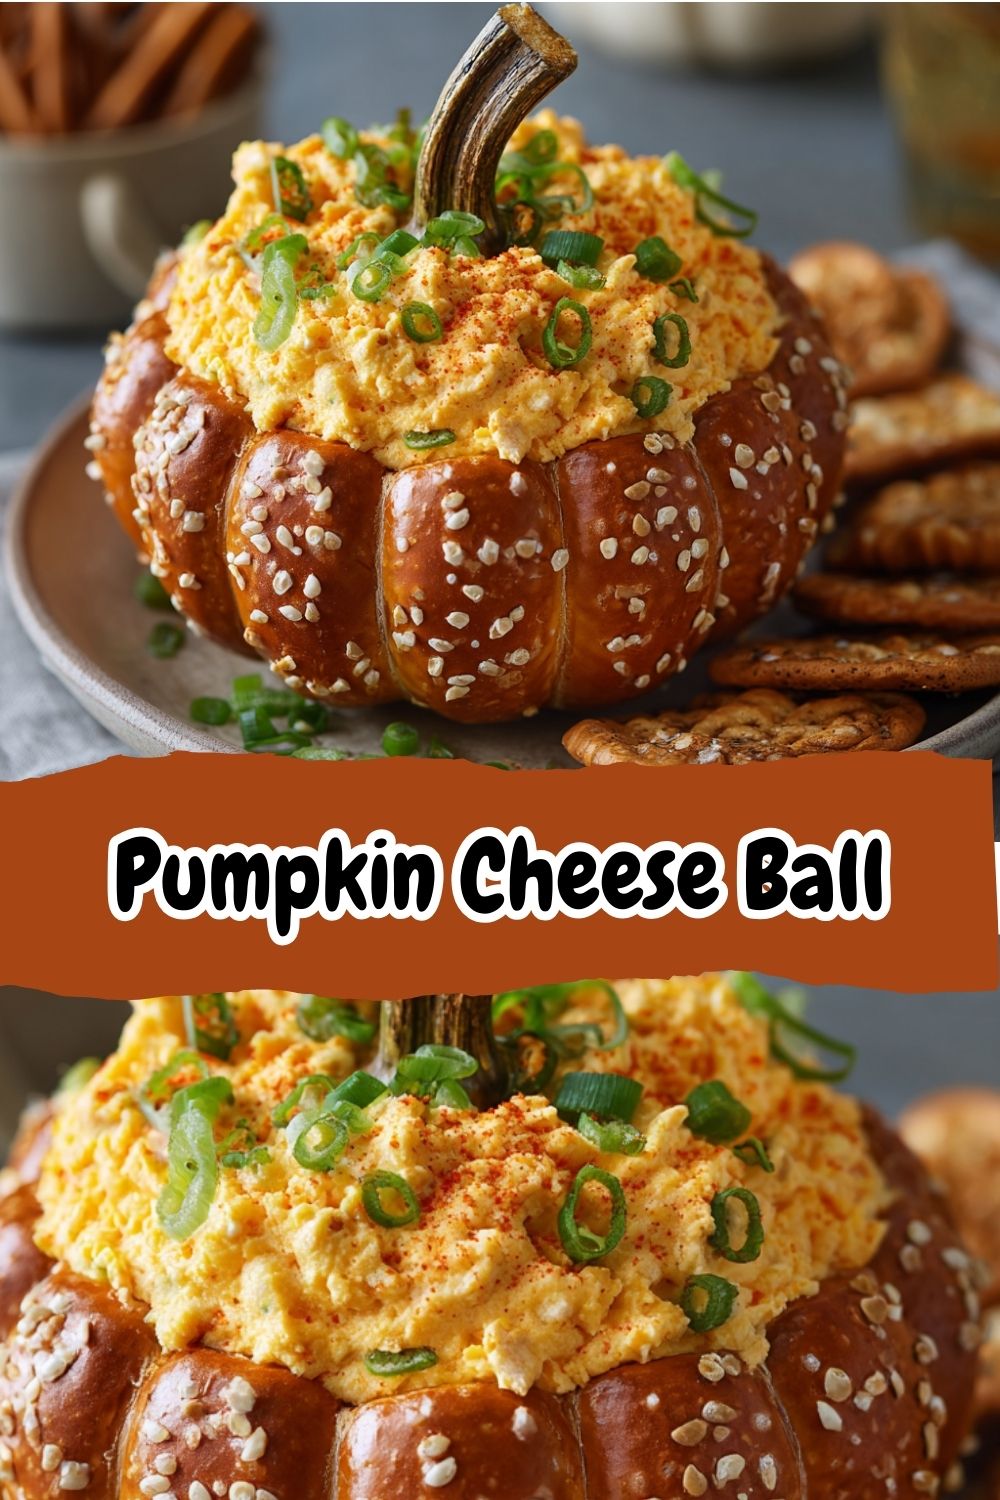
Ride the Flavor Wave: Creative Twists
Once you’ve mastered the base recipe, the world is your oyster (or should I say, your pumpkin?). Here are a few of my favorite ways to mix it up:
- Everything Bagel Pumpkin: Fold in 2 tablespoons of everything bagel seasoning into the cheese mixture. After shaping and chilling, roll the entire pumpkin in more everything seasoning instead of using twine for grooves. It looks amazing and tastes even better!
- Jalapeño Popper Pumpkin: Add 2-3 tablespoons of finely diced pickled jalapeños (for tang) and ¼ cup of cooked, crumbled bacon or bacon bits into the mix. Talk about a party in your mouth!
- French Onion Pumpkin: Mix in ½ packet of dry French onion soup mix. The flavor is insane! For serving, consider rolling the chilled ball in sliced almonds for a crunchy, nutty exterior.
- Vegan Pumpkin: Use your favorite plant-based cream cheese and shred a block of vegan cheddar-style cheese. The shaping method works exactly the same!
- Sweet Cinnamon Pumpkin: Want a sweet version? Omit the savory spices and onions. Mix 8 oz softened cream cheese with ½ cup powdered sugar, ¼ cup brown sugar, and 1 teaspoon cinnamon. Shape as directed. Roll the chilled ball in crushed gingersnap cookies or graham crackers for a “sandy” pumpkin look. Serve with apple slices and vanilla wafers!
Isla’s Chef Notes
This recipe has evolved so much since that lopsided first attempt! My biggest lesson learned? Patience is a ingredient. I know, I know, I’m usually all about speed. But you absolutely cannot skip the chilling time. I once tried to rush it for an unexpected guest and tried to shape the grooves after only an hour in the fridge. Let’s just say my pumpkin looked more like a squashed tomato… delicious, but not exactly picture-perfect! Now, I almost always make it the night before. It’s one less thing to worry about on party day, and the flavor is even more incredible after a full 24 hours. Another funny kitchen story: I once ran out of twine and used thick rubber bands in a pinch. It worked… but let’s just say a few bits of blue rubber got stuck in the grooves. We still ate it, of course, but now “Don’t use rubber bands!” is written in permanent marker on my recipe card. Learn from my mistakes!
FAQs & Troubleshooting Your Cheese Ball
Q: Can I make this ahead of time?
A: Absolutely! This is the perfect make-ahead appetizer. You can prepare and shape the cheese ball, wrap it tightly in plastic wrap (after using the twine), and store it in the fridge for up to 3 days. Wait to add the pretzel stem until just before serving so it stays crunchy.
Q: My cheese ball mixture is too soft to hold shape. What did I do wrong?
A: This usually happens for one of two reasons: 1) The cream cheese wasn’t soft enough to blend smoothly, leaving little lumps that don’t bind, or 2) It simply hasn’t chilled long enough. The fridge is your best friend here! Pop it back in and give it more time. If you’re really in a bind, you can pop it into the freezer for 20-30 minutes to firm up quickly, but don’t let it freeze solid.
Q: How long can the cheese ball sit out at room temperature during a party?
A: For both food safety and optimal texture, I wouldn’t leave it out for more than 2 hours. It contains dairy, so it’s best to keep it chilled until your guests arrive. It’s perfectly spreadable right out of the fridge after its initial chill!
Q: The twine is sticking to the cheese when I try to remove it. Help!
A: This can happen if the cheese is very soft. Make sure you’re using plastic wrap as a barrier between the cheese and the twine. You should be tying the twine around the plastic-wrapped ball. When you remove the twine, you should just be cutting and pulling it off the plastic, not out of the cheese itself.
Nutritional Information (Approximate, per serving)
Servings: 8 | Serving Size: 1/8 of cheese ball (without dippers)
Calories: 180 | Total Fat: 15g | Saturated Fat: 9g | Carbohydrates: 2g | Protein: 8g
Please note: This is an estimate provided for informational purposes only. Actual values will vary based on specific ingredients used and any substitutions made.