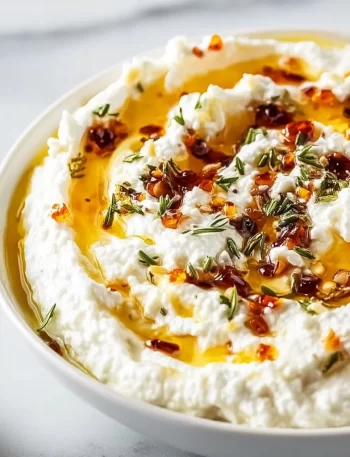
Delicious Ricotta Dip with Hot Honey Introduction Welcome to the cozy world of BiteTide, where flavor flows as freely as …
Bite Tide
Bite Tide
Delicious Ricotta Dip with Hot Honey Introduction Welcome to the cozy world of BiteTide, where flavor flows as freely as …
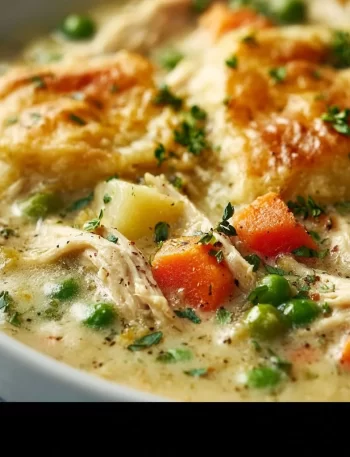
High Protein Chicken Pot Pie Soup: A Cozy Bowl Full of Comfort Hey there, foodie friends! 🌊 Are you ready …
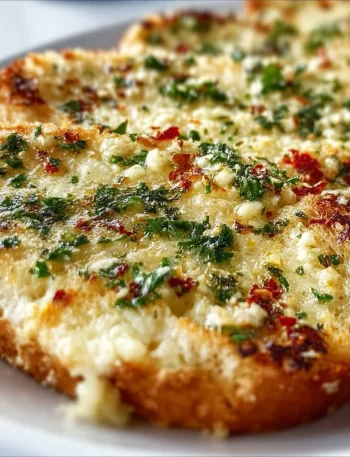
Baked Garlic Bread Dip: A Flavorful Dive into Comfort Hey there, fabulous foodies! 🌊 If you’re anything like me, then …
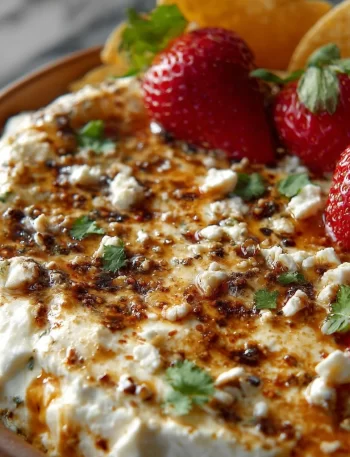
Marry Me Dip: The Ultimate Crowd-Pleasing Recipe! Hey there, flavor lovers! 🌊 Are you ready for a dip that will …
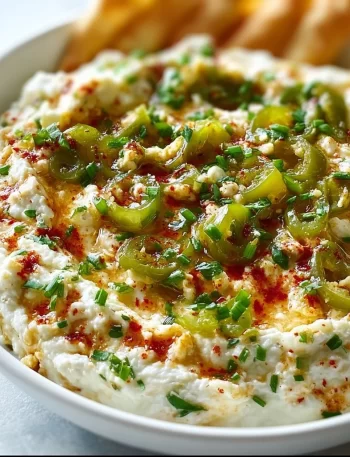
Get Ready to Spice Up Your Snack Game: Jalapeño Cava Feta Dip Hey there, flavor adventurers! 🌊 Are you ready …
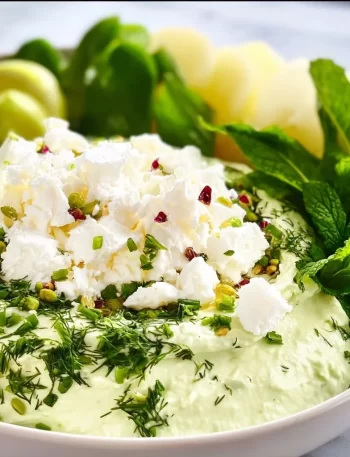
Dive into Flavor: Green Goddess Feta Dip Recipe Hey there, fellow food lovers! If there’s one thing I enjoy more …
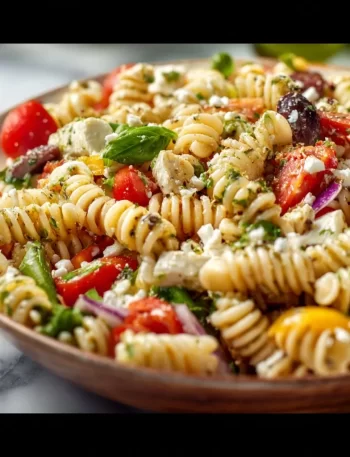
The Ultimate Italian Pasta Salad – A Flavor-Packed Journey! Hey there, flavor enthusiasts! 🌊 I’m Isla, and I’m buzzing with …
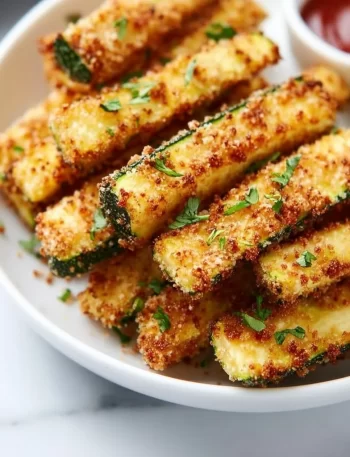
Crunchy Delight: Low Calorie Air Fryer Zucchini Fries Introduction: Let’s Get Frying! Hey there, food lovers! 🌟 Today, we’re diving …

Dive into Delicious: The Green Goddess Sandwich Recipe Welcome to BiteTide, food lovers! Today, we’re about to embark on a …
The Heartwarming Comfort of Garlic Soup Hey there, fellow food lovers! 🌊✨ It’s Isla here, and today I’m thrilled to …